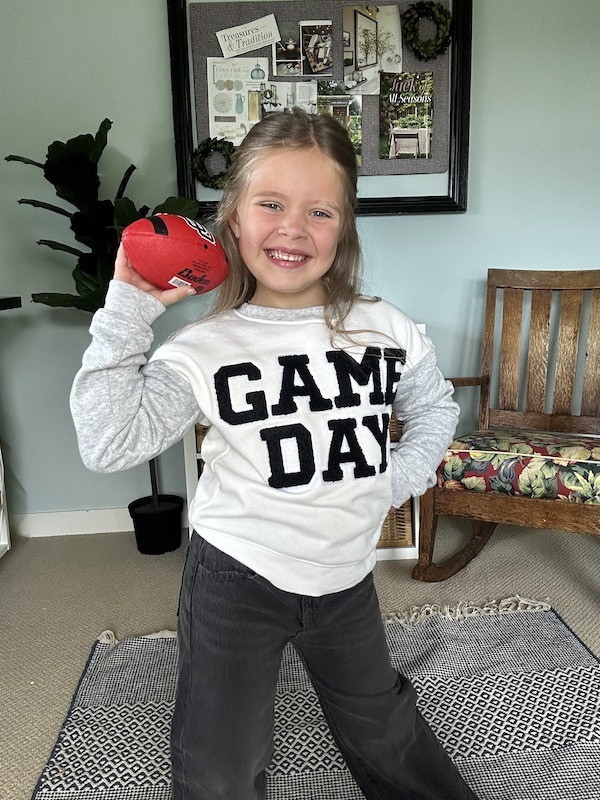
Football season is here, and there’s nothing quite like the excitement of game day! Today I am sharing a fun post on DIY game day gear sweatshirts for Kids! Whether your family cheers for a college team, an NFL team, or a local favorite, dressing up in team colors and gear is all part of the fun.
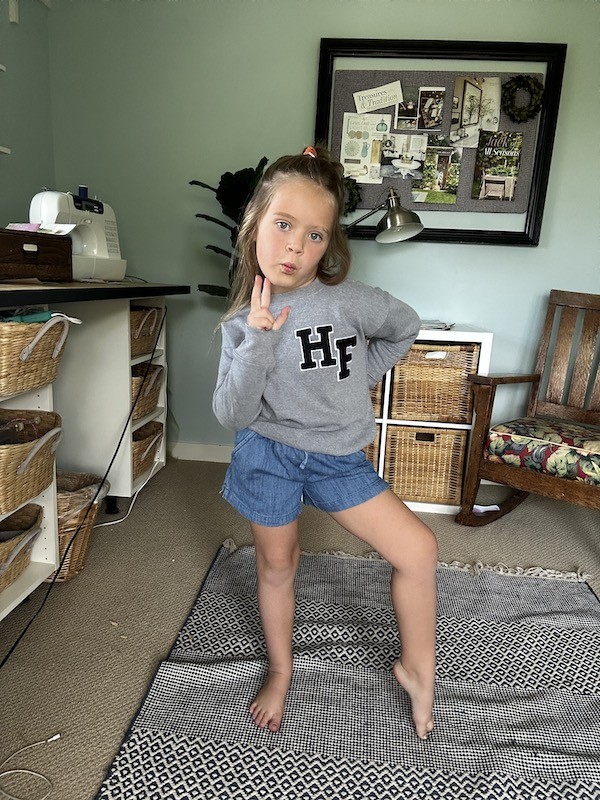
Instead of spending a fortune on store-bought merchandise, why not create personalized game day gear for your kids using iron-on patches? In this DIY guide, I will walk you through the steps to make a customized football-themed sweatshirt for your little fans.
Materials You’ll Need:
1. Blank sweatshirt in your team’s color
2. Chenille iron-on letter patches
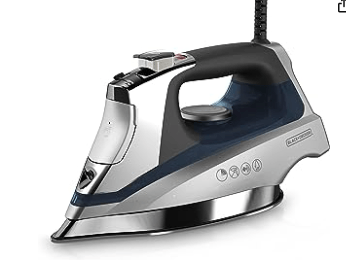
3. Iron and ironing board or heat press mat
4. Parchment paper or thin cloth
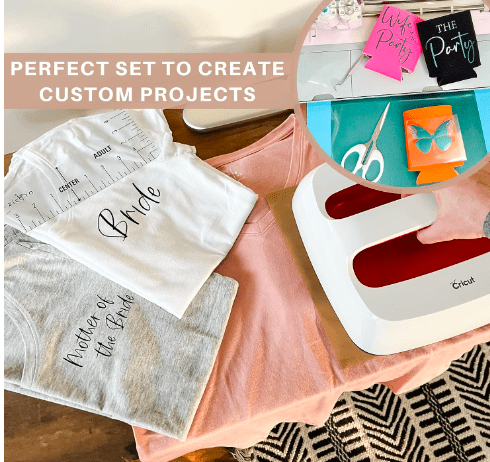
5. Ultimate heat press accessory bundle
Step 1: Gather Your Sweatshirt Supplies
Before you begin, make sure you have all the necessary materials ready. Choose sweatshirts in colors that represent your team and ones your kids will love to wear on game day, and pick out the letters you want to use.
Step 2: Plan your DIY game day gear sweatshirt design
Lay out your sweatshirt and patches on a flat surface. Experiment with different arrangements until you’re satisfied with the design. Make sure the letters aren’t too high or too low on the sweatshirt. Also keep the letters within the main body of the sweatshirt and not too close to the edge of each side.
Step 3: Preheat the Iron
Plug in your iron and set it to high. Carefully position your iron on patches on the sweatshirt, adhesive side down.
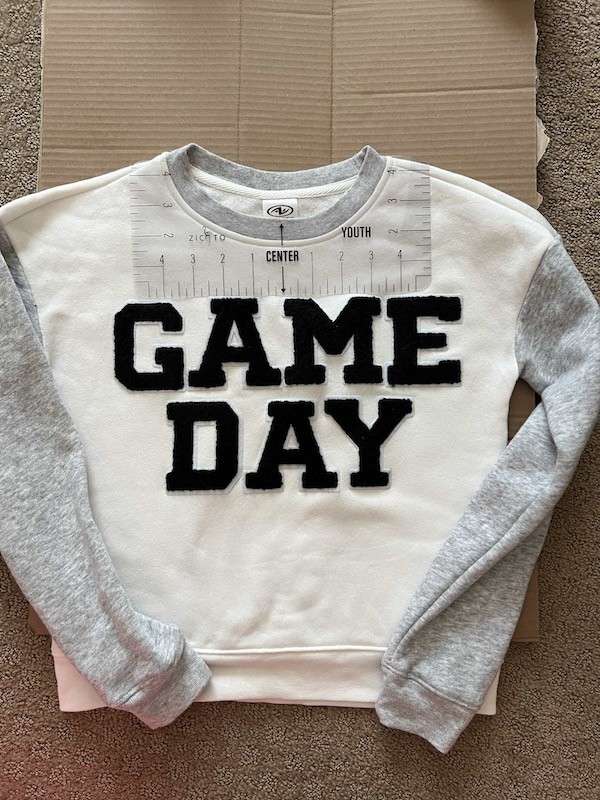
Use t-shirt ruler guide to ensure they are centered and aligned correctly that comes in the Ultimate Heat Accessory kit.
Step 4: Protect with Parchment Paper
Place a piece of parchment paper or thin cloth over the patches. My daughter actually did not end up using parchment paper she just ironed right over the top of the letters.
Step 5: Apply Heat
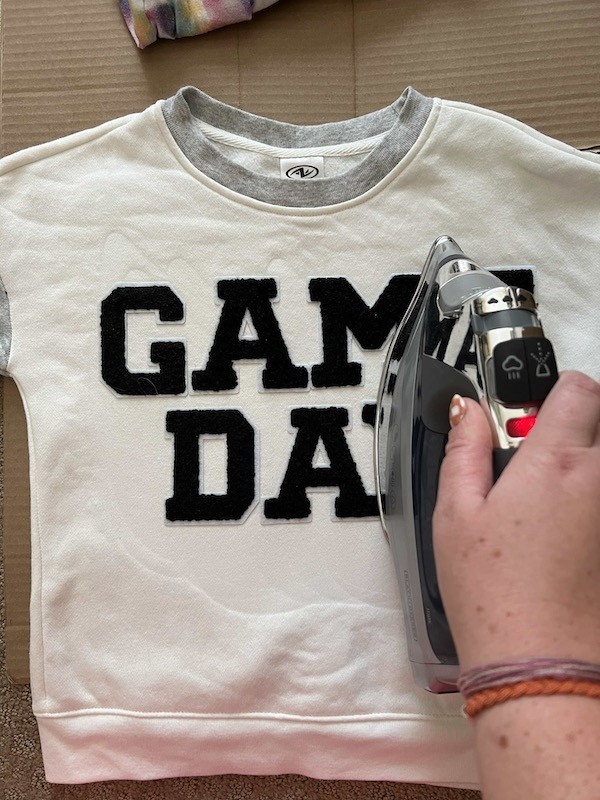
Press the preheated iron onto the parchment paper and patches. Apply even pressure and move the iron in a circular motion for about 30-40 seconds.
Step 6: Apply Heat to Back
Turn sweatshirt inside out and place the heat pad that comes in the ultimate heat pack bundle kit inside the sweatshirt.
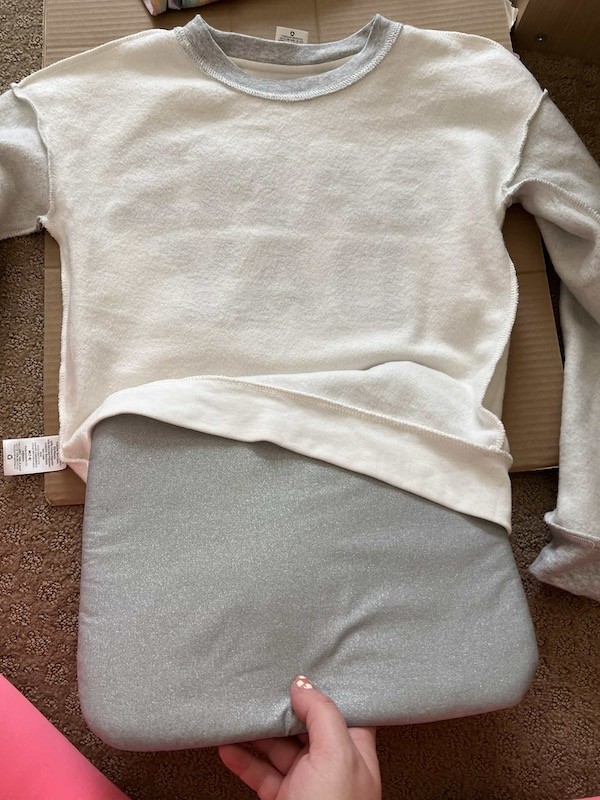
Apply heat to the back of the patches to bond to the fabric.
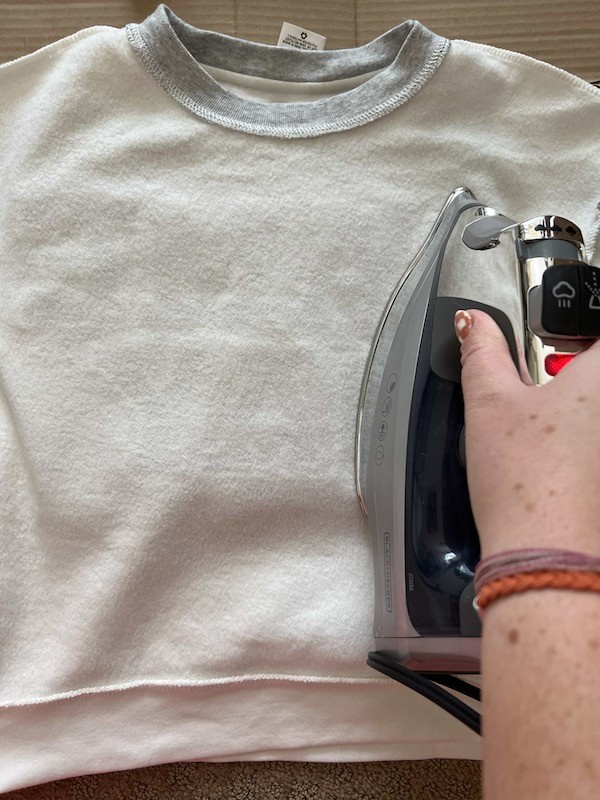
Step 7: Allow to Cool
Once you’ve applied heat to all the patches, front and back, check to see if the patches have adhered properly. If any corners or edges aren’t fully attached, reapply the iron for a few more seconds.
Step 8: Let It Cool Completely
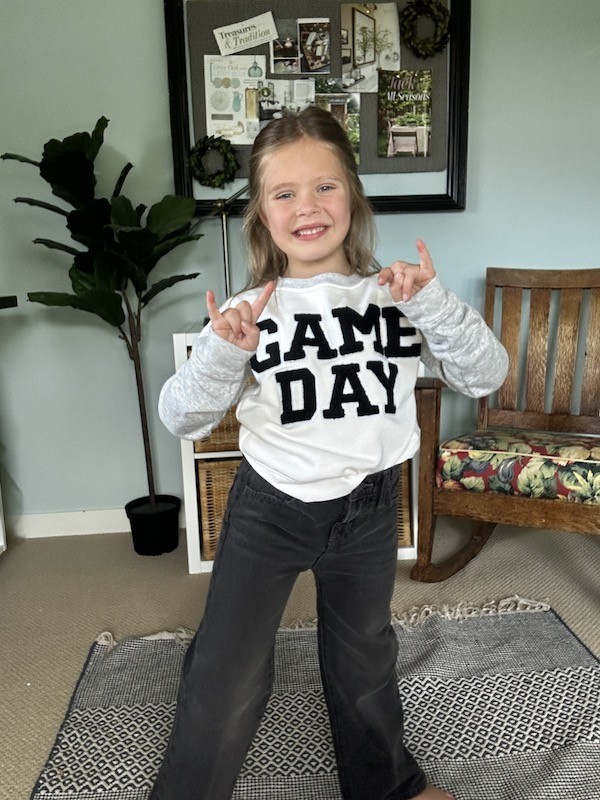
Allow the clothing item to cool completely before wearing it or washing it. This ensures the patches have securely bonded to the fabric.
Creating DIY game day gear for kids
Using iron-on patches is a fantastic way to involve your little fans in the excitement of game day. Not only will they feel like part of the team, but they’ll also proudly wear their personalized sports fan gear.

With a little creativity and some simple crafting, you can make game day even more special for your family. So, gear up, get crafting, and let the game day festivities begin!
More Karins Kottage Football Game Day Posts
Chocolate dipped strawberry football cupcakes
Easy to make Football Food for a crowd
Simple BBQ French Bread Pizza’s
Texas Homecoming Mums for the football game (if you don’t know about this tradition you really need to click and read all about it)
Shop Clothes and Supplies
These are affiliate links and I make a small commission at no extra cost to you. This allows me to keep providing free ideas for you and helps me keep this blog going. I appreciate it so much!

Leave a Reply