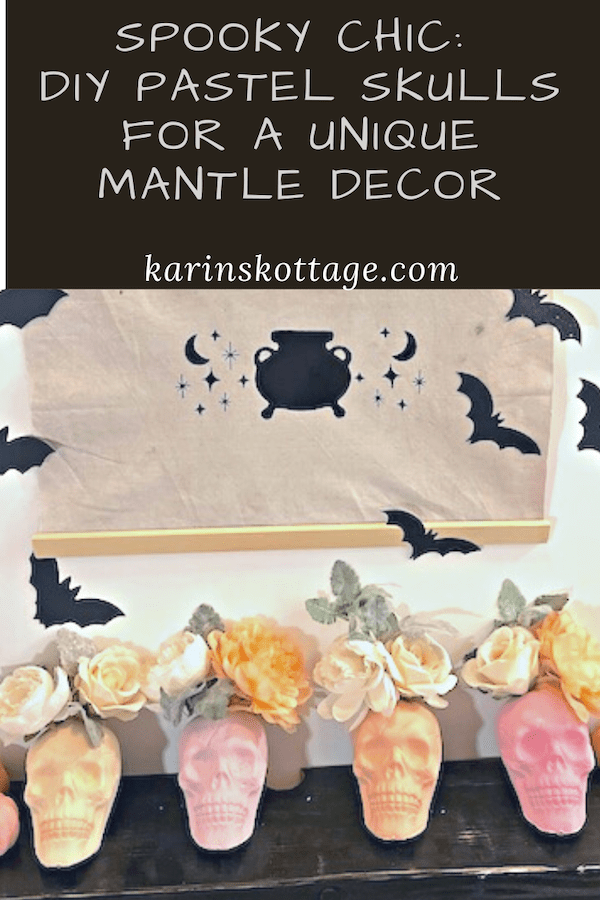
Greetings, fellow spooktacular enthusiasts! Today, we’re diving into a creative spooky chic DIY pastel skulls project that will add a touch of whimsy and charm to your home’s decor, just in time for the spooky season. If you’re ready to embrace the Halloween spirit with a twist, you’re in for a treat.
The best part of this project is that all the skulls, tombstones and skeletons came from the Dollar Store!
Materials You’ll Need:
- Dollar store plastic skulls
- Acrylic paints in pastel peach, pinks, purples, and creams
- Baking soda
- Paintbrushes in various sizes
- Faux flowers in coordinating colors
- Painted skeletons (optional)
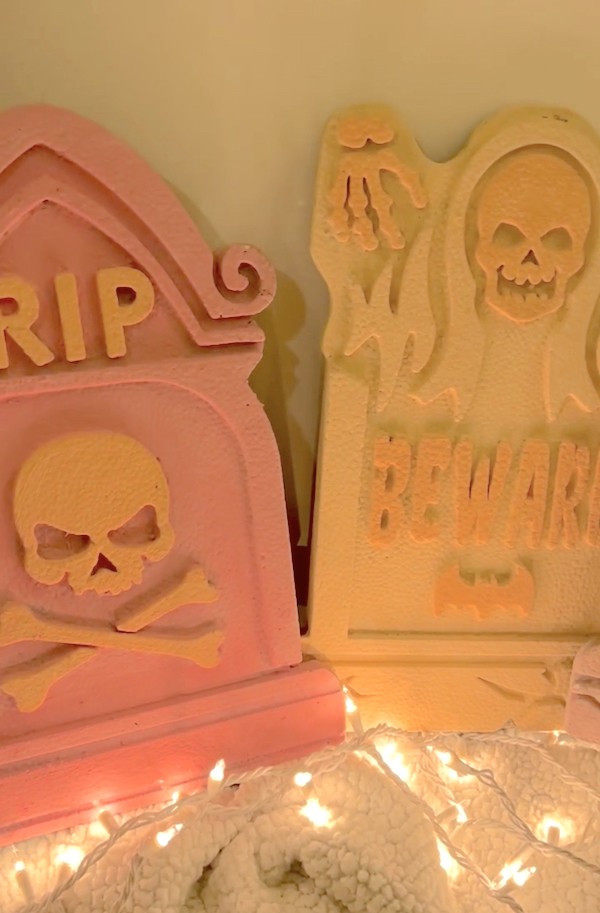
- Painted tombstones (optional)
- Paper black bats cut from a Cricut machine (optional)
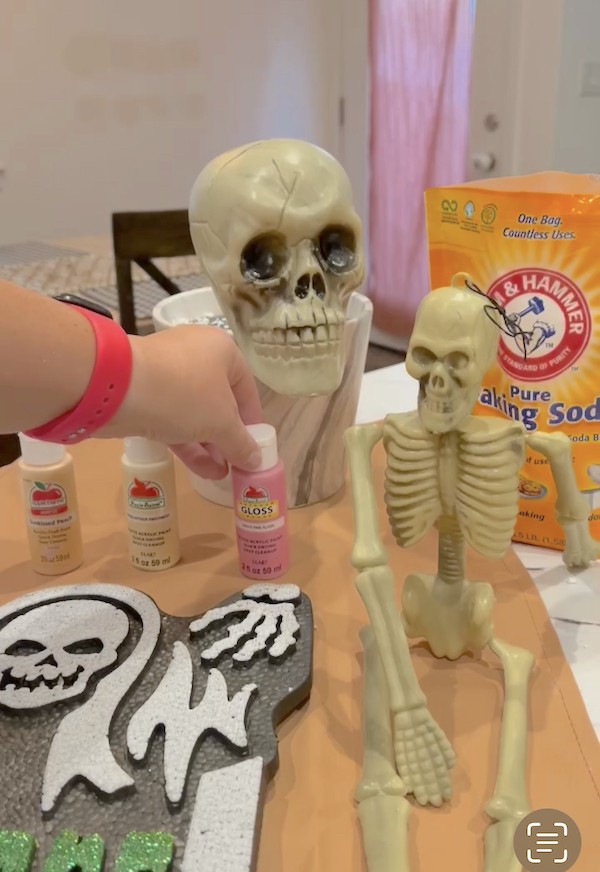
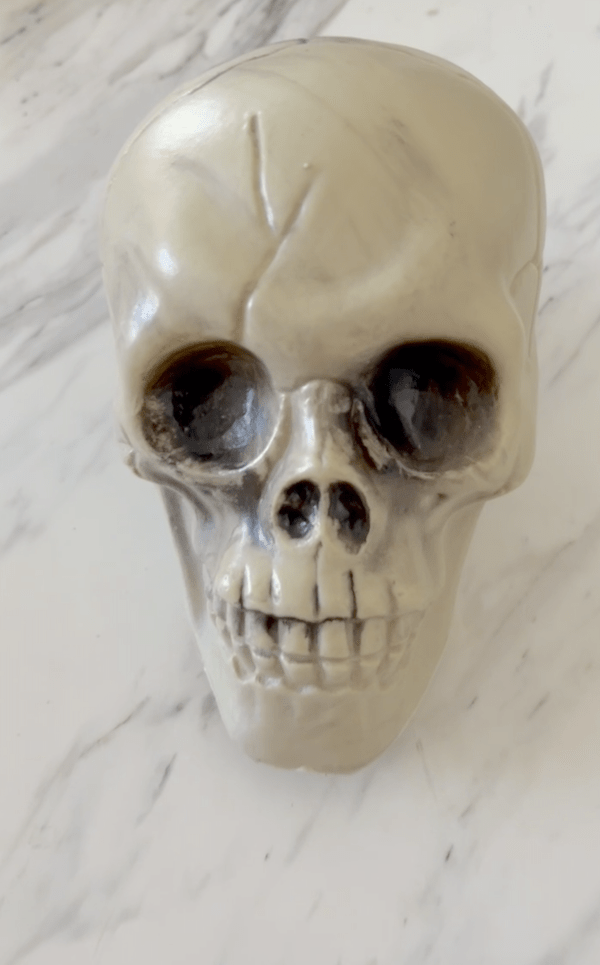
Step 1: Prep Your Spooky Skulls
Start by giving your dollar store skulls a good clean. This will help the paint adhere better. You can use a damp cloth or paper towels for this step. Once they’re clean and dry, you’re ready to start painting!
Step 2: Choose Your Pastel Palette
For this project, we’re going for a soft and elegant look, so opt for pastel shades of peach, pinks, purples, and creams. You can mix colors to get the right shade you are looking for. These colors will contrast beautifully with the traditional Halloween palette.
Here is one of my favorite Halloween Tablesscapes I did last year. I hung witch hats from the ceiling!
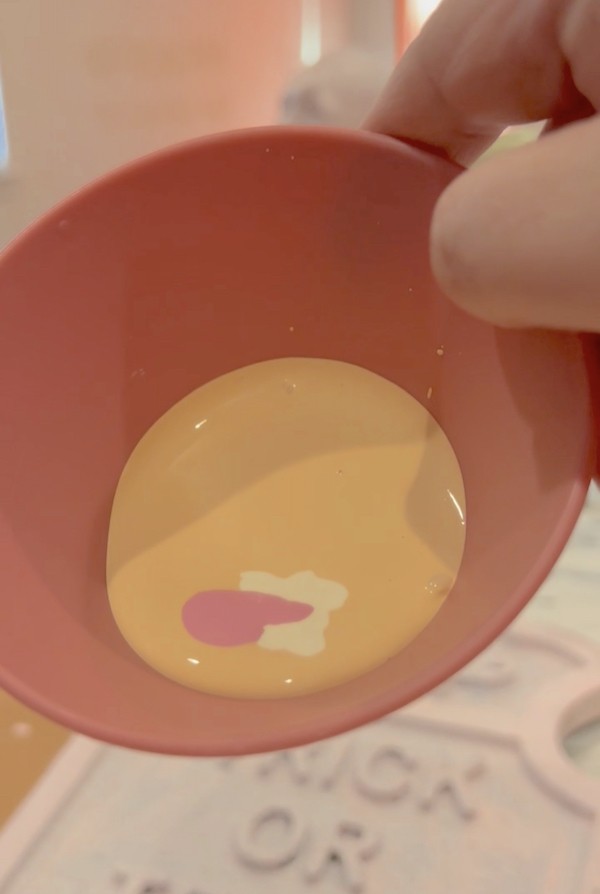
Step 3: Paint Away!
To create a terra cotta look add in a tablespoon of baking soda to your bowl of paint. You want it to be a little bit thick so that it creates that terra cotta look and feel. You can just play with the amounts of paint and baking soda.
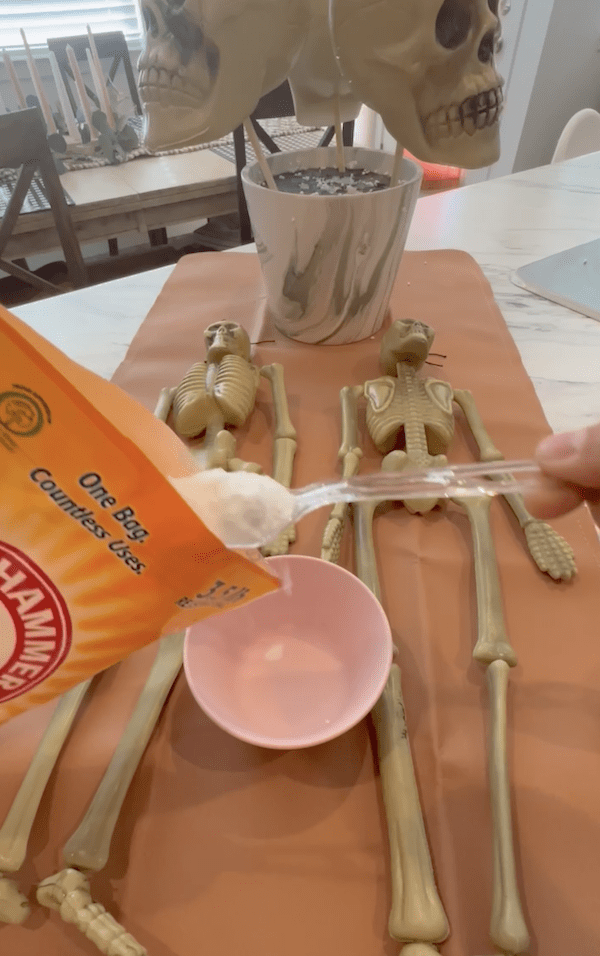
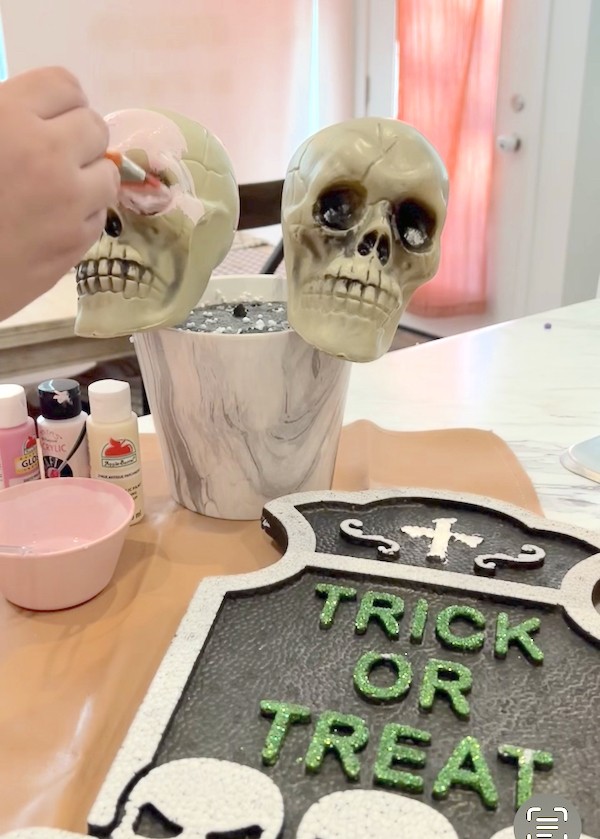
Begin by applying a base coat to each skull in your chosen pastel color. Let it dry completely before adding a second coat to ensure a smooth finish. You can get creative here—mix and match colors or even create ombre effects for a unique look.
Setting up a little paint station you can then paint your skulls, tomb stones and skeletons all at once.
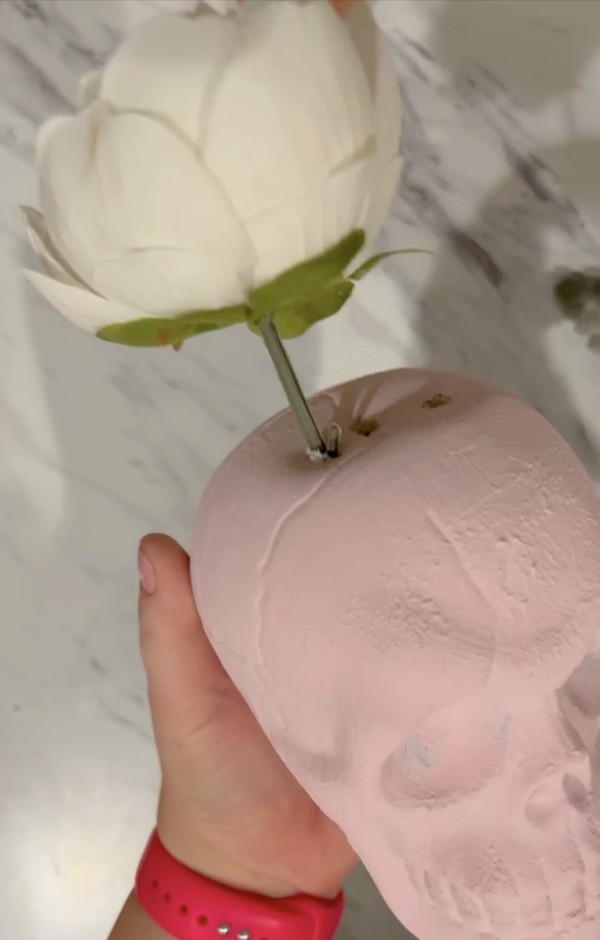
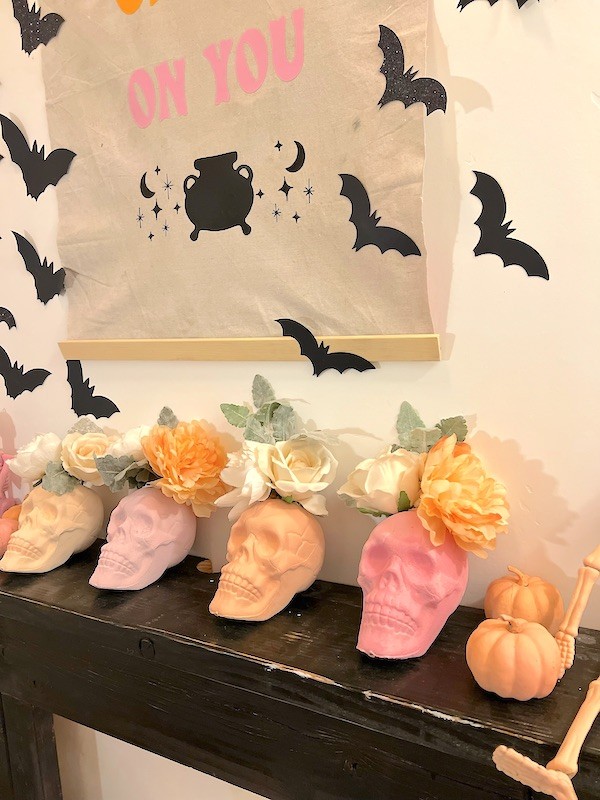
Step 4: Floral Crowns
Now, let’s add a touch of nature to our skulls. Once your painted skulls are dry, poke 3 holes into the tops of each skull to attach faux flowers to the tops of the skulls.
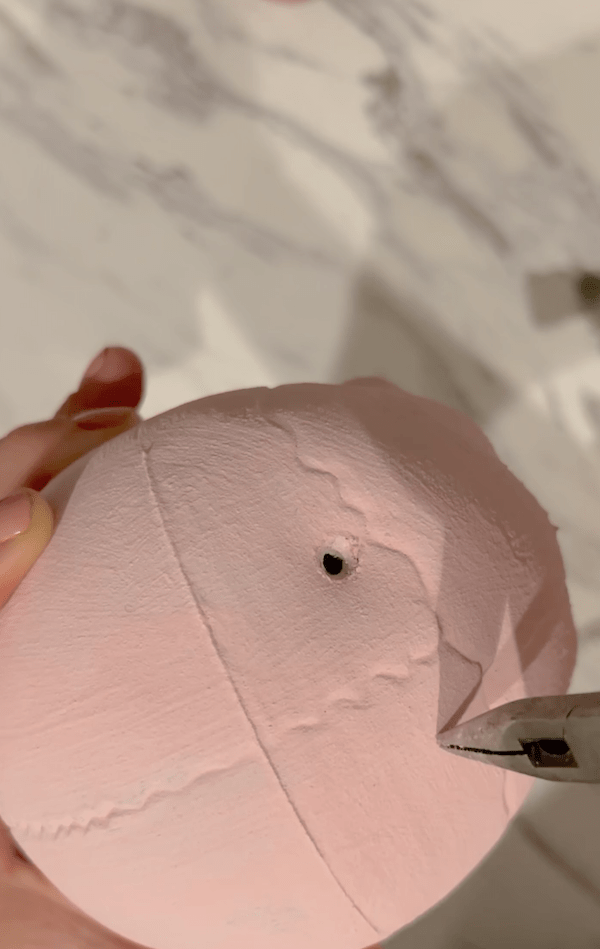
This adds a whimsical and feminine touch to your Halloween decor.
Step 5: Arrange Your Mantle
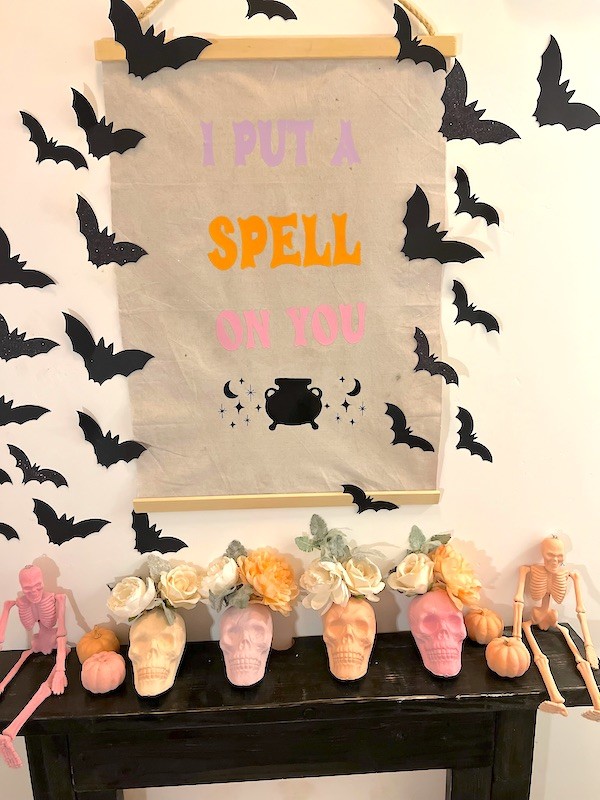
Now that your pastel skulls are ready, it’s time to assemble your mantle decor. Place the skulls alongside any other Halloween-themed items you have, such as painted skeletons, tombstones, and paper black bats cut from your Cricut machine.
Step 6: Finishing Touches
Feel free to get creative with additional embellishments. I will be sharing the tutorial on how to make this cute banner that my daughter made! It really helps bring in that spooky chic look above the mantel.
Things like paper black bats that you can cut from your Cricut machine to tape up on the wall. Add candles and/or fairy lights to create a spooky elegant glow.
The key is to balance the spooky with the elegant for a truly one-of-a-kind mantle display.
Step 7: Enjoy Your Spooky Chic DIY Pastel Skulls Results
Step back and admire your handiwork! You’ve transformed ordinary dollar store skulls into a charming and unique Halloween display that’s sure to impress your guests.
So there you have it, a fun and easy DIY project that combines the spookiness of Halloween with the elegance of pastel colors. It’s a perfect addition to your mantle, bringing a touch of magic to your home. And remember, the best part of DIY projects like this is the opportunity to let your creativity run wild. Happy decorating, dear readers, and have a spooktacular time!
More Karins Kottage Halloween Posts
Make a witch hat out of paper sack
How to make Halloween treat cones for party favors
Best way to host Family Halloween Party
How to create moody black and burgandy tablescape

I took the idea… Water proof paint skulls for outside.
Made hole tops, little bigger, and cut hidden groove lower bk of head, drainage, and slid paper clip and hot glued to bk inside head, slid flower stem through it, hello propellors.
I love it! What a great idea!
What a great idea! I would have never thought of this, but they are super cute. I’d love to invite you to post this on my Tell It To Me Tuesday link party, you can find it at https://perfectlyimperfect-lwl.com/tell-it-to-me-tuesday-15-9-19-23-link-party/. I hope to see you there!
These are really cool Karin! I love putting a spin on thrifty finds and this is perfect for Halloween!! xo Tanya
Thank you so much! I agree putting a spin on Halloween is just so fun!