Karins Kottage

Entertaining * Decorating * Fashion * Travel

  • Contact Us
    • Let’s Collaborate
  • Decorating
    • Tour
      • Coastal Guest Room
      • Dining Room
      • Family Room
      • Front Porch Ideas
      • Kitchen Nook
      • Mud Room Built Ins
      • Shop My Home
    • Crafting
    • DIY
    • Furniture redo
    • Chalk Painting/Painting
    • Organizing
    • Shop My Home
    • Sewing
    • Wall treatments
    • Window treatments
  • Entertaining
    • Baby Showers
    • Birthday Parties
    • Bridal Showers
    • Graduation parties
    • Holidays
      • Christmas
      • Easter
      • 4th of July
      • Halloween
      • Parties
        • Super Bowl Party
        • weddings
      • Thanksgiving
      • Valentines
    • Outdoor Entertaining
    • Tablescapes
  • Fashion
  • Recipes
    • Breads
    • Desserts
    • Main dishes
    • Pasta
    • Recipes
    • Salads
    • Side Dishes
    • Soups
  • Travel
    • Cancun in March
    • Traveling through Italy
    • My Travels to Hong Kong
    • Italy
    • Rogers Gardens- Newport Beach California
Home » How to gold leaf wooden eggs

in Crafting· Easter

How to gold leaf wooden eggs

Share
Share on Facebook
Share
Share this
Pin
Pin this
Share
Share on LinkedIn

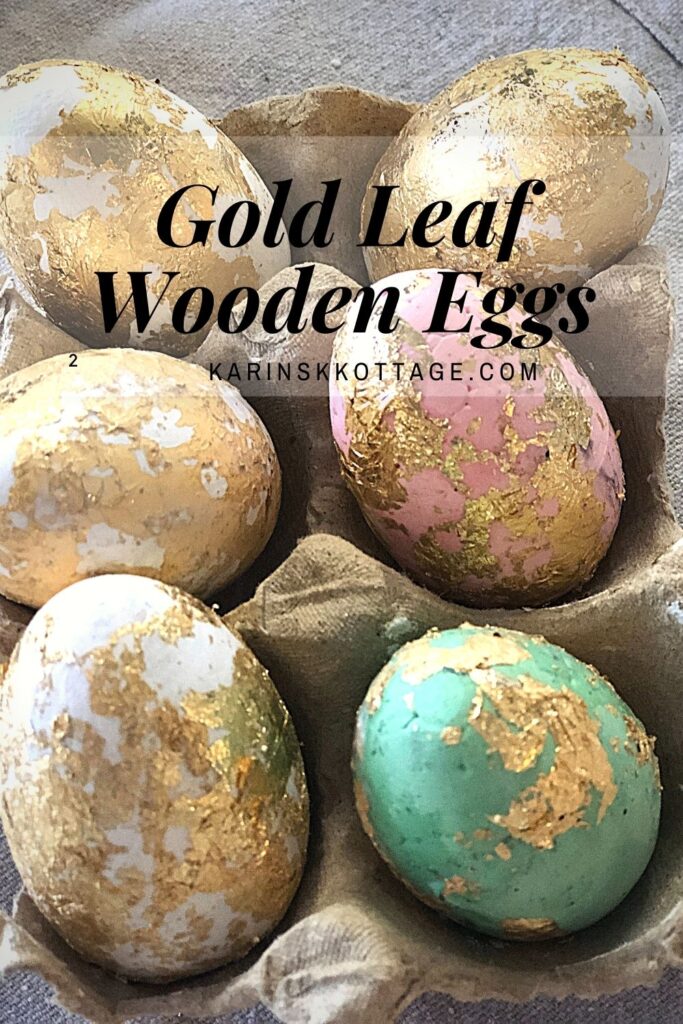
Today I am sharing how to gold leaf wooden eggs. This was my first time working with gold leafing and it was pretty fun!

How to gold leaf wooden eggs

Have you ever used gold leafing before?

It is so flimsy and even with your breath it can fly away.

Don’t be a heavy breather haha!

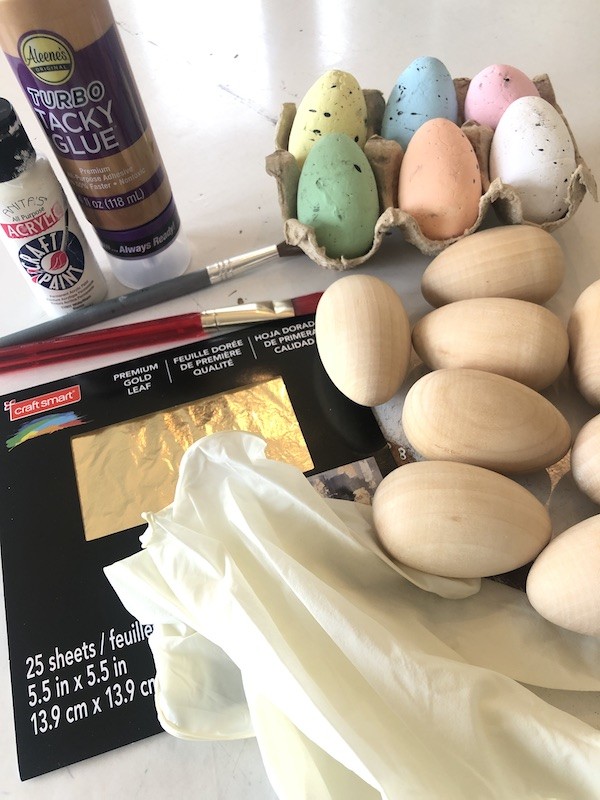
Supplies for gold leafing wooden eggs

These are the supplies you will need

Wooden eggs

Aleene’s turbo tacky glue

Wax paper

White craft paint

Paint brushes

Gold leaf sheets

Rubber gloves (optional)

Foam colored eggs (optional)

Paint the wooden eggs

I wanted my wooden eggs to be white. So I got out some craft paint and painted them with a paint brush.

Easy peasy.

Wooden eggs painted white

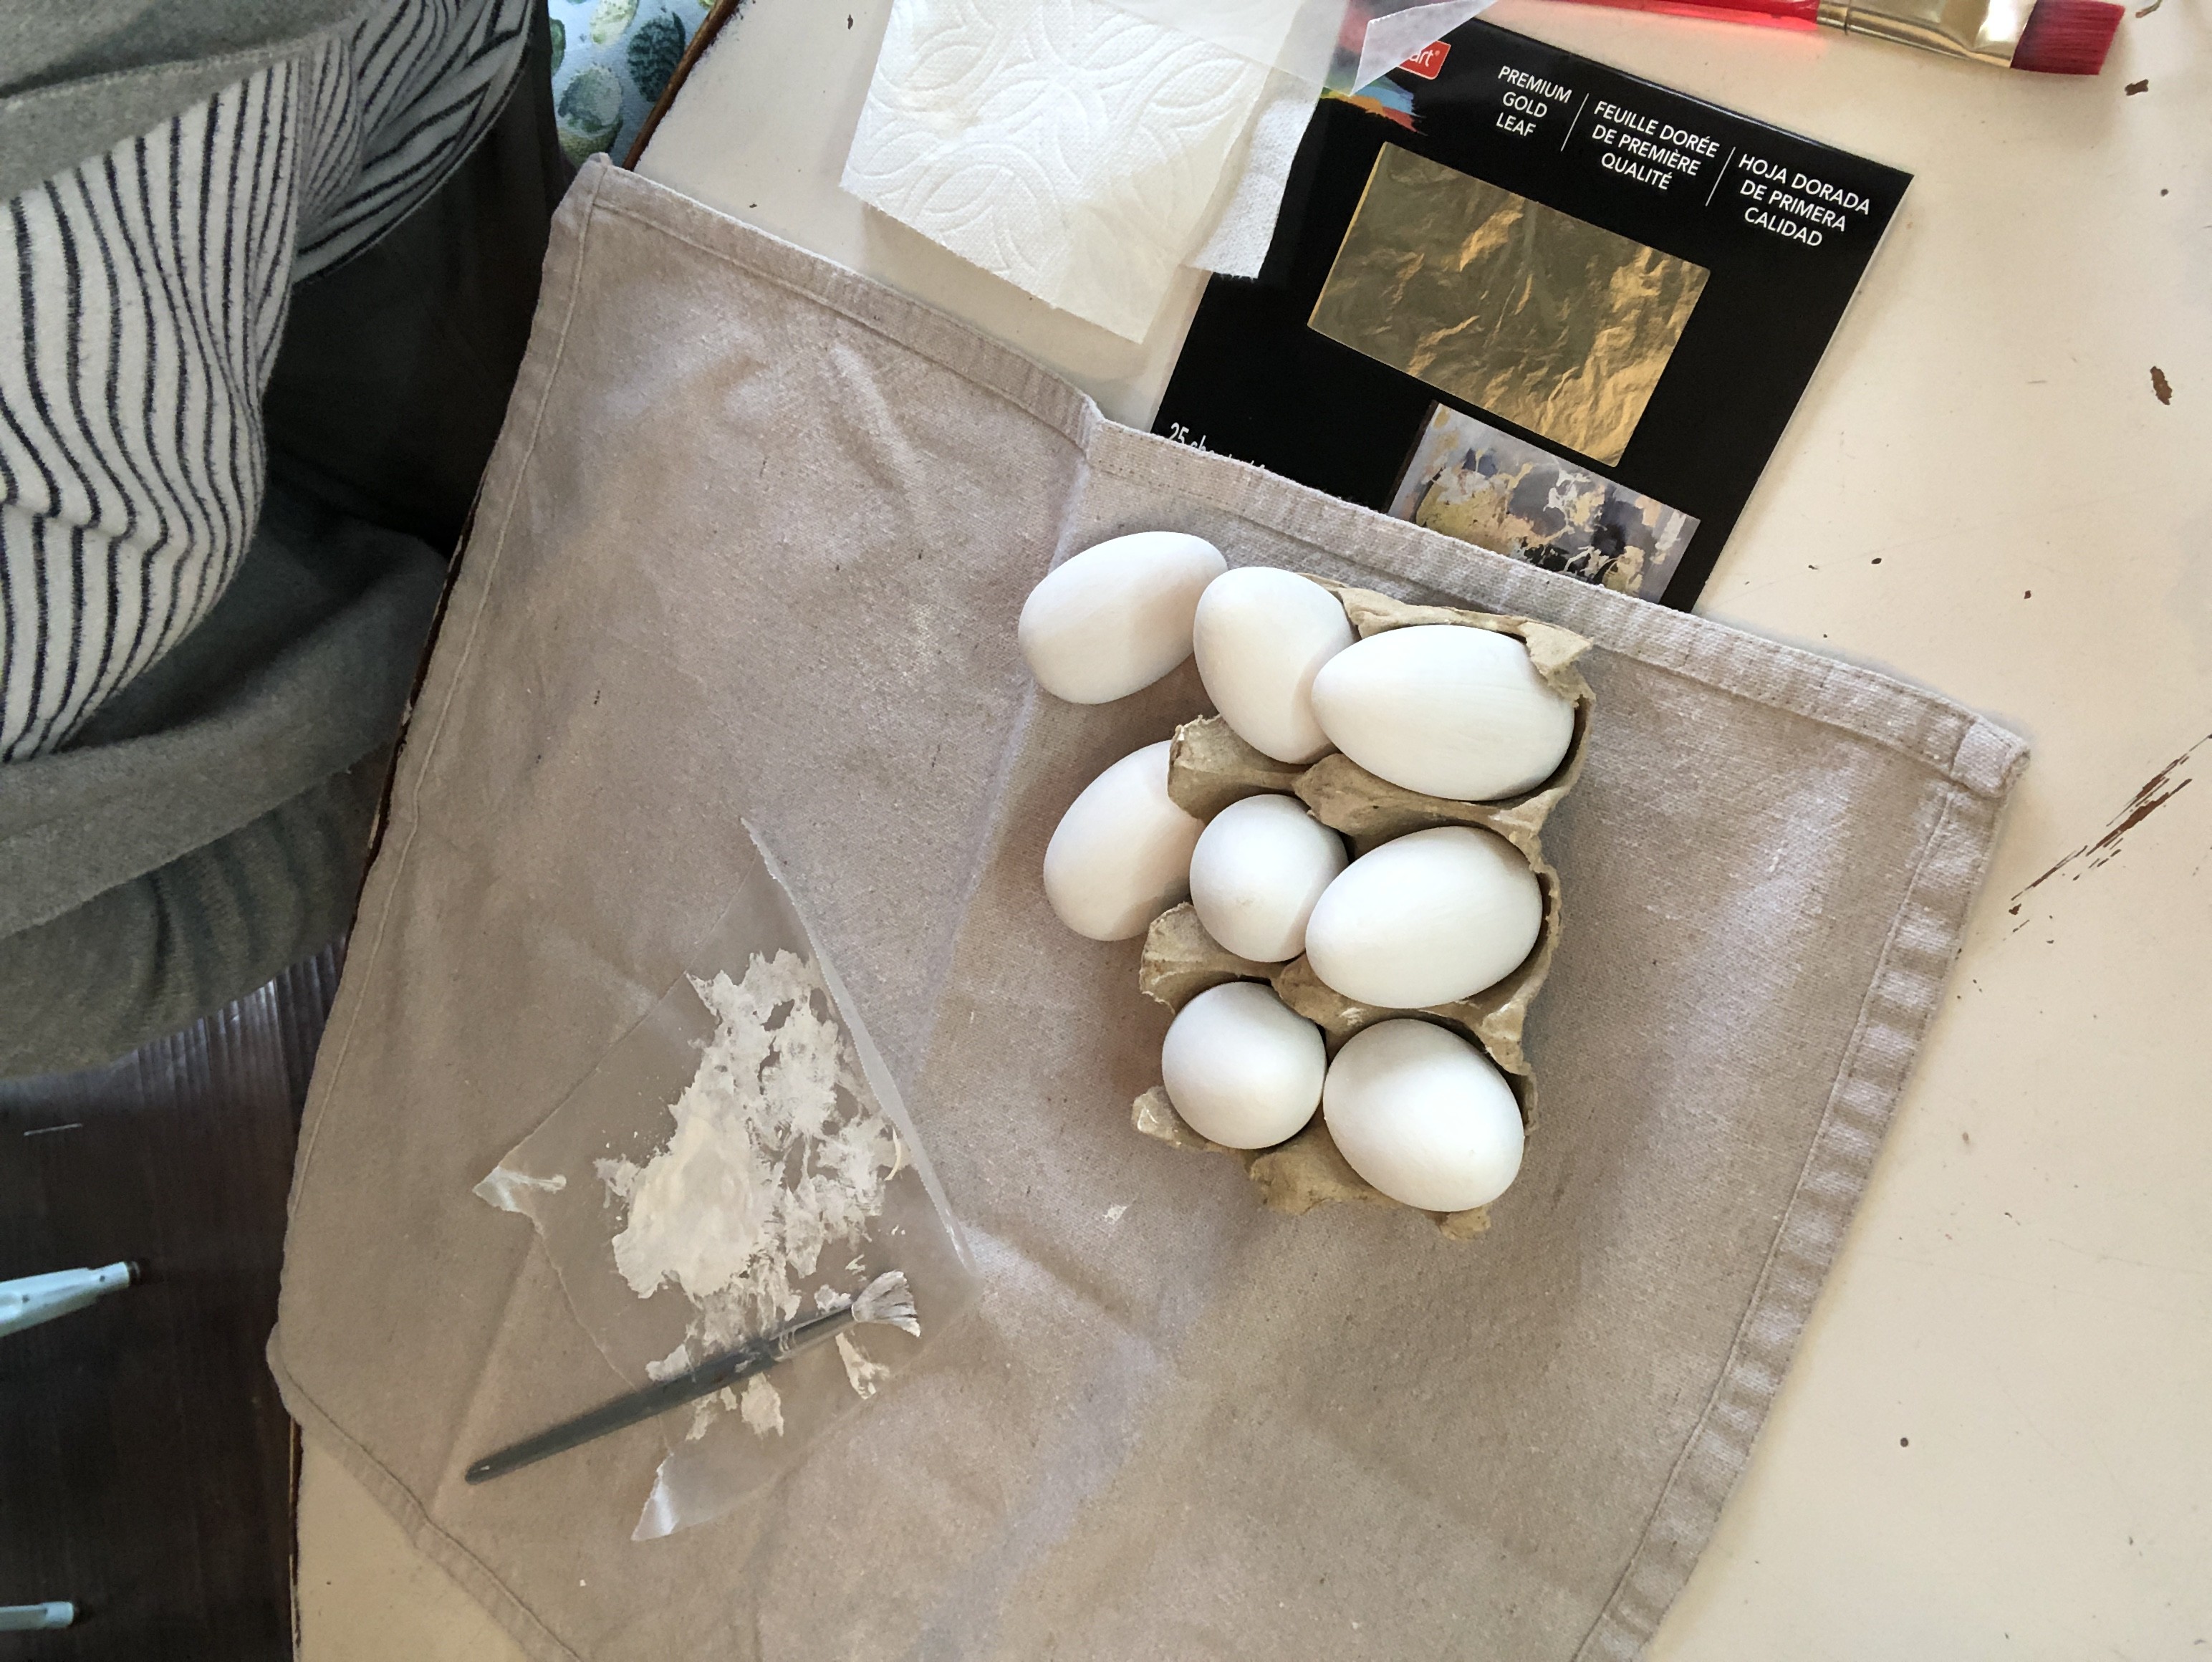
Tip- Find something to hold your painted eggs as you go along where they won’t stick to anything.

I have seen where you can use a piece of foam and attach some toothpicks at angles to hold up the egg.

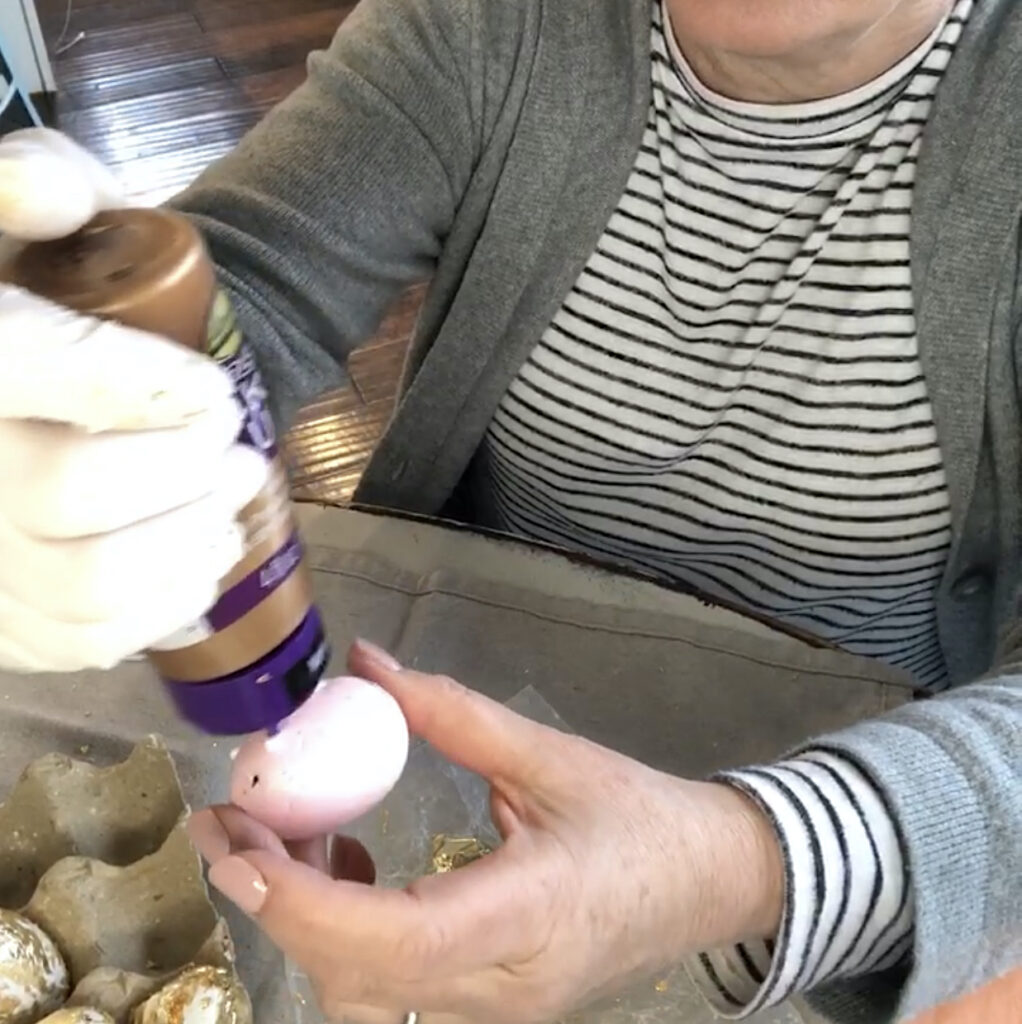
Add glue to wooden eggs

There are different ways to add gold leaf to things. This is probably not the “real” way to do it but it works for me 🙂

You can buy a special adhesive that craft stores sell.

I have also seen that where you can use Elmers glue too.

Aleen’s Super tacky glue seems to work great for this project.

I painted the glue on the eggs in a random fashion. Don’t cover the entire egg with glue if you want some the white to show through.

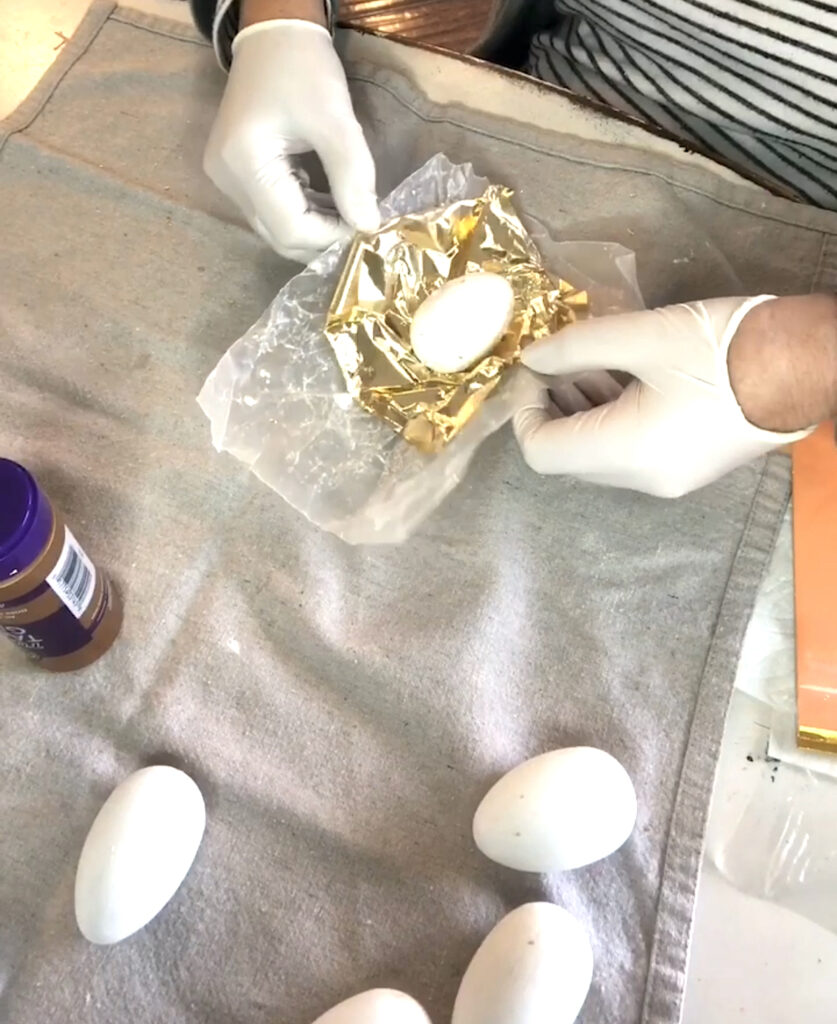
How to attach gold leaf to wooden eggs

The gold leaf comes in square sheets with paper in between to avoid sticking together.

Gently pull out one sheet and place on a piece of wax paper. Again don’t breath too hard or it will fly.

Place egg in the center and wrap the gold leaf around the egg. Make sure it is sticking to the glue nicely.

Let it sit for for bit to dry.

Then with a clean dry paint brush or your hand brush off the excess gold pieces.

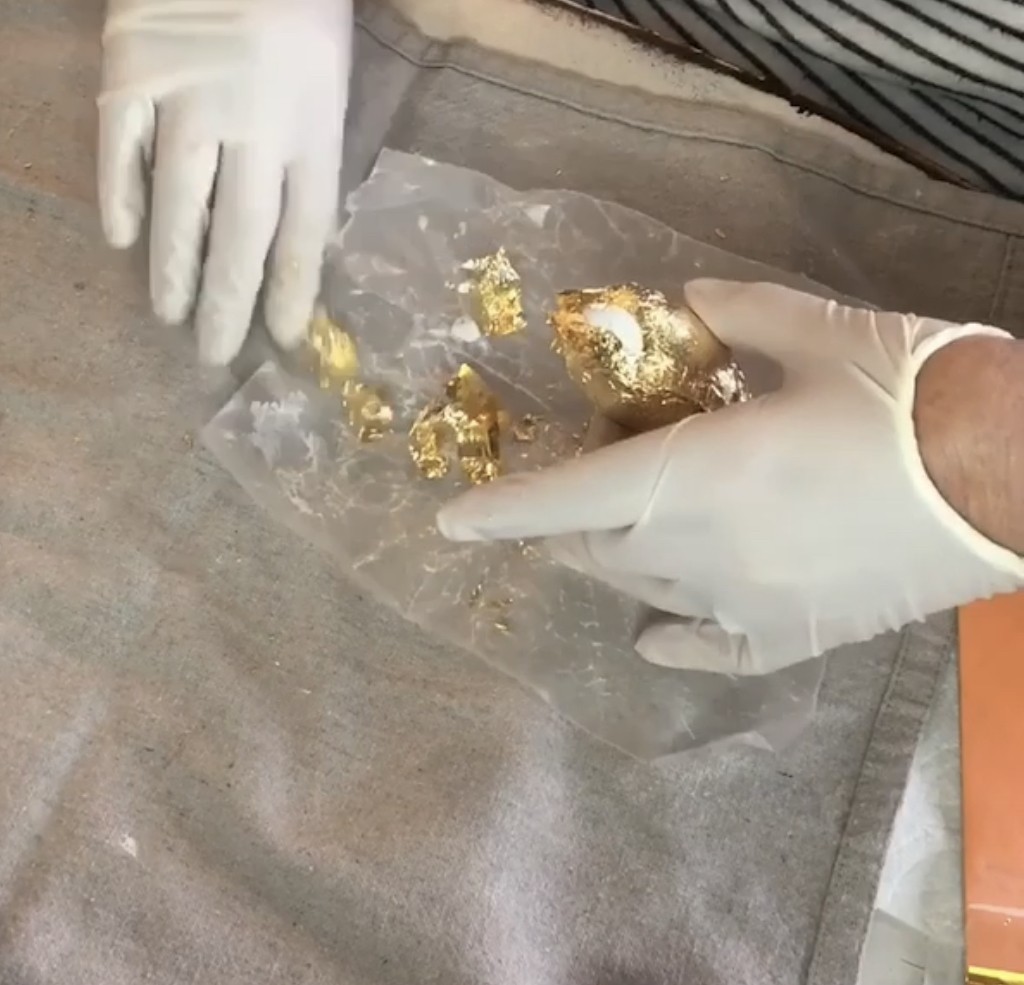
(keep the excess because you can roll the egg in it later if you need to add more)

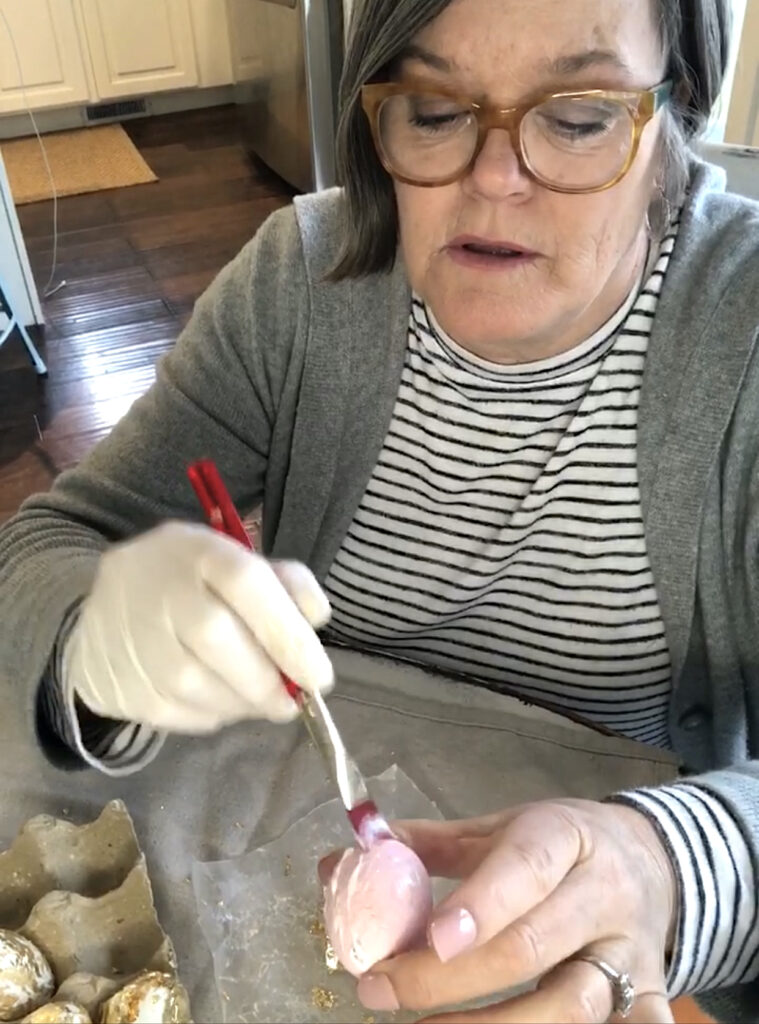
Seal the gold leaf wooden eggs

To seal the egg I brushed more glue all over the egg. It reminds me decoupaging.

paint gold foiled egg with glue to seal

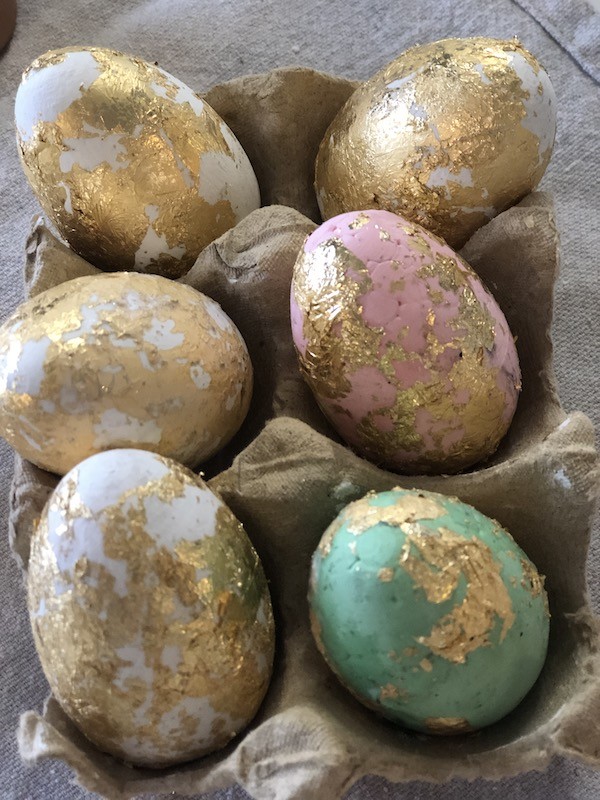
Admire you beautiful eggs.

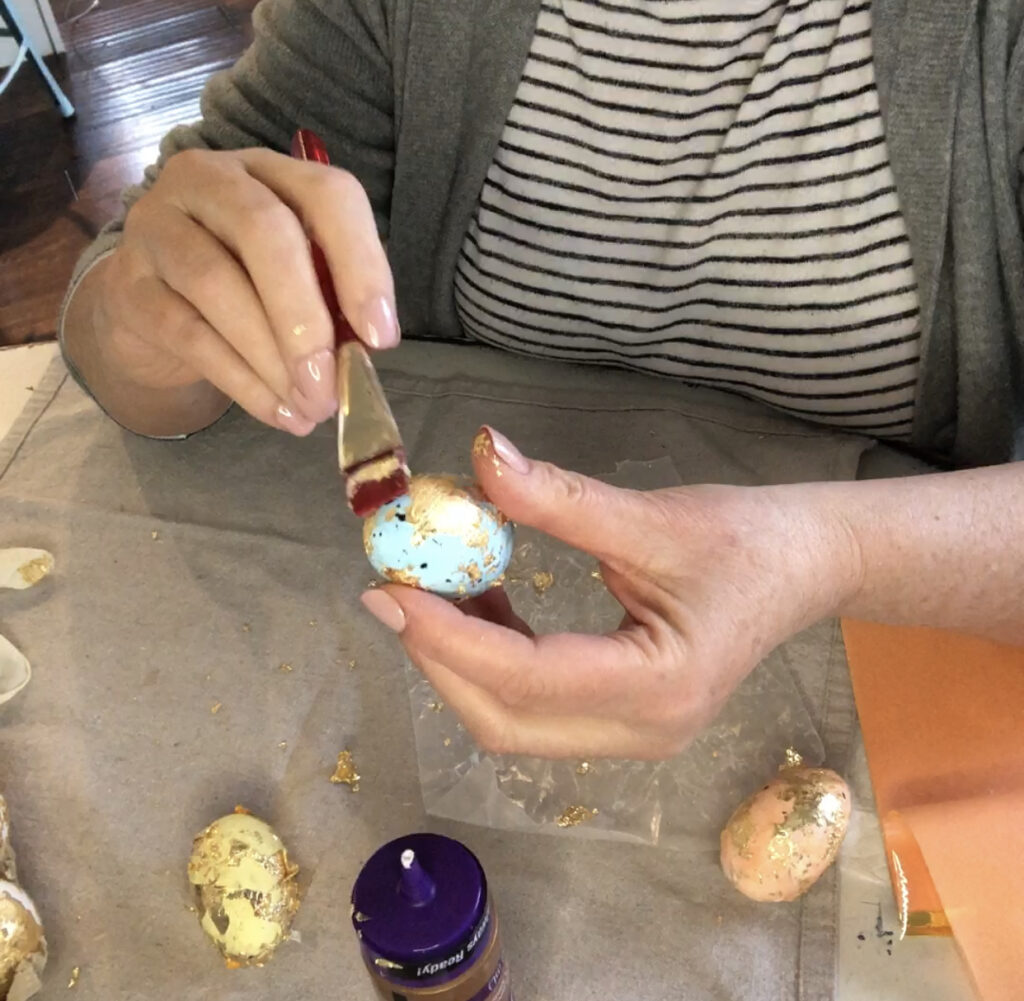
I also added gold leaf to some pastel foam eggs that I found. It worked great on those eggs too!

Gold Leaf Wooden eggs

More Easter Posts

My Easter crafts and recipes Round Up

Shopping Links

Please Share by Pining to Pinterest

How to gold leaf wooden eggs

8 Comments

Stay connected to the Kottage

don't miss a thing
☞  SIGN UP TO receive THE LATEST news and updates from Karins Kottage ☜
You’ve successfully signed up! Check your email for details.
Previous Post: « Easy Savory Puffy Pancake recipe
Next Post: Centerpiece Wednesday Linky party #216 »

Reader Interactions

Comments

  1. Anna Price says

    February 28, 2023 at 5:54 pm

    These turned out beautifully. I love that you used wooden eggs because that allows you to keep your gold leaf eggs and bring them out every year. Thanks for the inspiration and for a great tutorial.

    Reply
  2. Debra Oliver says

    February 27, 2023 at 10:37 am

    These are so gorgeous with an elegant flair. I’m featuring this post on All About Home this evening. Thanks so much for coming by each week and joining in for the fun!

    Reply
  3. Jennifer Wise says

    February 21, 2023 at 8:28 am

    So pretty. I’ve always been curious about working with gold leaf. This makes it look not that hard! 🙂 Visiting from Grammy’s Grid linkup.

    Reply
  4. Marie says

    March 31, 2021 at 7:39 pm

    I love a metallic finish. I’ve always wanted to try to gold leaf. Have a Happy Easter!

    Reply

Trackbacks

  1. Children's Easter table in bright colors - Karins Kottage says:
    March 29, 2022 at 5:02 am

    […] I hid in a few of my gold leaf eggs here and there. I think the kids will love looking at this Easter centerpiece and finding a […]

    Reply
  2. Fall Centerpiece Wednesday Linky Party - Karins Kottage says:
    September 14, 2021 at 9:16 am

    […] have used gold leafing when I made these wooden Easter Eggs but I can’t wait to try this copper leafing […]

    Reply
  3. The Best Last Minute Easter Ideas - Faith and Farmhouse says:
    April 2, 2021 at 1:03 pm

    […] Get out those old eggs and give them a new glam look with this method by Karin’s Kottage! […]

    Reply
  4. Colorful Easter Vintage Tablescape - Karins Kottage says:
    March 31, 2021 at 12:53 pm

    […] the addition of my gold leaf wooden eggs that I made (tutorial is here) this colorful Easter vintage tablescape centerpiece came to […]

    Reply

Leave a Reply Cancel reply

Your email address will not be published. Required fields are marked *

Recipe Rating


This site uses Akismet to reduce spam. Learn how your comment data is processed.

Primary Sidebar

Search This Blog

Welcome to Karin’s Kottage!

Summer porch

Hi I am Karin! Welcome to my Kottage. I share all things about life here at the Kottage. Cooking, DIY, Crafts and Travel! Learn more about me and my Kottage by clicking on the photo.

Shop My House

Shop My House
  • Contact Us
  • Decorating
  • Entertaining
  • Fashion
  • Recipes
  • Travel

Footer

Looking For Something

Let’s Get Social

  • Email
  • Facebook
  • Instagram
  • Pinterest
  • RSS
  • Twitter
  • YouTube

RSS RSS feed

  • Outdoor DIY Decor Ideas + Coastal Crafts You’ll Love
  • Easy Roasted Vegetable Sandwiches on Ciabatta – A Crowd-Pleasing Favorite!
  • Patriotic Red White Blue Decor + Stylish IKEA Hack
  • Easy & Charming Red, White & Blue Tablescape

Copyright © 2025 · Market theme by Restored 316