Karins Kottage

Entertaining * Decorating * Fashion * Travel

  • Contact Us
    • Let’s Collaborate
  • Decorating
    • Tour
      • Coastal Guest Room
      • Dining Room
      • Family Room
      • Front Porch Ideas
      • Kitchen Nook
      • Mud Room Built Ins
      • Shop My Home
    • Crafting
    • DIY
    • Furniture redo
    • Chalk Painting/Painting
    • Organizing
    • Shop My Home
    • Sewing
    • Wall treatments
    • Window treatments
  • Entertaining
    • Baby Showers
    • Birthday Parties
    • Bridal Showers
    • Graduation parties
    • Holidays
      • Christmas
      • Easter
      • 4th of July
      • Halloween
      • Parties
        • Super Bowl Party
        • weddings
      • Thanksgiving
      • Valentines
    • Outdoor Entertaining
    • Tablescapes
  • Fashion
  • Recipes
    • Breads
    • Desserts
    • Main dishes
    • Pasta
    • Recipes
    • Salads
    • Side Dishes
    • Soups
  • Travel
    • Cancun in March
    • Traveling through Italy
    • My Travels to Hong Kong
    • Italy
    • Rogers Gardens- Newport Beach California
Home » It is Punkin making time!

in Crafting· Halloween· Thanksgiving

It is Punkin making time!

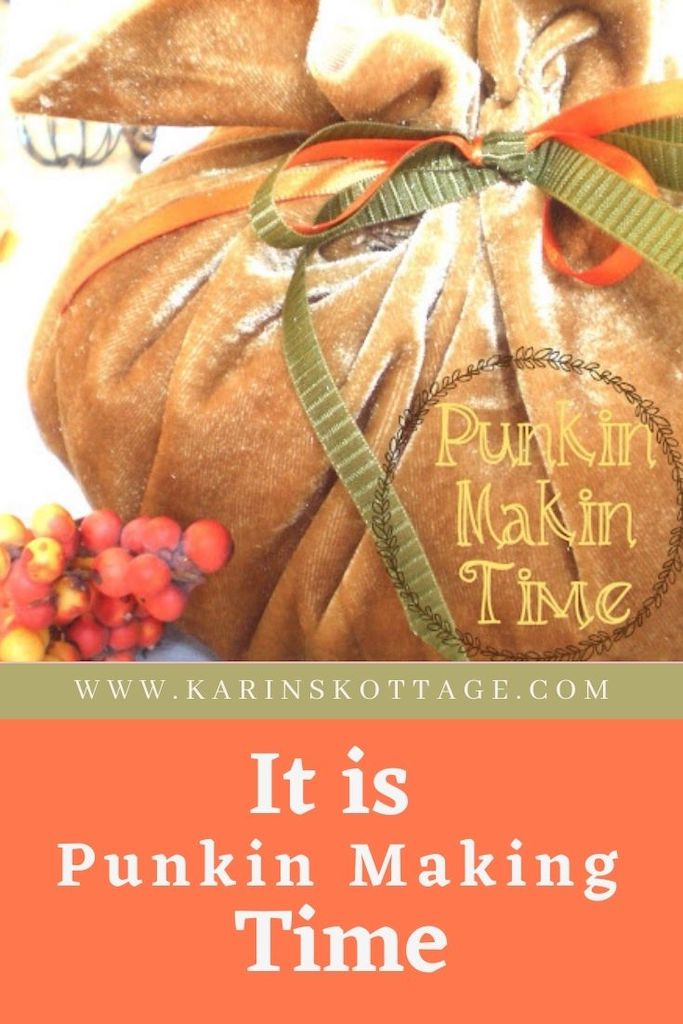
I have seen these little velvet punkins everywhere and decided it is punkin making time!

So I whipped up a few.

Lazy is my name when it comes to crafting so the easier the better and let me tell ya this is the easiest DIY ever!


Velvet Punkin Makin time

I found this gold velvet fabric at a garage sale a year or so ago for like $2.00 or $3.00 so I dug it out of my pile of scraps to make some cute velvet pumpkins.

Today I am sharing 2 different ways to make them and when you look at them at the end you really can’t tell the difference.

Sewing velvet punkins

First I made pumpkins by sewing them.

I took a 10″ square of fabric and ran a long gathering stitch all the way around in a circle.

Depending on the size of the pumpkin you want you could make them bigger or smaller.

Not perfectly sewn by any stretch of the imagination but it works! 

How to make velvet pumpkins

I pulled the threads to gather up all the fabric.

Leave a pretty big opening to fill it up with batting.

Gathering velvet to make velvet pumpkins

After stuffing the opening I scrunched it all up and tied it with some ribbon…done!!

But don’t worry I also have a new sew way to make these little punkins! 


Stuffing the velvet with batting to make a pumpkin
 

No Sew Punkin making time

The second way I made them is the NO SEW way!

Take your square of fabric grab some batting…plop it in the middle and gather up the fabric and cinch it with a rubber band!

Add ribbon or raffia.

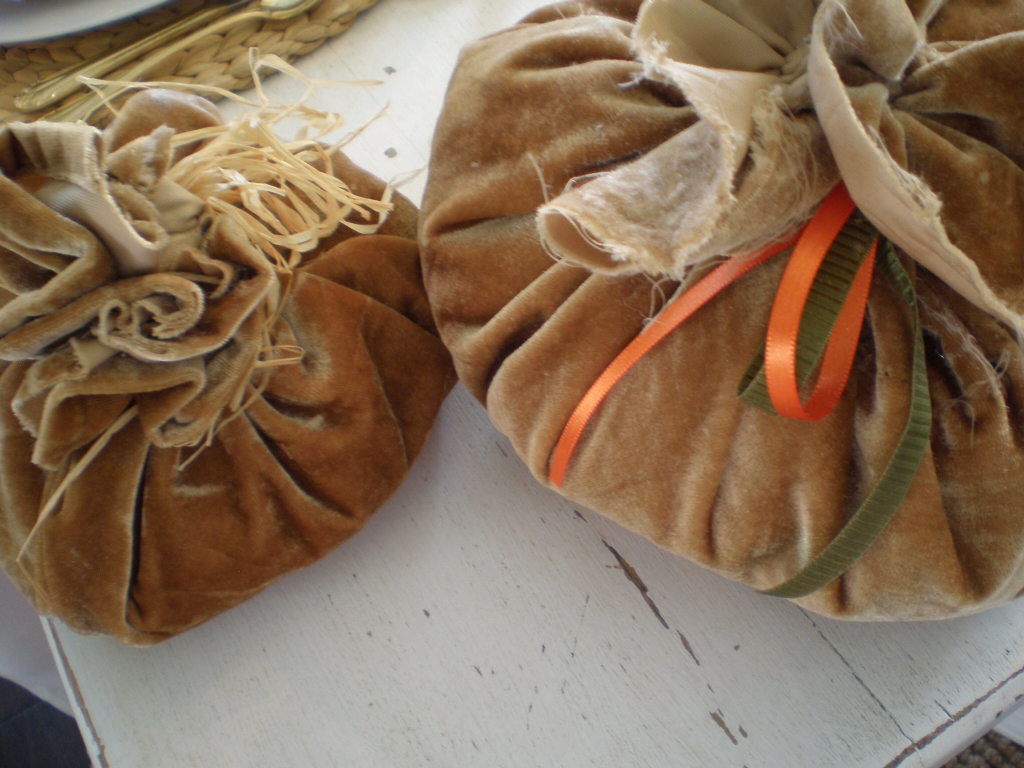
In the photo below the punkin pictured on the left is the no sew and the one on the right is the one I sewed. 

(I used a little bit bigger piece of fabric so it made a larger Punkin).

velvet pumpkin tutorial

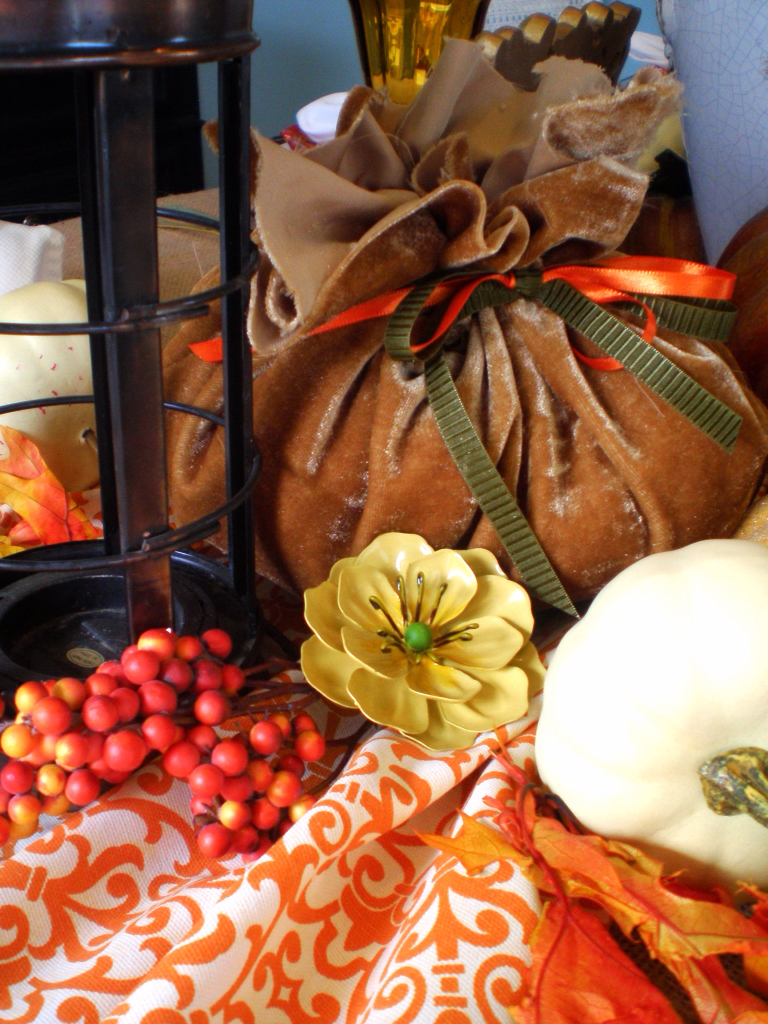
Here is one of the Punkins on my fall table.

I left the edges raw and it looks rustic and fun.


Easy Fall Crafts

If you love fall crafts that are easy to do you will love these! 

Painted buffalo checked pumpkins

Easy yarn wrap pumpkins

Fall hydrangea and pumpkin wreath 

Corn husk Wreath

Easy Halloween paper wreath

Marigold pumpkin

Fall Tablescape

You can see more of my fall tablescape HERE

I have lots of fun unique fall tablescapes you will love.

This one I used old book pages in fun ways,

This fall tablescape I used apples, corn cobs and paper pinwheels for the centerpiece.

Purple and orange make this fall/Thanksgiving tablescape spectacular! 

You may be wondering why this says The Style Sisters. I originally created this tablescape a few years ago on my other blog The Style Sisters.

Shop My Fall Favorites

Pin To Your Fall Craft Board

It is punkin making time

10 Comments

Stay connected to the Kottage

don't miss a thing
☞  SIGN UP TO receive THE LATEST news and updates from Karins Kottage ☜
You’ve successfully signed up! Check your email for details.
Previous Post: « Welcome to Dining Room Tid Bits with Guest Blogger Linsey from The Farm House Porch
Next Post: I love white slipcovers! »

Reader Interactions

Comments

  1. Confessions of a Plate Addict says

    September 21, 2013 at 4:18 pm

    Just wanted to let you know that you were featured on my blog! Thanks so much for sharing at The Scoop!…hugs…Debbie
    http://confessionsofaplateaddict.blogspot.com/2013/09/pumpkins-15-ways-from-scoop.html

    Reply
  2. Nici @ Posed Perfection says

    September 19, 2013 at 3:38 am

    Your punkins are so cute! The velvet look is so pretty! I'd love for you to link this up to our All Things Thursday Blog Hop when you get a chance! Hope to see you there!
    Blessings,
    Nici

    Reply
  3. thepaintedapron.com says

    September 18, 2013 at 11:50 am

    These are the cutest ones I've seen! Seriously, great! I was just thinking yesterday that I wanted to make some for my daughter for her Oct birthday, so I'm so glad to have found your great instructions. Thanks so much,
    Jenna

    Reply
  4. JP says

    September 17, 2013 at 5:48 pm

    I just can't get enough of "punkin's"…thanks for sharing your sweet and easy version!

    Reply
  5. Cynthia says

    September 17, 2013 at 5:16 pm

    I agree with Tammy, the no sew version is my kind of project. I love how these look. The color is fantastic!

    Cynthia

    Reply
  6. Tammy @ A Walk in the Countryside says

    September 17, 2013 at 12:52 pm

    This is my kind of project! No sewing! I love the rubber band idea. I've been pulling out the orange fabric but had forgotten all about the gold remnants that I have! Thanks for sharing! Have a blessed week!

    Reply
  7. Phyllis @Around the House says

    September 17, 2013 at 5:04 am

    I love the tut on the pumpkins and I love the fact that the material is so perfect velvet, wow and the color is just the right color not to orangie, I love the way they turned out…loved the post…come on over and see my house guest goules, would love to know what you think of them…Phyllis

    Reply

Trackbacks

  1. Karins Kottage Linky Party- Fall Ideas - Karins Kottage says:
    August 30, 2022 at 4:14 pm

    […] Remember when I showed how to make a no sew and a simple sew velvet pumpkin here. […]

    Reply
  2. How to make the easiest fabric wrapped pumpkin - Karins Kottage says:
    September 1, 2021 at 12:55 pm

    […] when I made a simple velvet pumpkin two […]

    Reply
  3. 10 tips on creating a unique Thanksgiving tablescape - Karins Kottage says:
    November 9, 2020 at 5:01 pm

    […] Add soft layers. I used some of these DIY little velvet Punkins tutorial HERE […]

    Reply

Leave a Reply Cancel reply

Your email address will not be published. Required fields are marked *

Recipe Rating


This site uses Akismet to reduce spam. Learn how your comment data is processed.

Primary Sidebar

Search This Blog

Welcome to Karin’s Kottage!

Summer porch

Hi I am Karin! Welcome to my Kottage. I share all things about life here at the Kottage. Cooking, DIY, Crafts and Travel! Learn more about me and my Kottage by clicking on the photo.

Shop My House

Shop My House
  • Contact Us
  • Decorating
  • Entertaining
  • Fashion
  • Recipes
  • Travel

Footer

Looking For Something

Let’s Get Social

  • Email
  • Facebook
  • Instagram
  • Pinterest
  • RSS
  • Twitter
  • YouTube

RSS RSS feed

  • Outdoor DIY Decor Ideas + Coastal Crafts You’ll Love
  • Easy Roasted Vegetable Sandwiches on Ciabatta – A Crowd-Pleasing Favorite!
  • Patriotic Red White Blue Decor + Stylish IKEA Hack
  • Easy & Charming Red, White & Blue Tablescape

Copyright © 2025 · Market theme by Restored 316