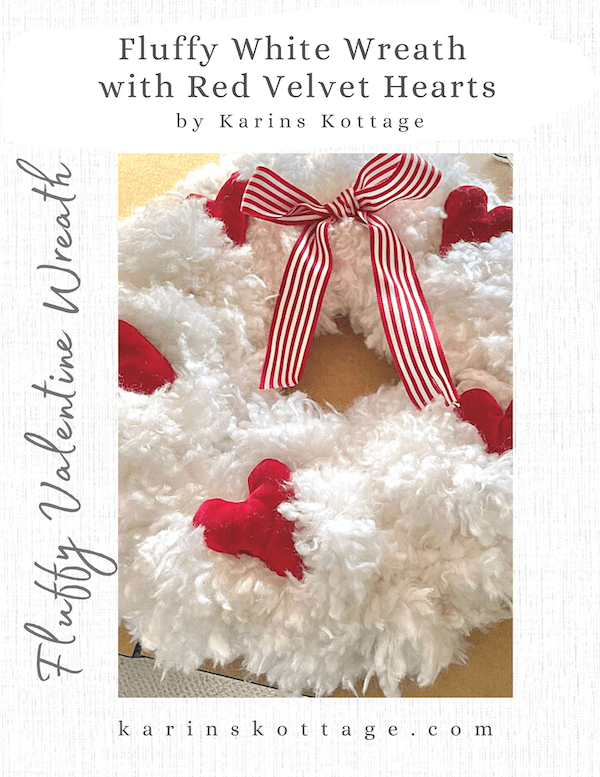
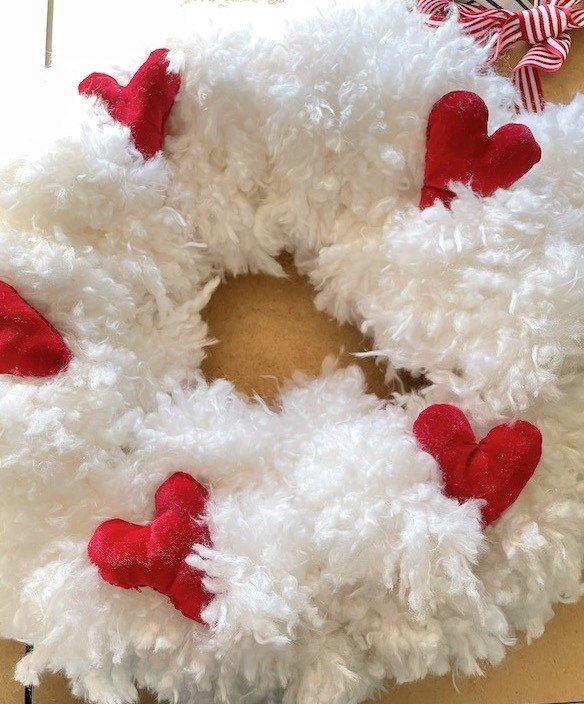
For Valentine’s day this year I wanted to make a new Valentine wreath by recycling my white fluffy wreath. It needed a touch of red. Just by adding red velvet stuffed hearts I created a beautiful new wreath. You may remember my tutorial on how to make a knock off Anthropologie fluffy wreath here. It is really easy to make and I will show some of the tutorial in this post.
To make the red velvet hearts I luckily had some leftover red velvet fabric in my stash of fabric. No pattern was needed I used simple kindergarten skills to make a pattern and my sewing machine to whip up 5 little red hearts.
Supplies to make fluffy white Valentine wreath
There are not many supplies to make this fluffy Valentine wreath. The hardest part of making this wreath is just making lots of the little fluffy bundles.
Not really hard just a little time consuming but you can make them while watching TV.
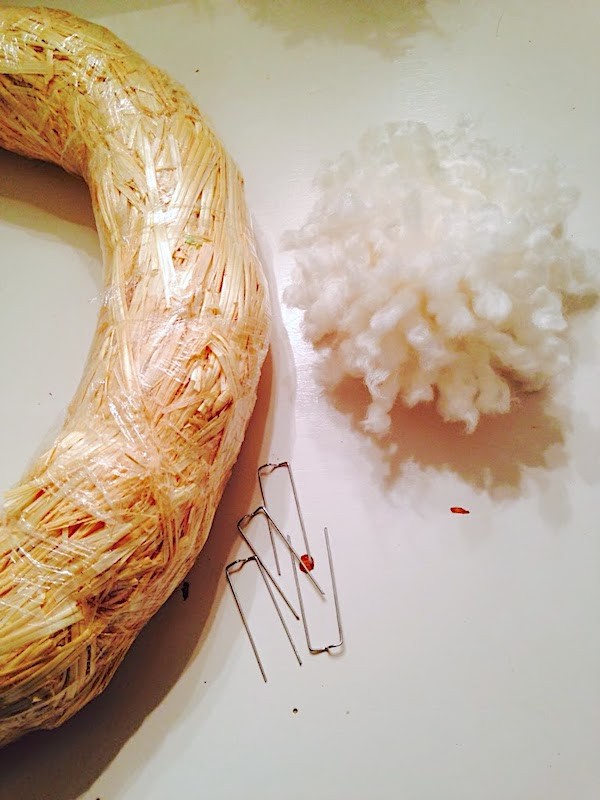
Supplies needed-
- Dollar store straw wreath form
- Floral pins
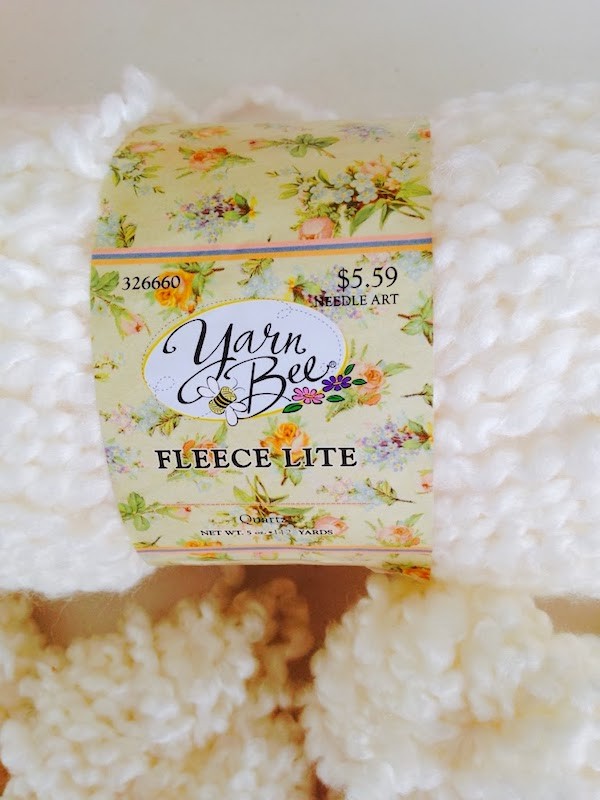
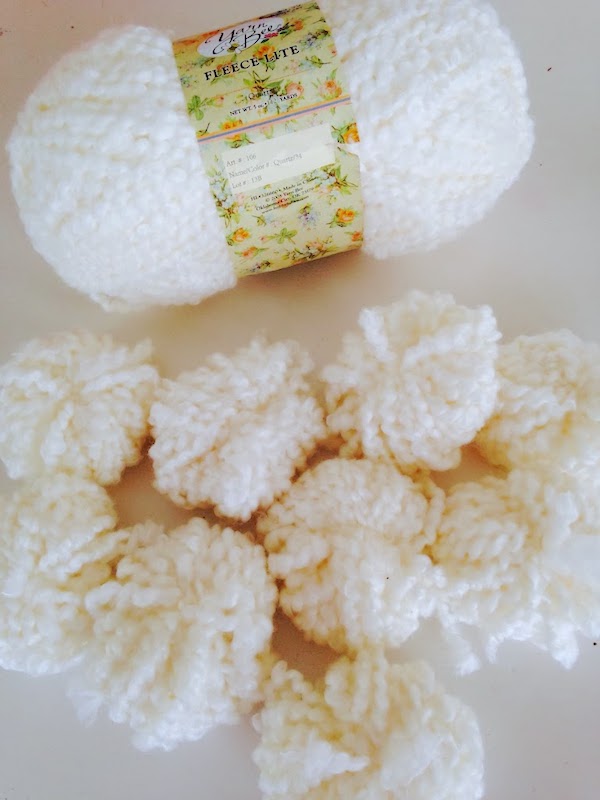
- 3 skeins of Fleece Lite yarn by Yarn Bee in the color quartz from Hobby Lobby
How to make the fluffy white wreath
Wrap the yarn around four fingers about 40 times but it does not need to be exact…36 to 40 times.
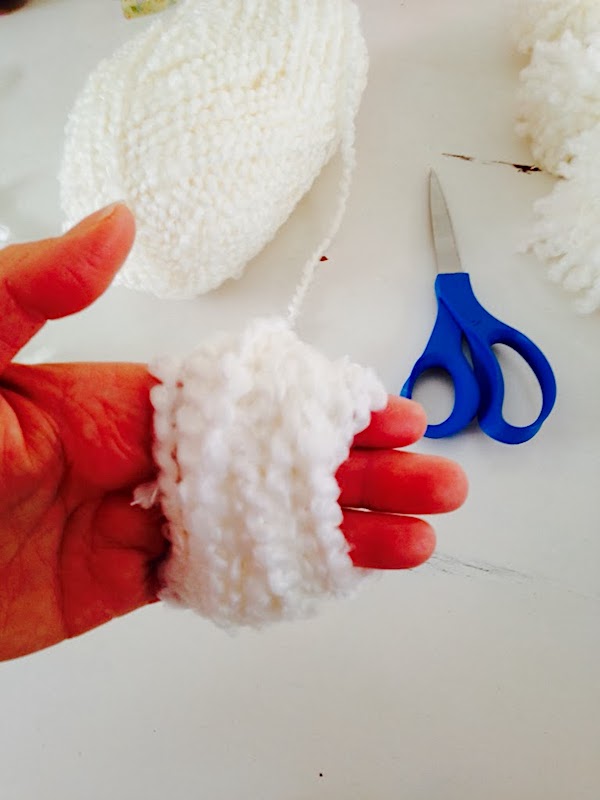
Then slip the yarn off your fingers
Carefully place the bundle on top of a piece of yarn.
Make sure to leave enough yarn out on each side so that you will have enough to tie around and knot it.
Tie the string tightly around the center and knot it.
You will have lots of loops on either side of the tied piece of yarn.
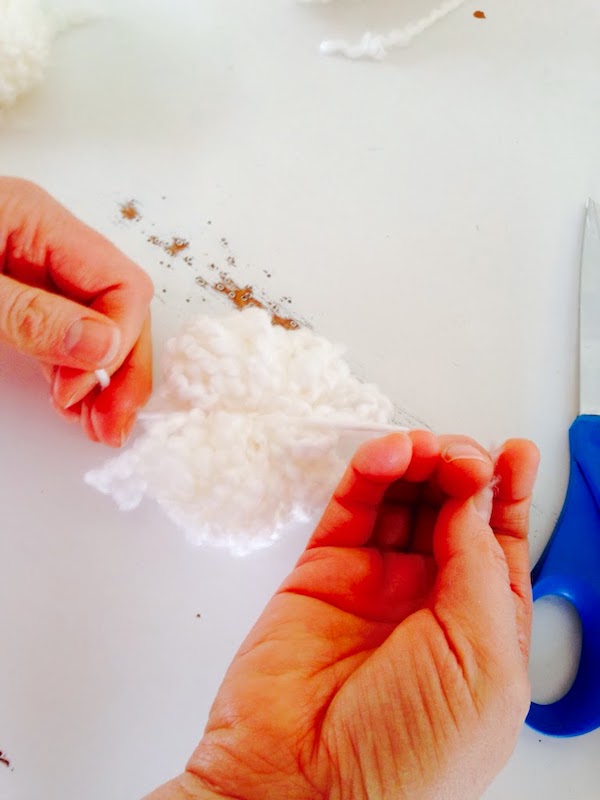
Now cut all the loops.
To make it easier- Slip a finger through one side of the loops and glide the scissors through and cut.
Fluff it out and feel around for any loops you may have missed and cut those.
It takes around 40 bundles to really make this wreath look full and fluffy.
Each skein of yarn gave me around 15 bundles. I am writing this from memory so I could off a little.
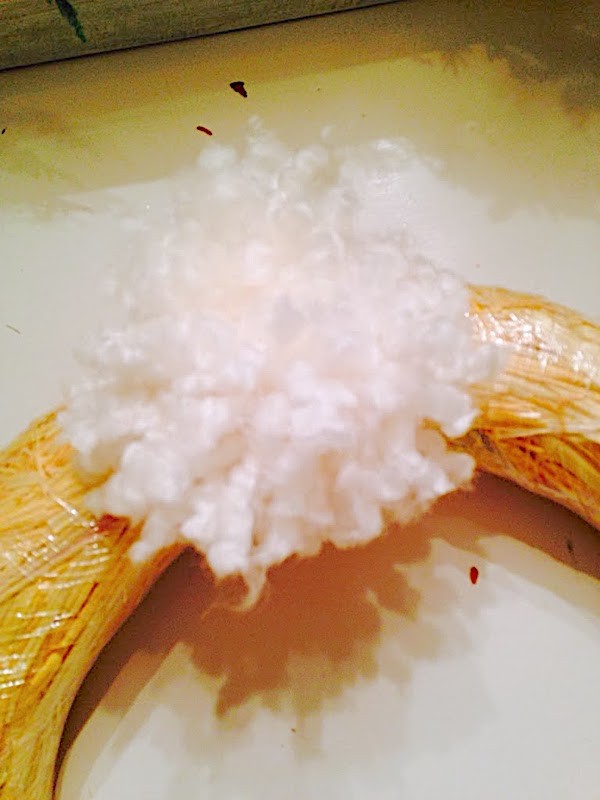
Then start attaching them to the wreath with the floral pins.
I started on one area of the wreath and then filled the inside and then the outside edges until you could not see the straw.
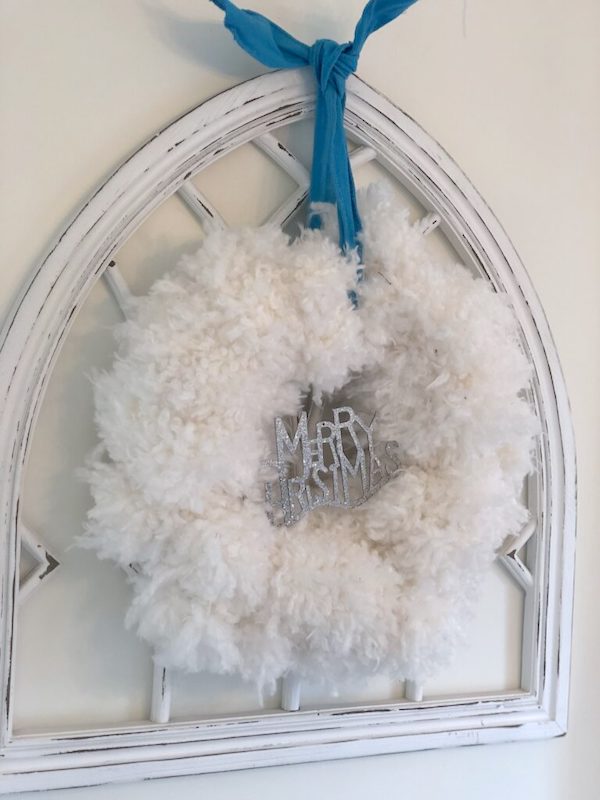
I made this as a Christmas wreath but it can be used year round!
How to sew up mini velvet hearts
Items Needed-
- Red velvet scraps of fabric
- Poly-fil stuffing
- Matching thread
- Needle
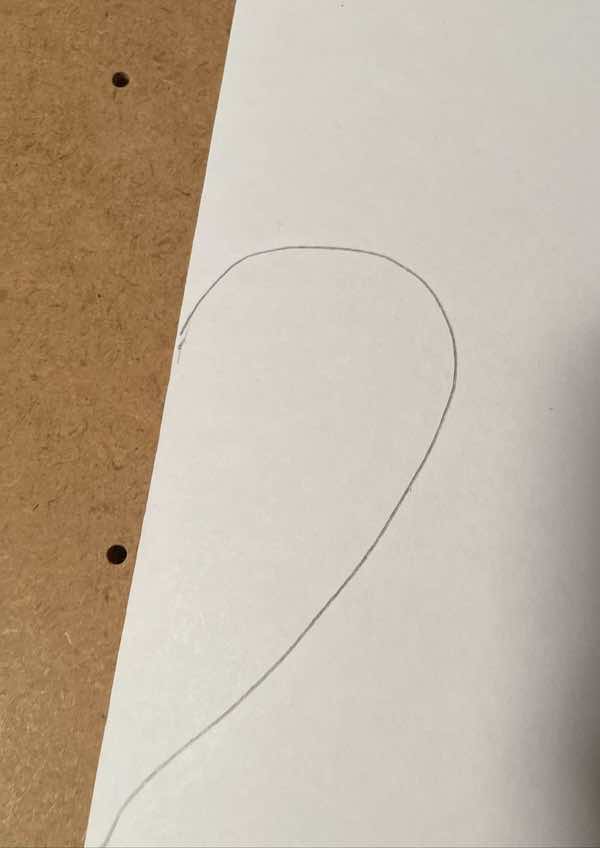
Here is where your kindergarten skills come into play. Using a piece of paper folded in half, I drew a half heart so that when I opened the paper I would have a whole heart. I just played around with size I wanted to use for the wreath. I think they are around 3 1/2″ tall and about the same in width. You can make them whatever size you want for your Valentine wreath.
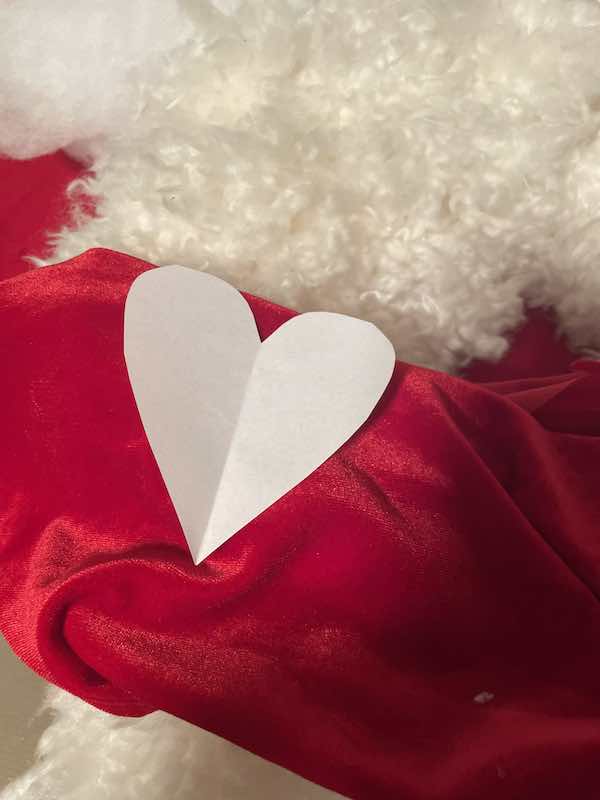
Once you have the size you want place it on the velvet fabric that is folded in half so that you get two pieces for each heart.
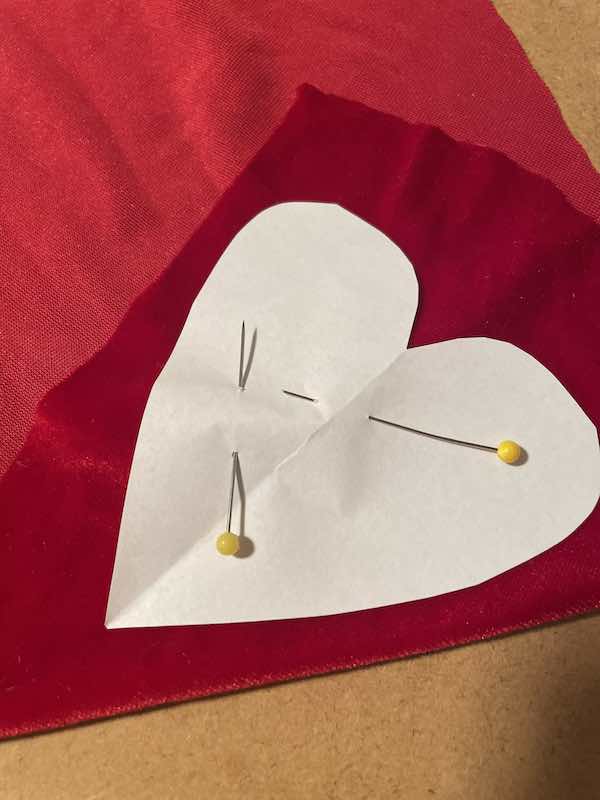
Velvet is slippery so I pinned the paper heart pattern to the underside of the velvet. Not the pretty side. Cut out your hearts.
Sewing your velvet hearts
Now it is time to sew your hearts. You could probably hand sew these or even try hot glueing them together if you don’t have a sewing machine.
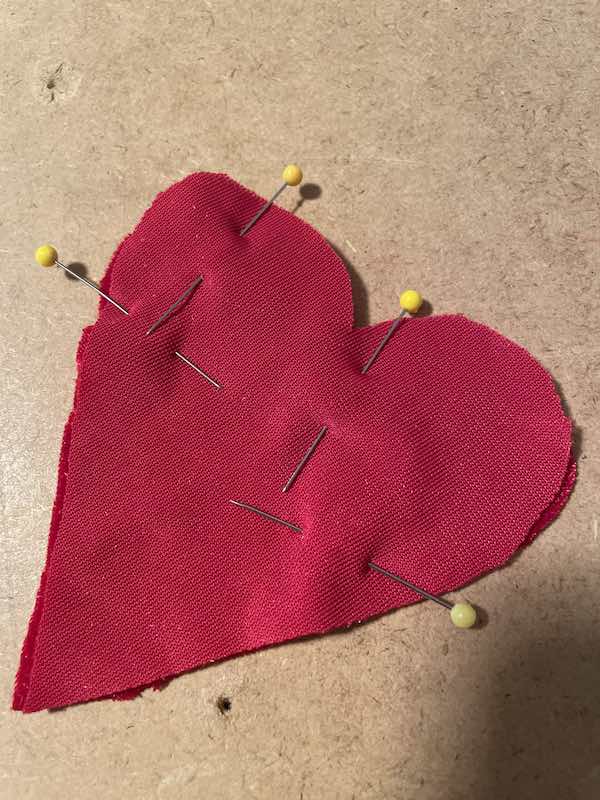
With pretty sides together pin the heart together.
Begin sewing around your velvet heart starting on the right side of the heart and sewing over the top.
Just make sure to leave an opening on the other side of heart to turn the fabric right side out.
Once you are done sewing your heart turn it inside out and begin to stuff with Poly-fil stuffing.
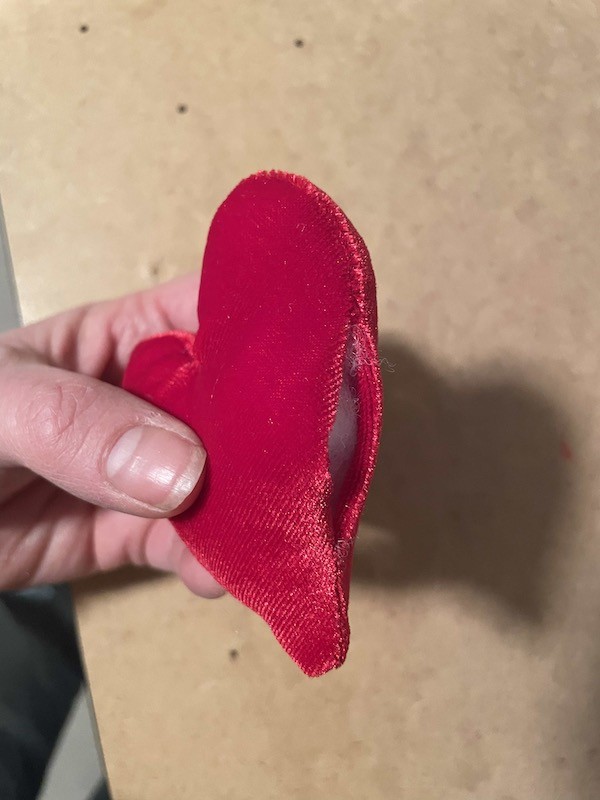
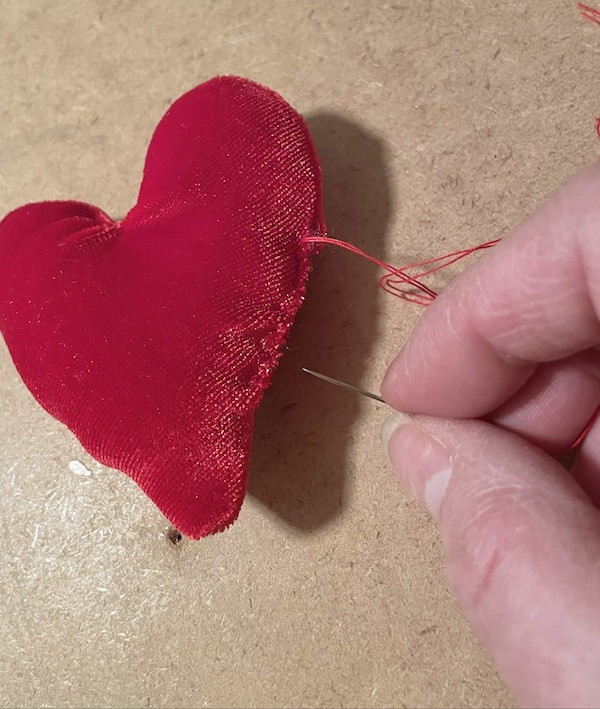
Once the little mini velvet hearts are stuffed, sew up the edge of the heart with a needle and thread.
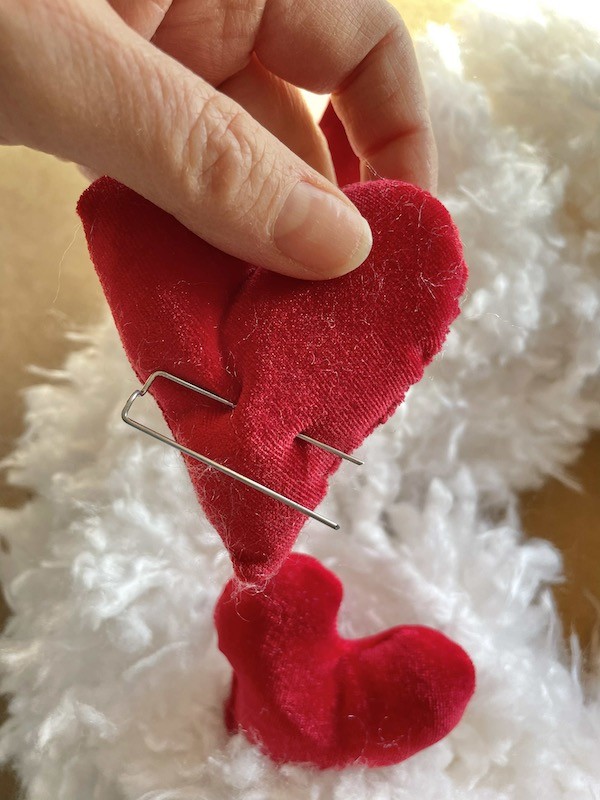
Attaching the velvet hearts to white fluffy wreath
Using one floral pin, poke it in and out of the back of each heart and push into the fluffy white wreath base. You can play with the hearts to get the to look the way you want them to sit in the fluffy yarn.
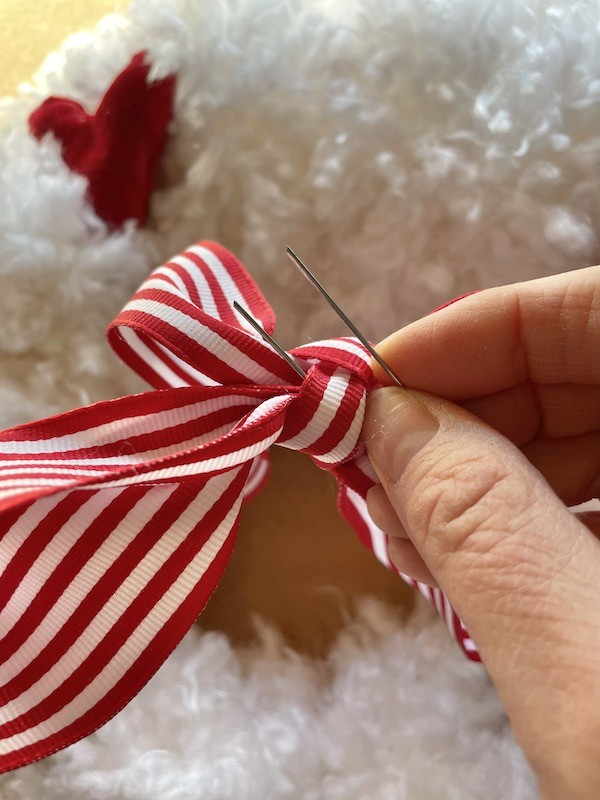
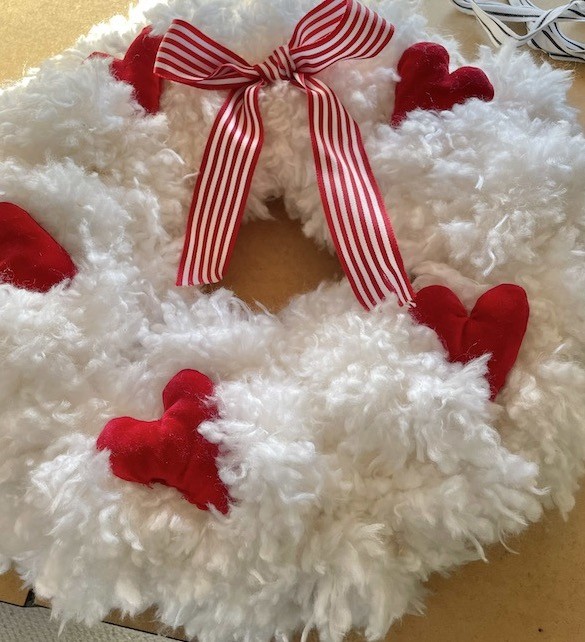
Add some red and white striped ribbon to the wreath. You can either do this by using a floral pin and poking it into the wreath or by tying it around the top of the wreath to hang from a door or mirror.
One of the best things I love about this wreath is that I can change it for any holiday. No need to store a ton of wreaths in the garage. Recycling one wreath multiple times is the way to go.
Don’t you agree?
I haven’t decided where to hang this adorable Valentine white fluffy wreath yet. Maybe my front door or above my fireplace.
Happy Valentine’s day everyone! Hope you enjoyed this craft tutorial.
More Crafts From the Kottage
Here is just a few crafts that you will love! I am all about easy and fun crafts!
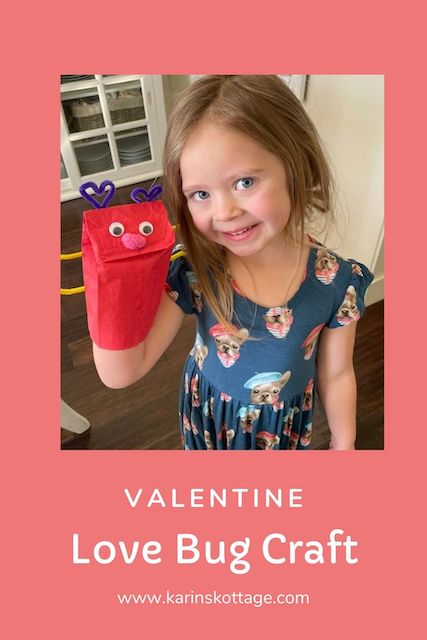
Quick and easy Love bug Craft for kids

Shop Valentine Goodies

That is adorable!!