Karins Kottage

Entertaining * Decorating * Fashion * Travel

  • Contact Us
    • Let’s Collaborate
  • Decorating
    • Tour
      • Coastal Guest Room
      • Dining Room
      • Family Room
      • Front Porch Ideas
      • Kitchen Nook
      • Mud Room Built Ins
      • Shop My Home
    • Crafting
    • DIY
    • Furniture redo
    • Chalk Painting/Painting
    • Organizing
    • Shop My Home
    • Sewing
    • Wall treatments
    • Window treatments
  • Entertaining
    • Baby Showers
    • Birthday Parties
    • Bridal Showers
    • Graduation parties
    • Holidays
      • Christmas
      • Easter
      • 4th of July
      • Halloween
      • Parties
        • Super Bowl Party
        • weddings
      • Thanksgiving
      • Valentines
    • Outdoor Entertaining
    • Tablescapes
  • Fashion
  • Recipes
    • Breads
    • Desserts
    • Main dishes
    • Pasta
    • Recipes
    • Salads
    • Side Dishes
    • Soups
  • Travel
    • Cancun in March
    • Traveling through Italy
    • My Travels to Hong Kong
    • Italy
    • Rogers Gardens- Newport Beach California
Home » A Dining Room Chair Make-Over Tutorial

in Decorating· Furniture redo

A Dining Room Chair Make-Over Tutorial

It has been a year since we moved back to Utah from Texas and it has been a fabulous year filled with many fun changes. We are now closer to our family members and spend lots of time with them!
We changed the look of our interiors and landscaped
the yard in our new home.
Last year before we moved we scoured many thirft shops to find pieces of furniture that might work for us and we came across this table and chair set and knew we had to have it!
Of course it did not look like this to begin with…we had to do a complete Make-over!!
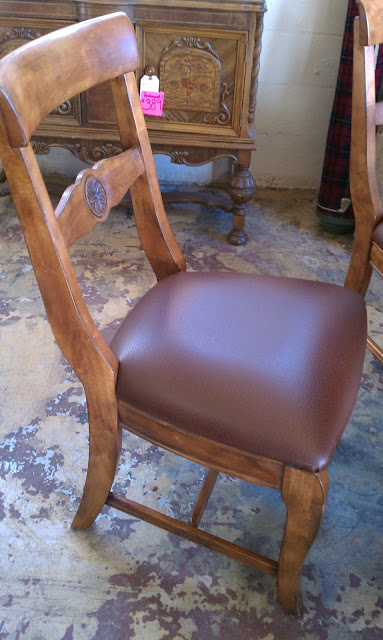
Here is the before…great quality, heavy wood, naaag-a-hide seats…haha that is how I spell it because it needs to be hidden!!
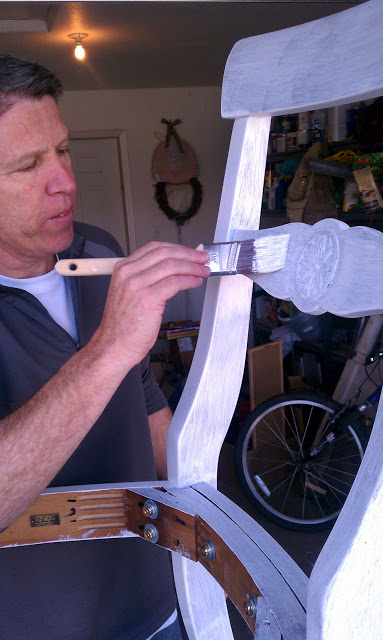
Me no likey plain wood and naag-a-hide! So I had to bring out the big guns! A.K.A. my amazing hubby!
He is so awesome and always helps me with big projects like this!
I see the potential and get the idea and then he does all the hard labor..not too bad huh!!
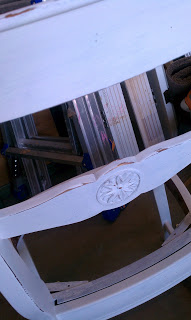
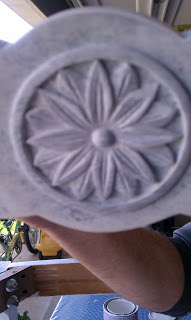
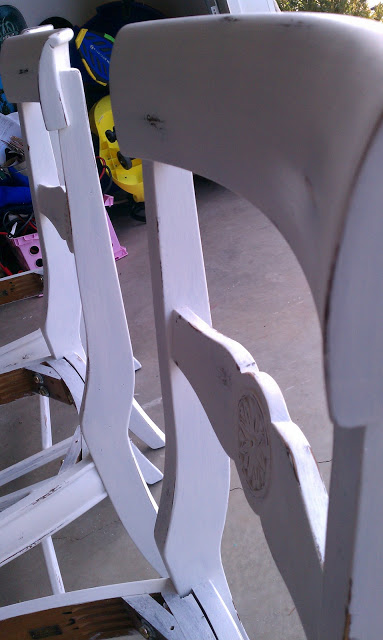
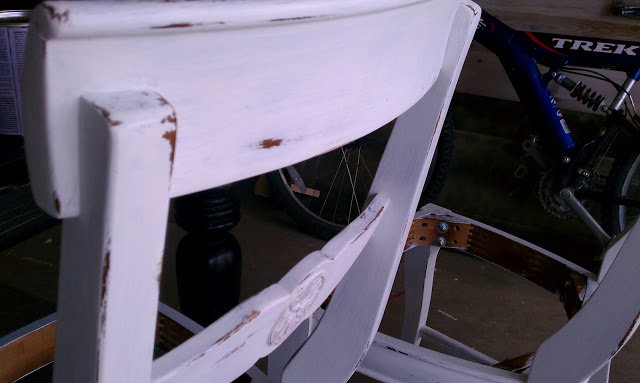
I love the details on these chairs and they just popped when the paint started going on. He lightly sanded each piece and then slapped the paint on…I can’t remember what color we used….we found the paint at Wal-mart. Then once the paint was on and dried we sanded off some of the edges to make it look worn. You can see the wood showing through on the edges.

Then we sanded in random spots on the flat parts of the chairs too. We then painted on a coat of polyurethane, sanded with an electric sander to make it smooth and painted on another coat of polyurethane. It has been a year now and they have held up so nicely!! Dirt and grime just wipe off easily!

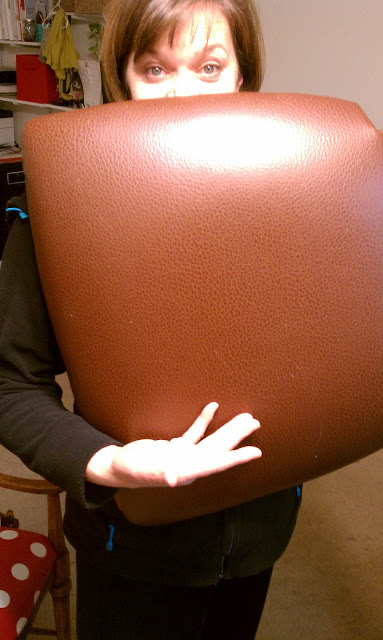
Next came the covering of the Naag-a-hide!! Brown kaka looking stuff! I left it on and just covered it up!

Here I am as Vanna White hahah

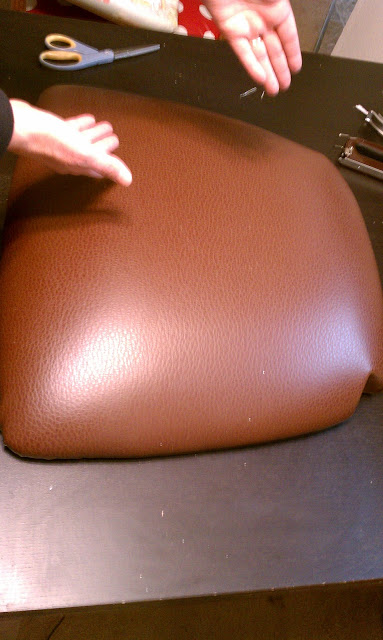
Step 1. Remove the seat from the chairs and save the screws somewhere where you can find them again

Step 2. Make sure your work surface is large enough to handle your chair seat as you will be flipping it around. Oh and cover your worksurface…I scratched my daughters table (oops)

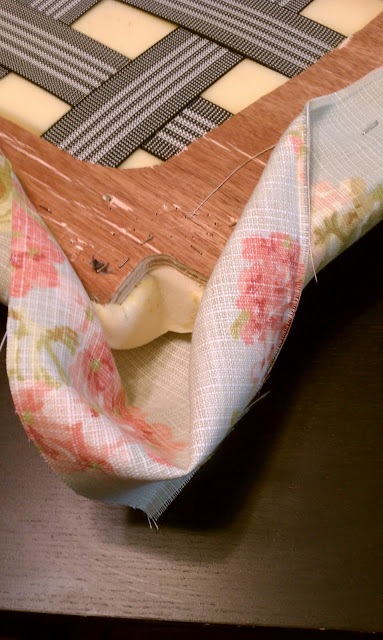
Step 3 lay your fabric on work surface pretty side face down. Place seat on top with with back facing up and bum sitting area down.Step 4 Starting on one side pull fabric in center and staple 2 or 3 staples. Move to opposite side and repeat. Go to the other opposite sides and repeat. Then work your way all around the piece…pulling and stapling all around. (this allows the fabric to stay centered and not pull to one side) Check to make sure the fabric is centered nicely..if not remove staples and fix….or as my grandson would say “fits it grandma”. Leave corners undone for now…I will show you how to do the corners below.

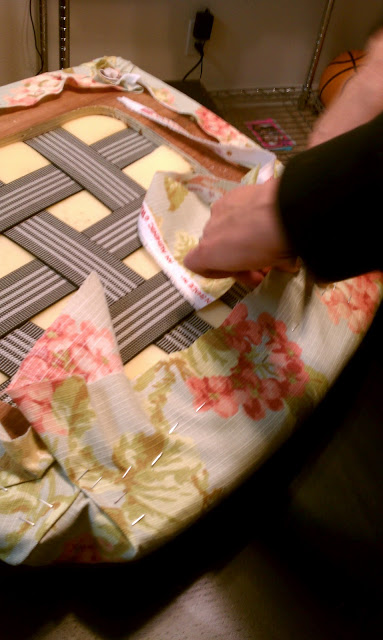
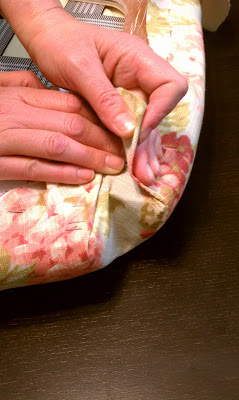
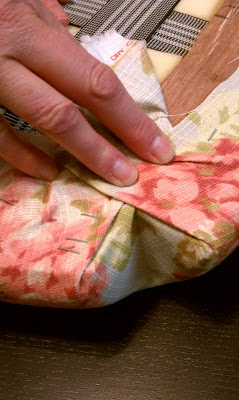
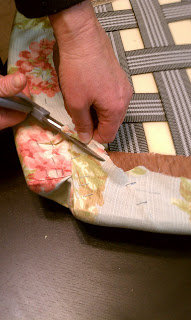
4. Here is the corner area undone…Pull up the center towards the seat…make it nice and smooth…. and then on the two edges fold to make everything nice and smooth.
It may take a little folding here or there to make it lay nice and smooth and then staple, staple staple.
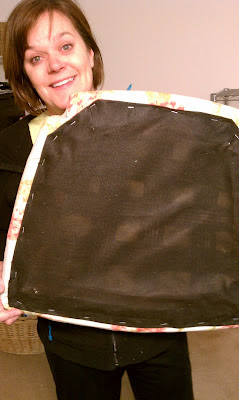
Trim off any excess with your scissors. Oh and for the backing I reused the black stuff that was on the chair and stapled over the edges of the nice fabric for a clean look.
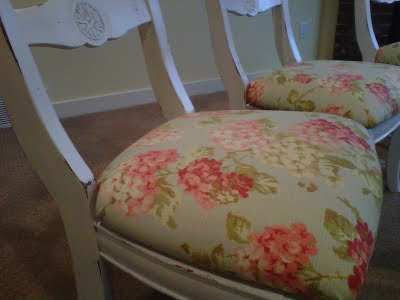
Then flip it over and look at your beautiful new seat cover!!
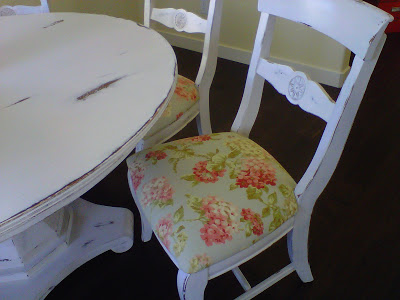
Here is how they look today! I love these chairs so much!! They are so sturdy, they hold up so well to the grandkids, tons of nieces and nephews, in laws, out laws, friends neighbors and the dog! I sprayed a fabric protector over my new fabric and they are holding up perfectly!!
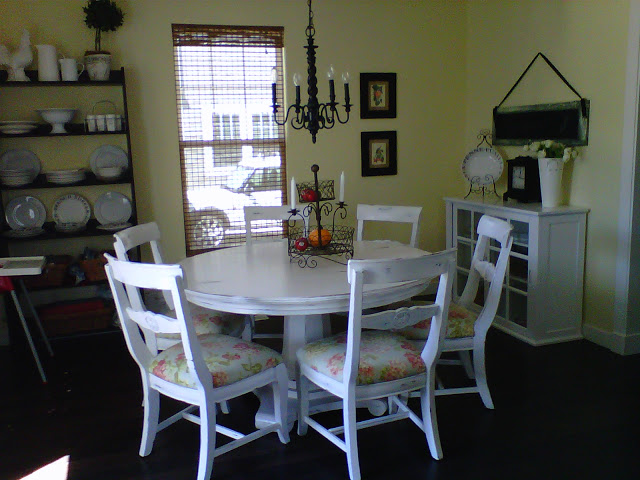
Here is the table and chairs in my kitchen nook today. I love using a round table…eveyone fits around it for meals, games, computer useage and just chatting and hanging out!
Ta Ta For Now! Enjoy your weekend!
I am participating in
Miss Mustard Seed furniture feature Friday
Restored it Wednesday
Betweennapsontheporch
Karin


Posted with BlogsyPosted with Blogsy

7 Comments

Stay connected to the Kottage

don't miss a thing
☞  SIGN UP TO receive THE LATEST news and updates from Karins Kottage ☜
You’ve successfully signed up! Check your email for details.
Previous Post: « 4th of July Red Tricycle Centerpiece!
Next Post: Happy 4th of July Denim Tablescape! »

Reader Interactions

Comments

  1. Kristin says

    April 21, 2020 at 11:55 pm

    This is such a great and gorgeous idea! I’m so inspired!!!

    Reply
    • admin says

      April 22, 2020 at 4:07 am

      Thanks so much! 🙂
      Karin

      Reply
  2. Anita @ Cedar Hill Ranch says

    July 2, 2012 at 8:58 pm

    Great redo on those chairs!!

    Reply
  3. Barefoot in Blue Jeans says

    June 29, 2012 at 4:10 pm

    Your chairs turned out so cute. Your so lucky your husband helps out and it becomes a team effort. How fun. I love how your dinniing room turned out.
    Have a great day.
    Tammy

    Reply

Trackbacks

  1. St. Patrick's day table in copper and green - Karins Kottage says:
    March 10, 2022 at 5:00 am

    […] might remember how this round table began? We bought it at a thrift store about 11 years ago! My hubby painted it and gave it an aged look by […]

    Reply
  2. It is time for another Centerpiece Wednesday Linky Party - Karins Kottage says:
    January 26, 2021 at 5:31 pm

    […] me of this chair makeover. It amazing what a little paint and fabric can […]

    Reply
  3. Turn Thrift Store Chair into French Beauty - Karins Kottage says:
    January 8, 2021 at 12:10 pm

    […] Or my all time favorite thrift store round table and chairs that we redid. […]

    Reply

Leave a Reply Cancel reply

Your email address will not be published. Required fields are marked *

Recipe Rating


This site uses Akismet to reduce spam. Learn how your comment data is processed.

Primary Sidebar

Search This Blog

Welcome to Karin’s Kottage!

Summer porch

Hi I am Karin! Welcome to my Kottage. I share all things about life here at the Kottage. Cooking, DIY, Crafts and Travel! Learn more about me and my Kottage by clicking on the photo.

Shop My House

Shop My House
  • Contact Us
  • Decorating
  • Entertaining
  • Fashion
  • Recipes
  • Travel

Footer

Looking For Something

Let’s Get Social

  • Email
  • Facebook
  • Instagram
  • Pinterest
  • RSS
  • Twitter
  • YouTube

RSS RSS feed

  • Outdoor DIY Decor Ideas + Coastal Crafts You’ll Love
  • Easy Roasted Vegetable Sandwiches on Ciabatta – A Crowd-Pleasing Favorite!
  • Patriotic Red White Blue Decor + Stylish IKEA Hack
  • Easy & Charming Red, White & Blue Tablescape

Copyright © 2025 · Market theme by Restored 316