Just a simple little chair seat recover…I thought I would share with you.
It doesn’t get any easier than this!
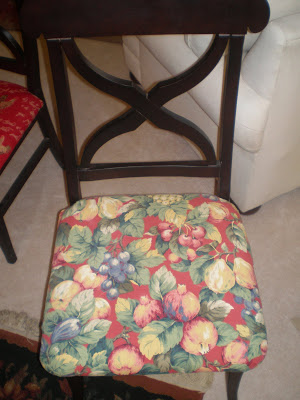
This is the after photo with the Tuscan French fabric now on the seat. This is the before….I have used this fabric for years and decided it was time for a change.
 This is the before….I have used this fabric for years and decided it was time for a change.
 Items you will need:
Staple gun,
Staples,
Screw driver or electric drill,
Fabric large enough to cover each seat.
I simply flipped the chair over…unscrewed any screws that were holding the seat to the chair (there were only 6 on these chairs)
 Then I laid the seat face down on top of the new fabric and cut the fabric large enough to cover the chair plus some extra. (Oh and make sure you have the fabric going the correct way or the way you want it to look before you start to staple it on) yeah…speaking from experience of doing it wrong and having to pull out the staples 🙂
 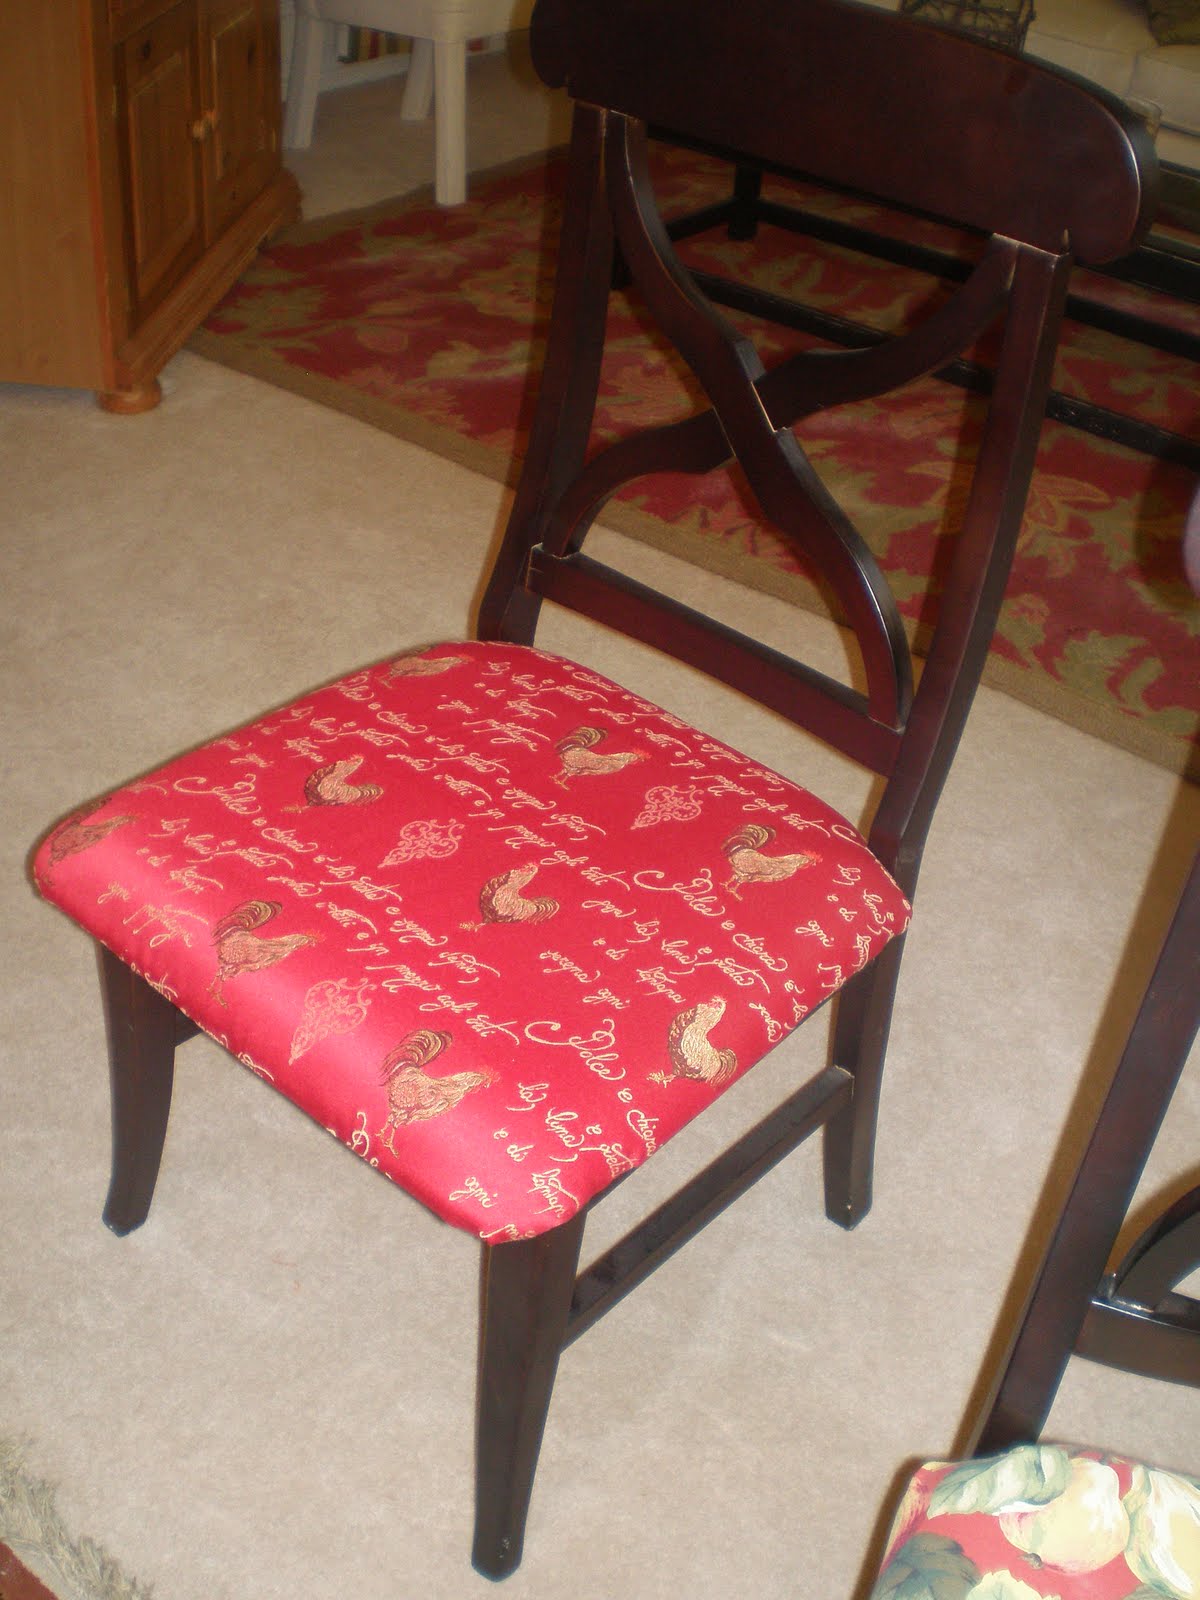 Stapling: Start on one side by pulling the fabric up and onto the bottom of chair about 2- 3 inches. Make sure you pull it up enough that the raw edges won’t hang out underneath the chair once the seat is put back on the chair …..Staple about 3 staples an inch or two apart. Then…… go directly across to the other side and do the same thing (this helps to keep the fabric straight and taut.
Now…. Go back to the first side you started on and continue to pull and staple until the one side is finished. Now go back and finish the other side that you started. You should have 2 sides done that face each other. Yeah!
Now go and do the same thing on the other 2 sides.
When you come to funky edges or round corners just take it slow….pull it up and make little pleats so the fabric will lie down smoothly. Use staples to hold the pleats down.
Your seat is now covered….trim away any excess fabric so it won’t hang down once the seat is is back on the chair.
Attach seat to the chair with the screws and voila!! You have a new chair!
Hopefully this all makes sense…the best part is…if you make a mistake all you have to do is pull out the staples and realign the fabric and staple it back in place.
Hope you are inspired to try this in your own home.
It is fun and fast!
adorable chair
Great job!!! Beautiful fabrics, I loved the red with chikens.Very,Very beautiful!Hugs, Fatima-Scrapart.
I love your new fabric…VERY nice! Thanks for the tutorial…one day I'll try that on my kitchen chairs. Have a wonderful Wednesday! Maura 🙂
Love the new fabrics. My husband replaced our chair covers years ago, and I was surprised at how easy it was. We no longer have those chairs though. Now our dining room chairs are rush seats. 🙂
Love your new red chair covers. When I replaced mine my sister and her daughter came and it was HARD work! Those staples were stubborn! Yours look beautiful! JOni
I just love them…because I love red and I love chickens! Great job, a simple but involving project. Come say hi 😀