I love to serve rolls in a fun ways especially at Easter. This particular way of baking rolls in terra cotta pots is just too adorable!

Prepare the mini terra cotta pots
First you need to “prepare” the little unglazed pots. If they have been glazed on the inside no need to worry about prepping them.
Basically you wash the terra cotta pots in hot, soapy water. Dry them completely with a towel and let them sit and dry out completely.

Once dry, heavily grease the inside and outside of the terra cotta pots with crisco and set them on a baking sheet.
Bake the pots in a 300 degrees oven for 30 minutes.
This process makes of seasoning the terra cotta, seals the pot and allows for the dough to slide out easier.

Prepare the rolls
After your pots have been prepared…and cooled..you are ready to start baking. Here is my secret way to make the rolls….
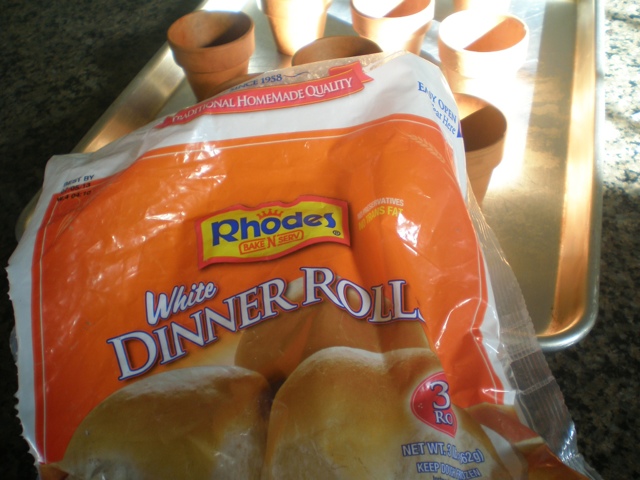
Use Rhodes frozen dinner rolls!
Follow directions on package for thawing the dough.
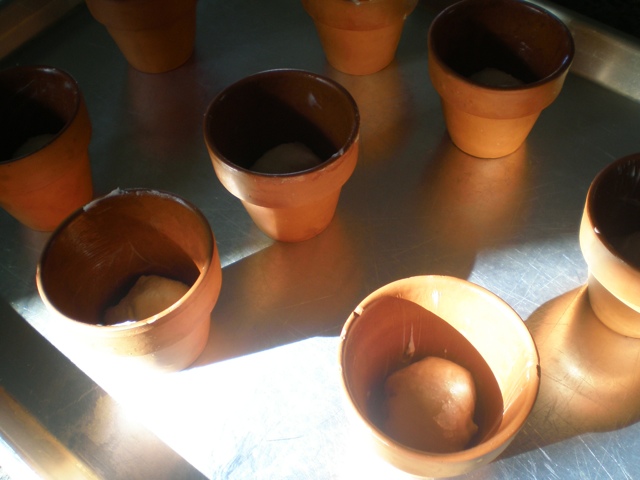
Grease your pots or use spray and cover the bottom of the pots with parchment paper so the bread dough won’t pop out of the little hole.

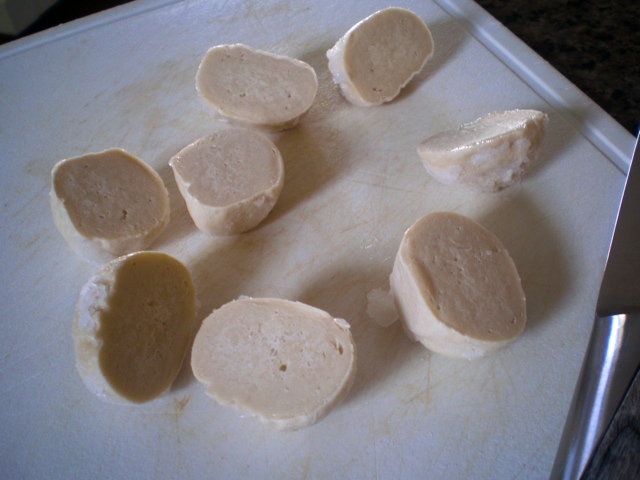
Depending on the size of your terra cotta pots you can leave the rolls the size they are or cut the rolls in half. Place them into the pots, cover them with a dish towel and let them rise.

I cut each roll in half but think I would have liked them better if I had used a whole roll in my little pots so they could have puffed up over the top of the pot..

Bake your rolls in the pots
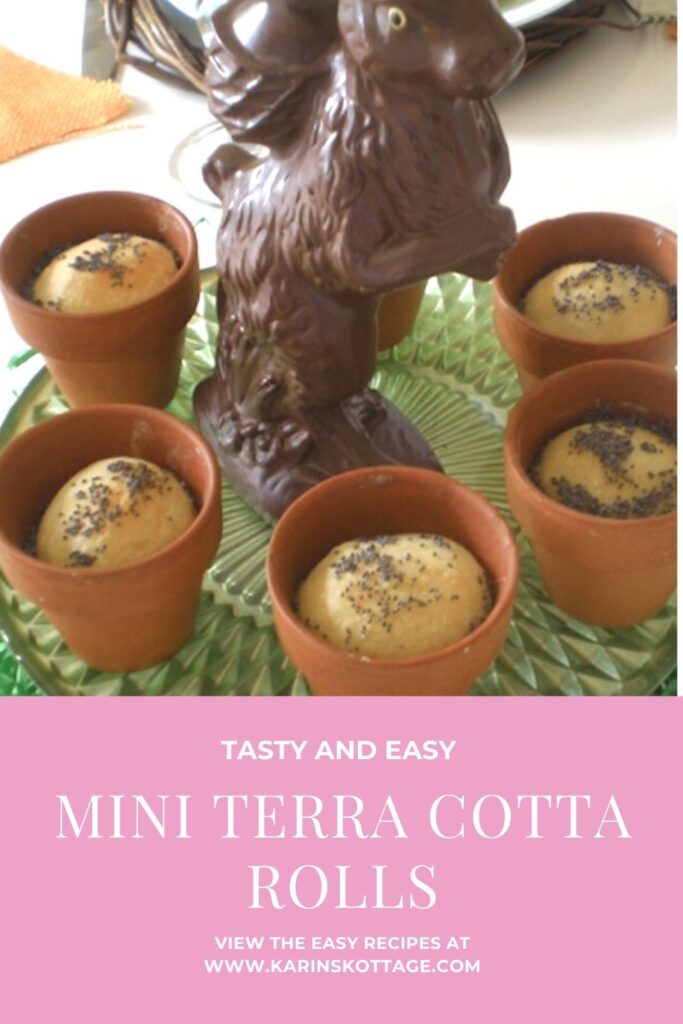
You could top your rolls with sesame seeds or poppy seeds. I used poppy seeds and I brushed the tops with a little melted butter before I baked them.
Bake them at 400 for 15-20 minutes until they are golden on top.

Other ideas for baking in terra cotta pots
You could top them with some fresh herbs, or maybe roll the dough balls in melted butter and lemon or orange zest for a springy flavor.
These pots would also be great for baking cupcakes, brownies really any time of baked item you would normally use a metal pan for you can bake in the terra cotta pot.
Baking Tip- Because terra cotta holds in the heat it continues to “bake” even after you take them out of the oven. So take the rolls out just a minute or two early to avoid over baking.
Serving your rolls
They are just super cute! They look so cute on my green cake stand with a faux chocolate bunny. It reminds me of Peter Rabbit in Mr. McGregor’s garden.
Whatever you decide to do they will turn out “adorbs” that’s the new abbreviation for adorable…as I am told by my niece.
You can see my entire Easter tablescape here


Thsnks for sharing this…I’m going to try this for an extra special addtion to my Easter ttable. Hopping over from Whimsy Home Wednesday No 70. A timeless post!
This is just adorable! Thanks for the tutorial!
What a great idea!
These are so cute, good idea! Laura
Love this idea….good job!
I always liked the idea of cooking in terra cotta pots. What a great idea and fun too. I'm sure your rolls tasted delicious. LOve the big chocolate bunny with the little pots around it.
Happy St. Patrick's Day.
~Emily
The French Hutch
I've baked a sweet bread in a larger clay pot, but I really love the idea of rolls in the smaller pots! 🙂
love the idea!!
cute idea!
What a darling idea for spring! Thanks for adding it to Foodie Friday.