There’s something truly magical about sewing special holiday dresses for my granddaughters, and this year, I had the delight of making two stunning red satin Christmas dresses. Fabric Wholesale Direct generously gifted me the beautiful red satin fabric, gold-handled scissors, and thread, making this project all the more meaningful. Their premium fabrics, available by the yard at wholesale prices, added a touch of elegance to my work.

Choosing the Pattern and Fabric
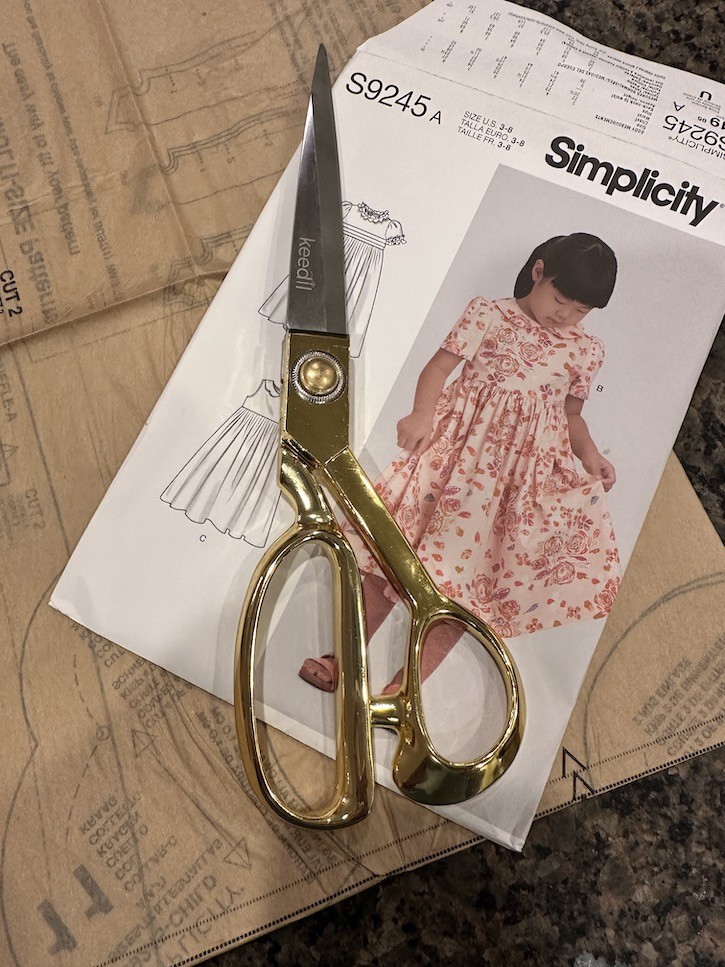
For these red satin Christmas dresses, I used the Simplicity pattern S9245. This classic sewing pattern, featuring a Peter Pan collar, puff sleeves, and a gathered skirt, was perfect for a festive, timeless look. The red satin fabric draped beautifully and gave the dresses an elegant sheen, ideal for holiday celebrations.
Tips for Sewing with Satin
Sewing with satin can be a bit tricky, so I’m sharing some tips to help you achieve beautiful results:
- Use High-Quality Pins: Satin is slippery, so use good-quality pins to hold the fabric securely.
- Start with a New Needle: Satin can snag easily, so be sure to use a brand-new needle. For lightweight satin, a 60/8 or 70/10 needle works best. For heavier satin, an 80/12 needle is more suitable.
- Adjust Stitch Length and Tension: Keep your stitches small and your tension smooth to avoid puckering.
Getting Started
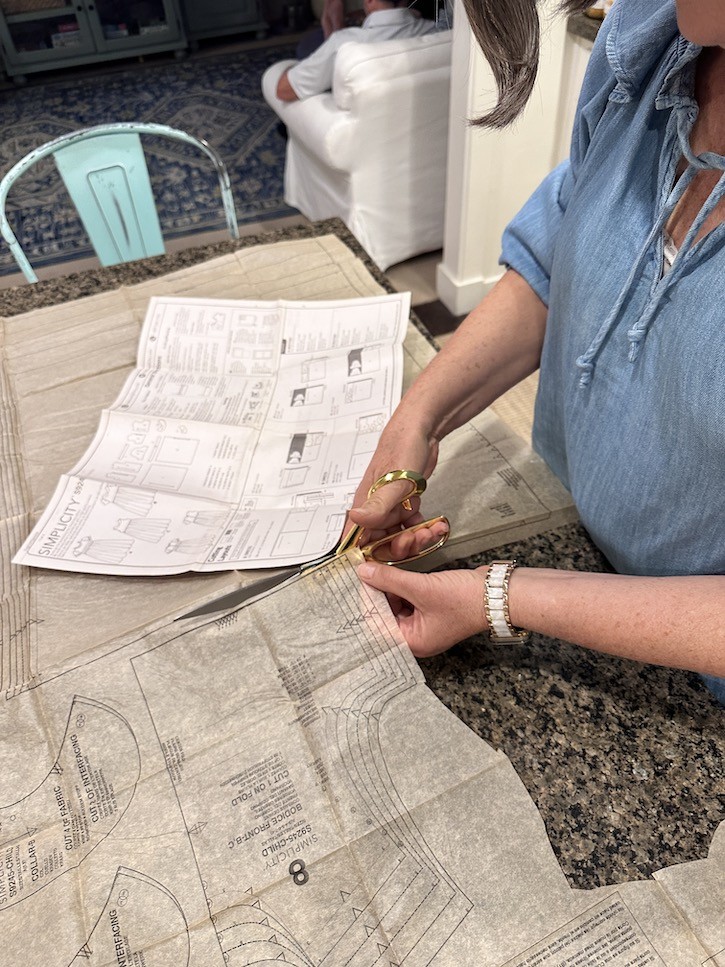
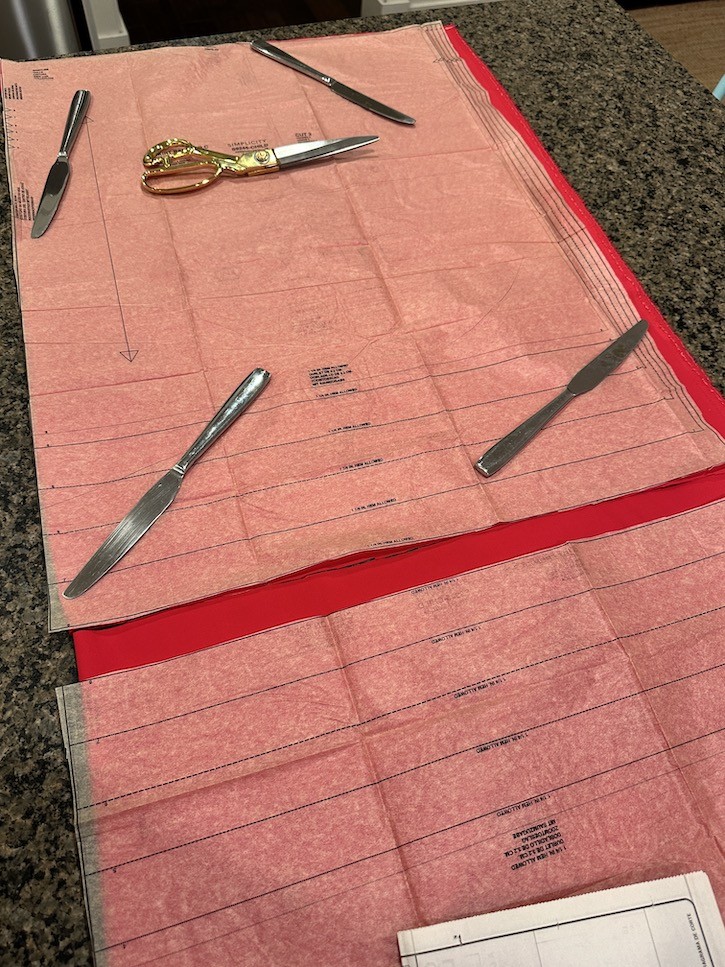
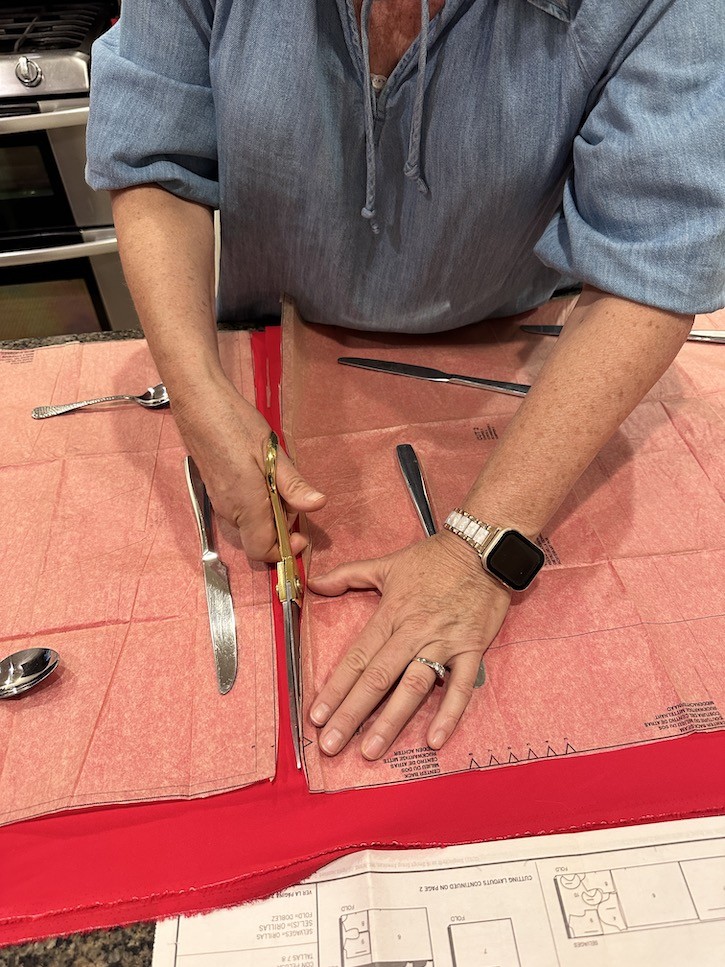
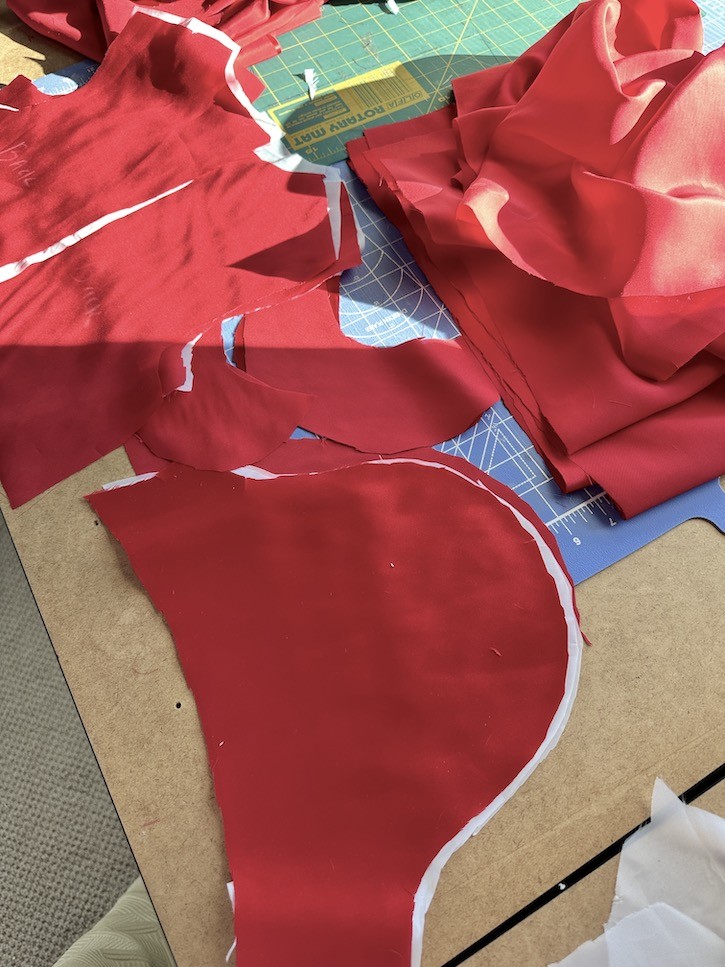
The first step in any sewing project is preparation. I always start by reading through all the directions to become familiar with the process. Next, I cut out each pattern piece. I decided not to use pins to hold the pattern pieces to fabric and laid knives on patterns to hold it down.
Having sharp scissors, like the gold-handled pair from Fabric Wholesale Direct, is essential for precise cutting of both the delicate pattern paper and the silky satin fabric.
Lining for Structure
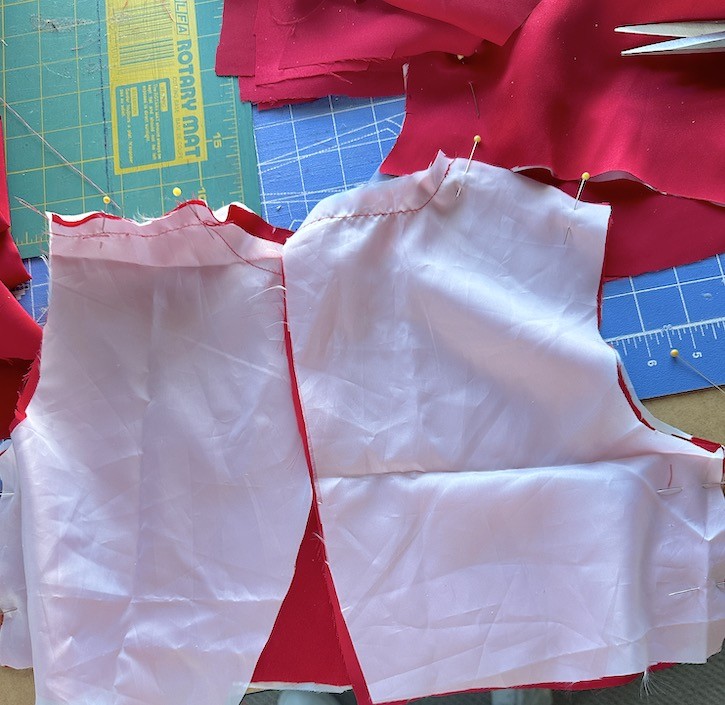
As I cut the fabric, I realized that the bodice and sleeves would need lining to add structure and prevent transparency. I decided not to line the skirt since the gathered design provided ample fullness.
Sewing the Bodice On the Red Satin Dresses
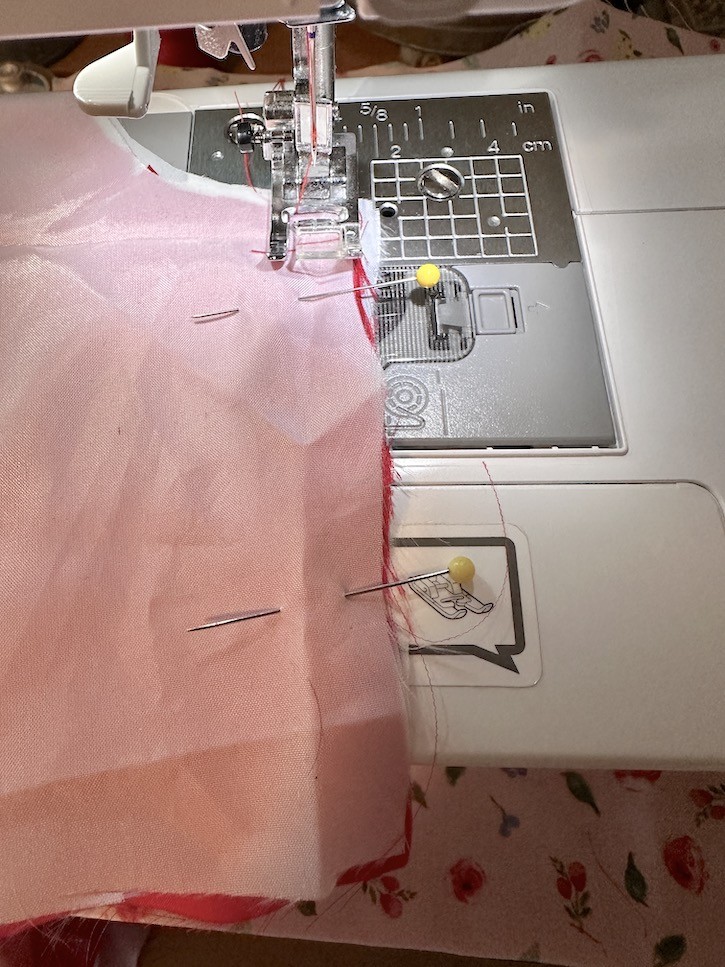
To add the lining, I laid it on top of each bodice piece and treated them as one. I then sewed the shoulder seams and side seams, leaving the back open for the zipper. One dress I used white lining and on the other I used red lining.
Constructing the Sleeves
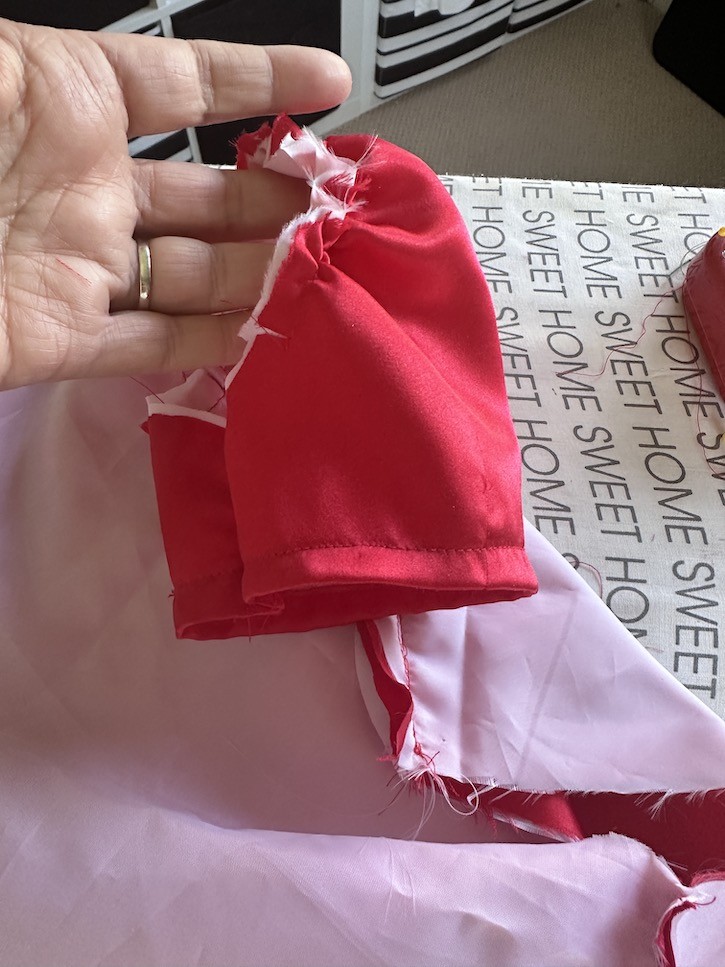
For the sleeves, I gathered the top edges using a long stitch and pulled the threads to create the desired puff. After hemming the sleeves and sewing the seams, they were ready to be attached to the bodice.
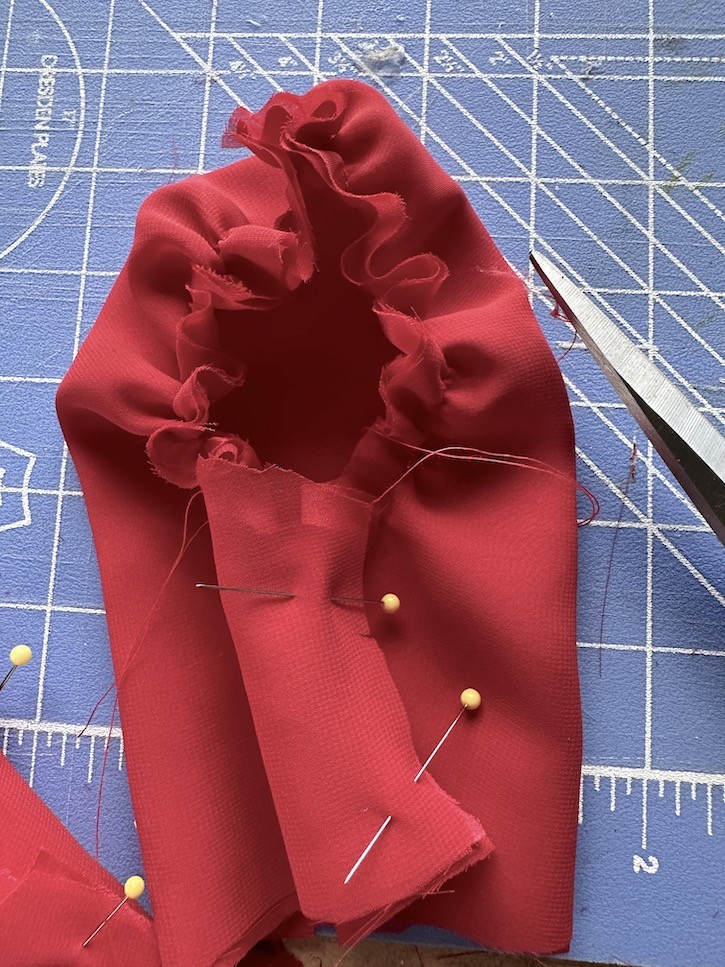
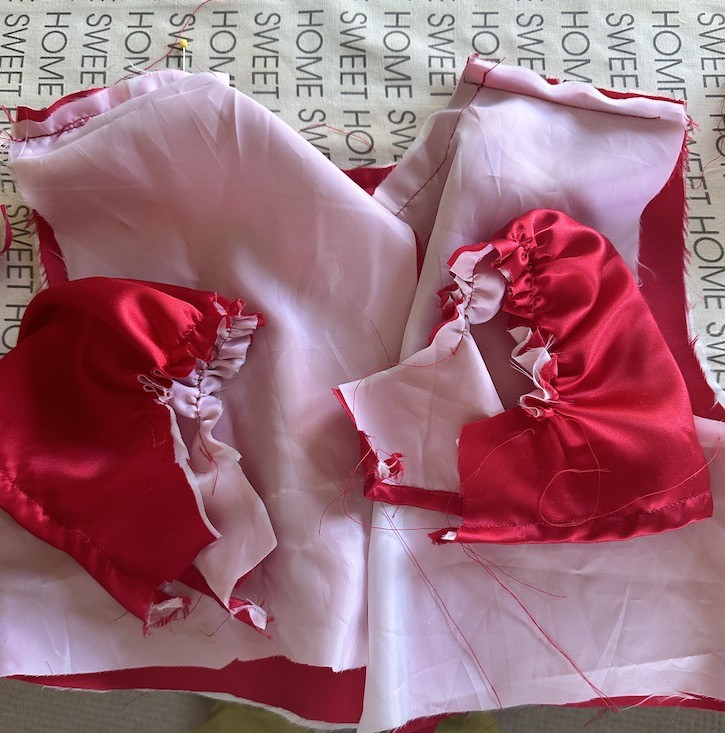
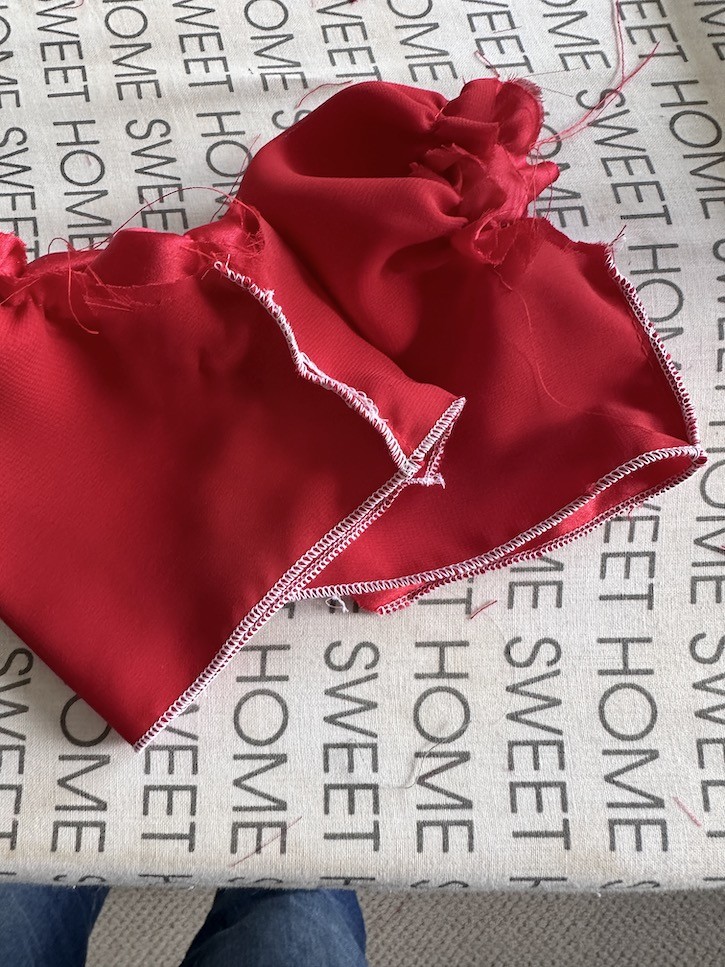
I made a springy dress years ago for my oldest granddaughter who is now 15 1/2! You can see it here.
Attaching the Skirt
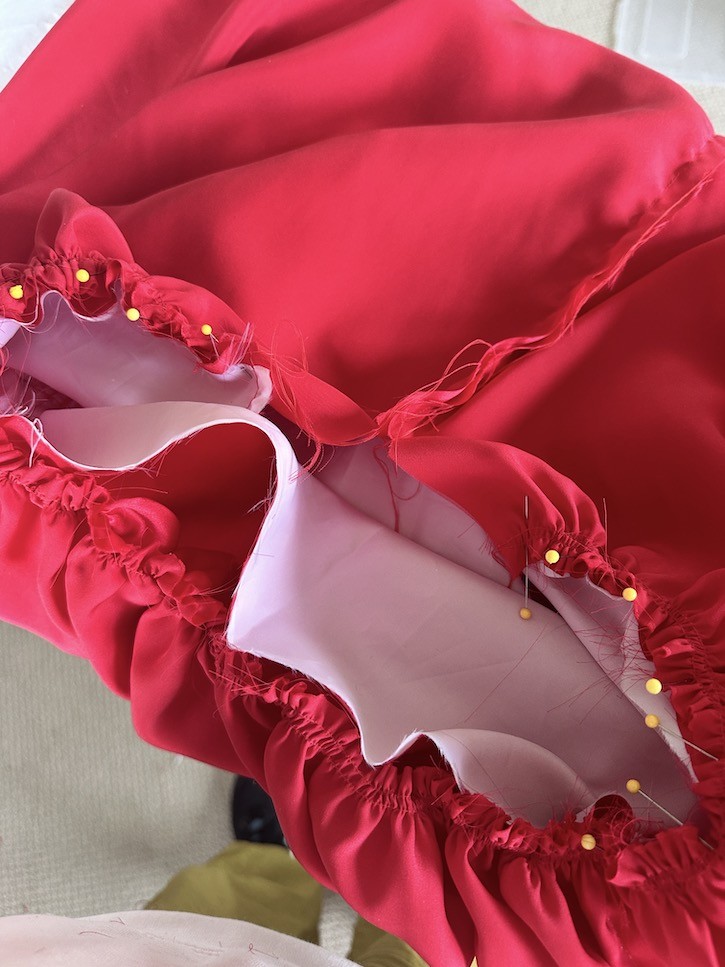
The skirt pieces came together easily by sewing the side seams. To gather the top edge, I used a long stitch and gently pulled the threads to form gathers.
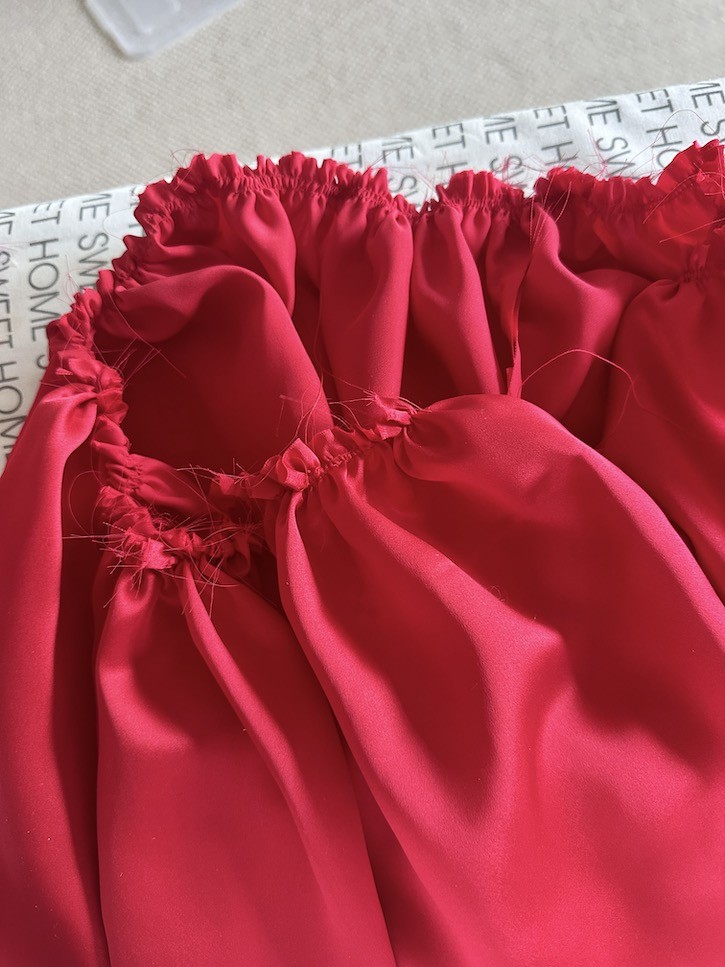
I pinned the gathered skirt to the bodice and sewed them together to complete the main structure.
Inserting the Zipper
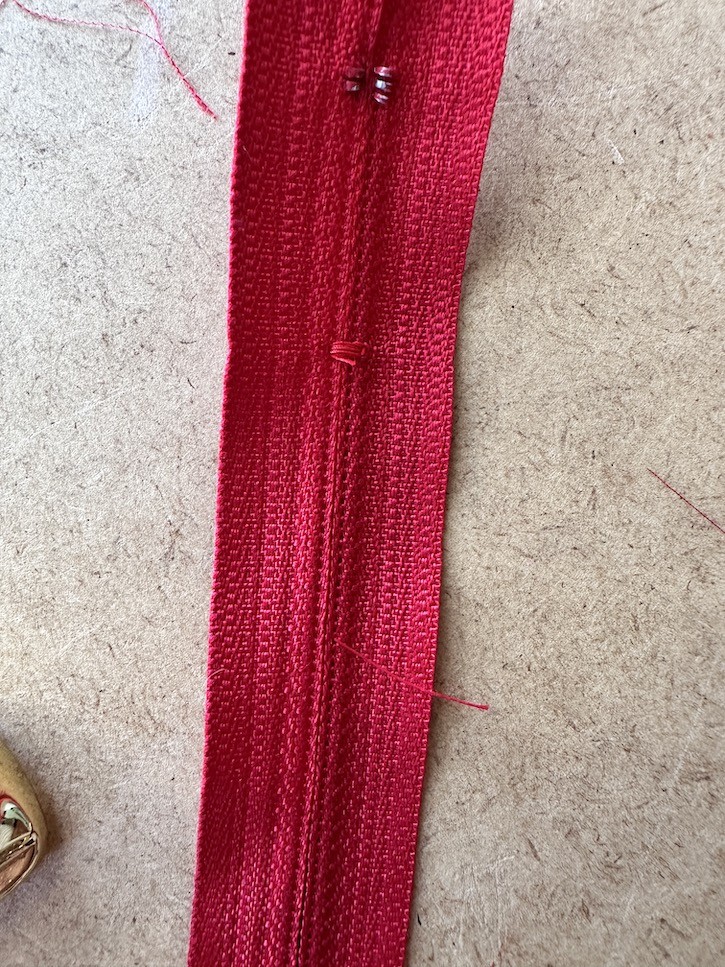
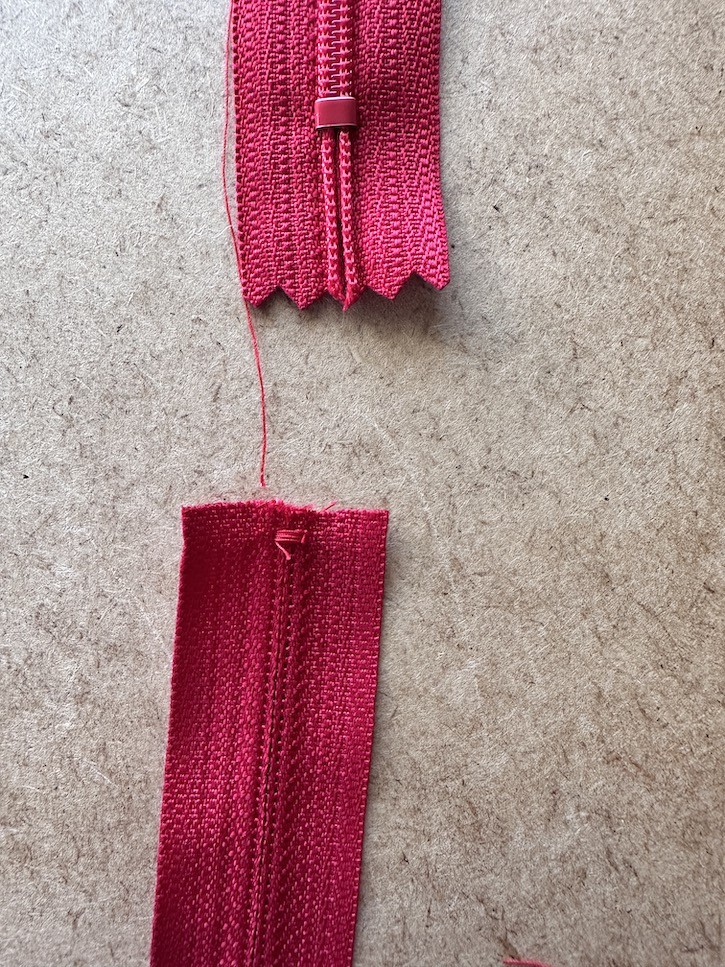
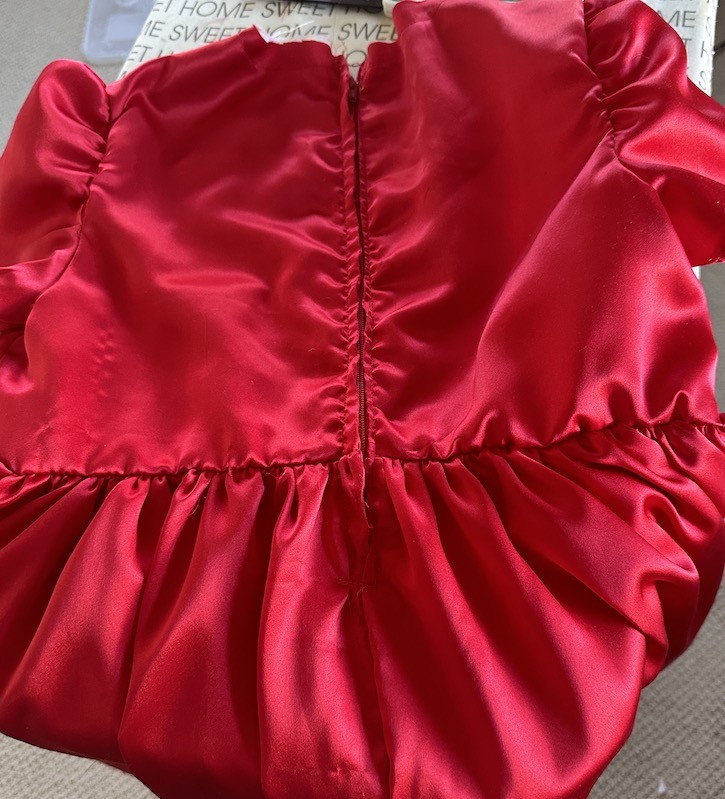
Next cames the zipper. It was a bit too long so I shortened it. Decide how long you need it and then sew it with a zig zag stitch to hold it together. Then cut it off and pin it onto the ironed open seam.
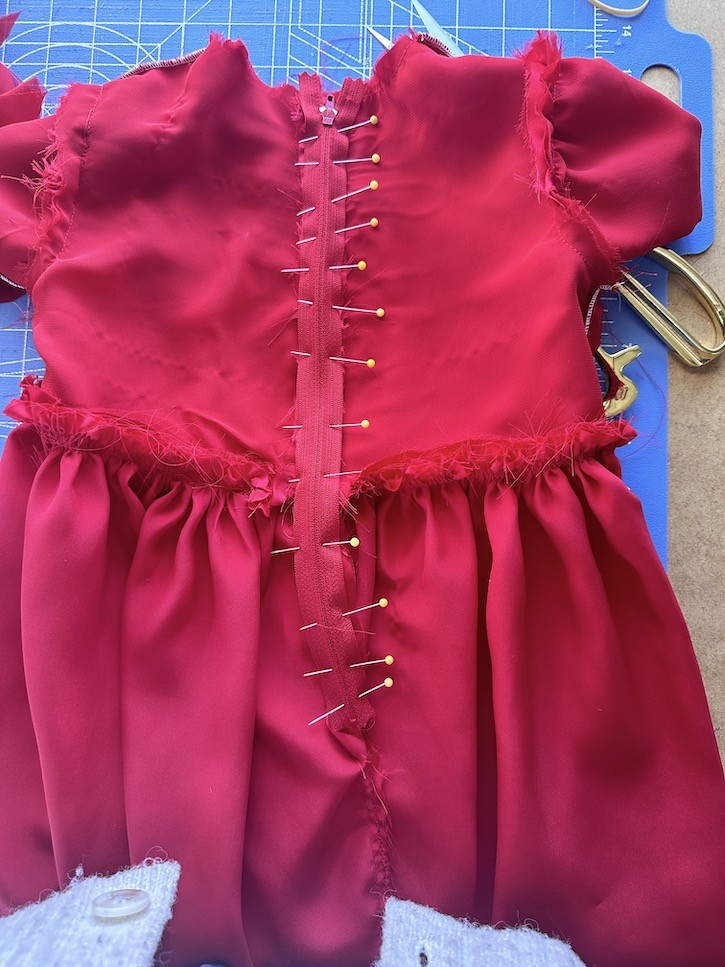
I sewed the back opening with long stitches and pressed the seam open. Then, I laid the zipper over the seam, pinned it in place, and used a zipper foot to sew it securely.
Creating the Peter Pan Collar
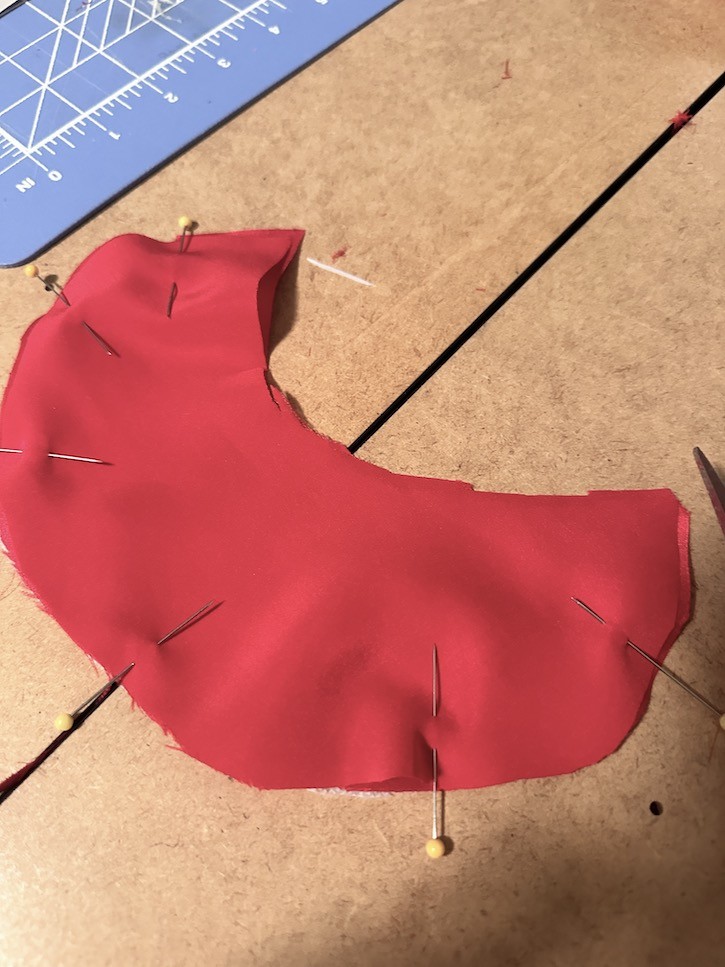
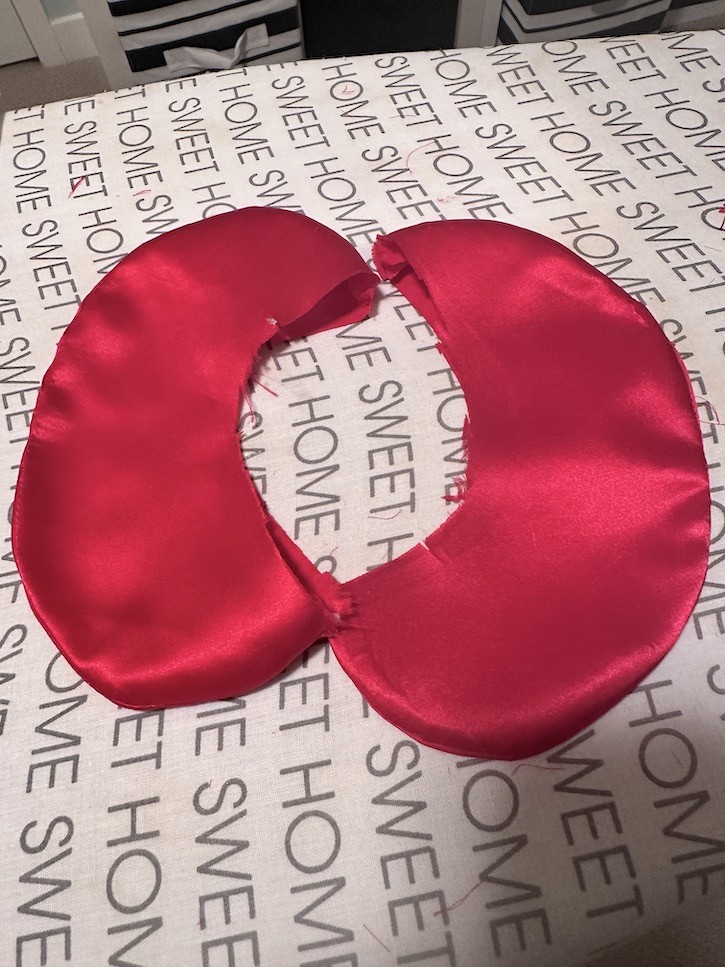
For the Peter Pan collar, I used iron-on fusible webbing to give one side of each collar piece some body. After sewing the outer edges, I turned them right side out and pressed them flat.
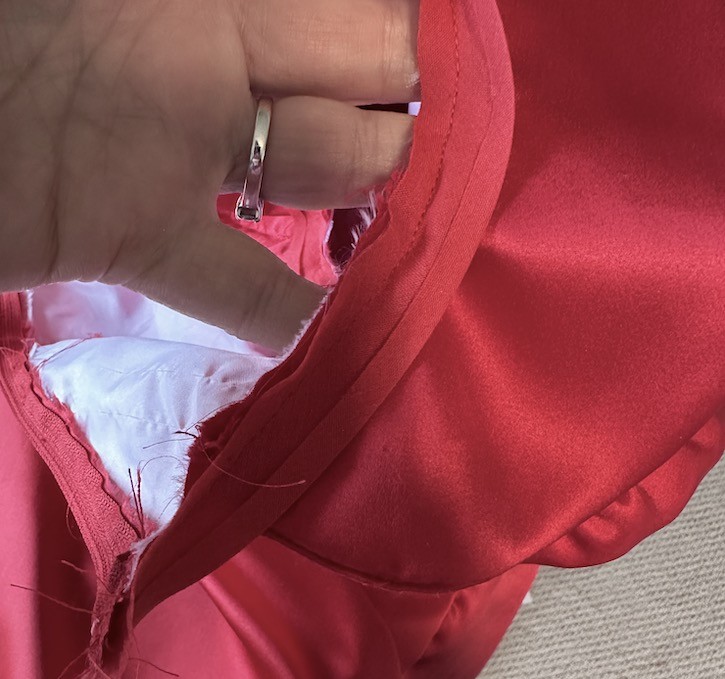
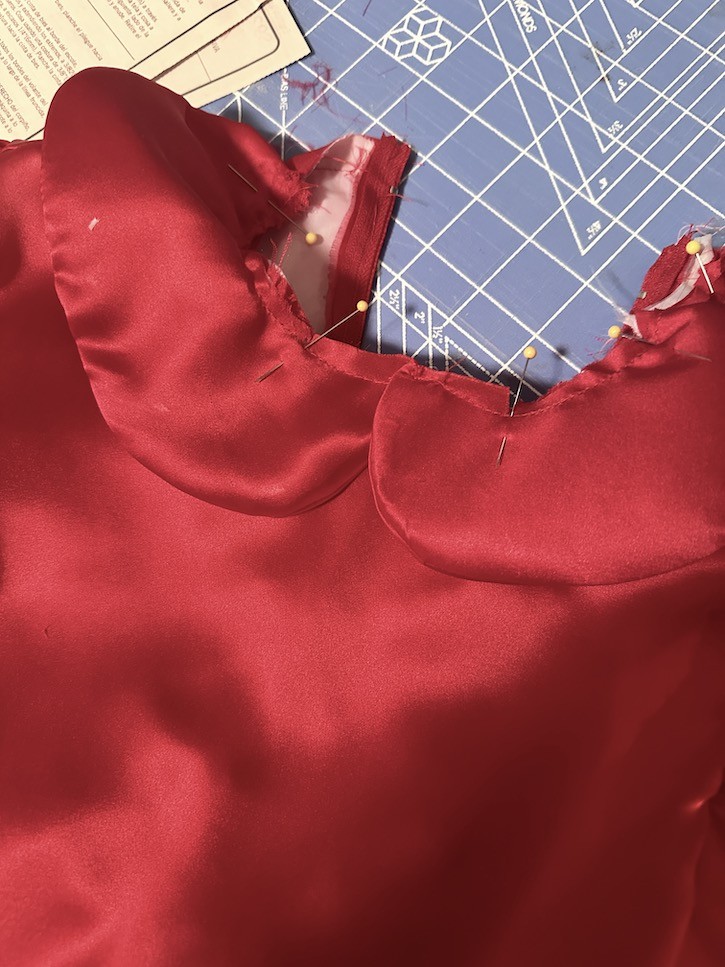
I sewed the collar to the dress, aligning the centers, and finished by attaching double-sided bias tape over the raw edges for a neat finish.
Finishing Touches
The last step was to hem the dress, completing this special holiday project. Seeing my granddaughters in their red satin dresses, with eyes sparkling and smiles wide, made all the work worthwhile. There’s nothing quite like the joy of handmade gifts.
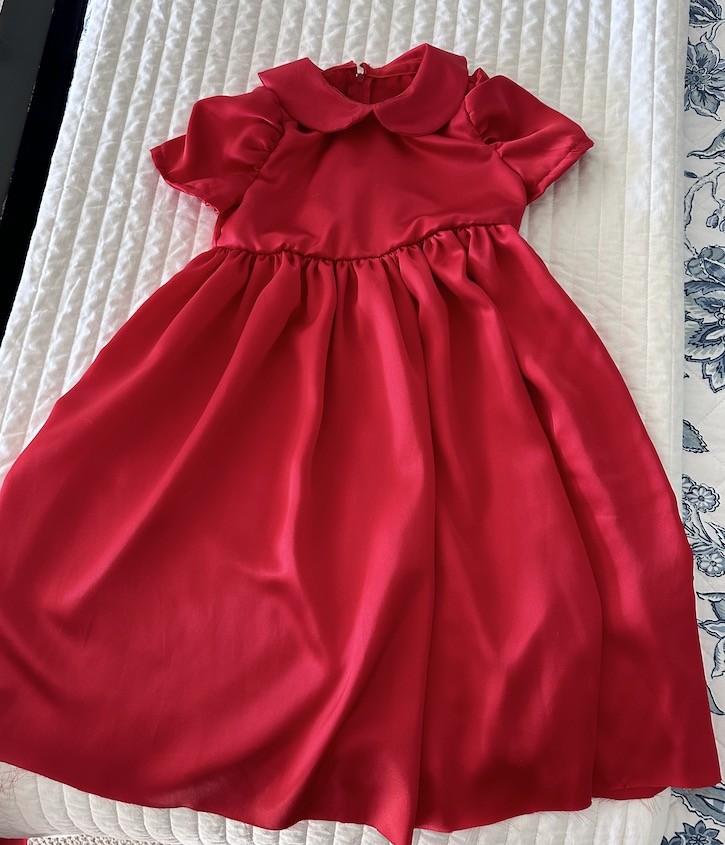
I hope these tips inspire you to create your own cherished holiday garments. Happy sewing and warm wishes for a magical Christmas season!
These lovely dresses remind me SO MUCH of the ones my mom sewed for my sister and I years and years and years ago when she got remarried (I think I was like 5?). They were velvet and I don’t think they were red but I swear it was that exact same style. You did an amazing job.