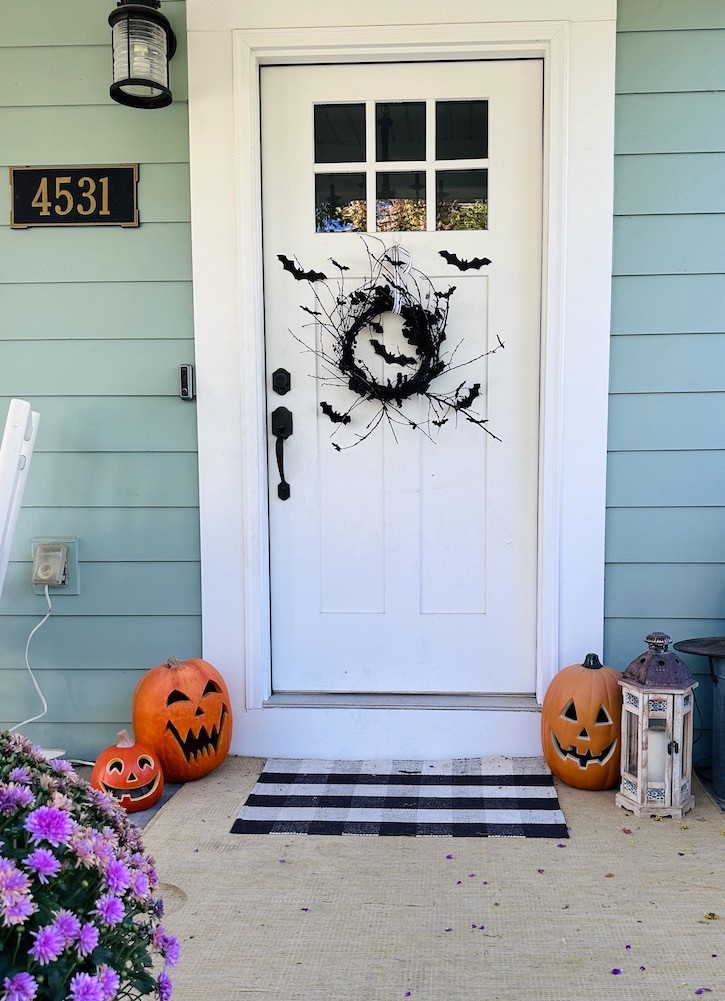
How to recycle an old wreath into a spooky bat wreath for free! If you’re like me, you probably have some old décor stashed away that could use a little love. I recently found an old, smaller wreath with faux orange leaves and pumpkins, but I wanted to give it a fresh, spooky twist for Halloween. The solution? Adding twigs and some DIY bat cutouts to create a free, spooky black bat wreath that’s perfect for the season!
Here’s how I transformed my wreath using only what I had on hand—plus a Cricut machine, of course! See my total Halloween porch makeover here.
Step 1: Adding Some Thickness with Twigs
This old wreath needed some love. The grapevines were in really good shape but the leaves and berries were sad looking. Plus it was really too small for my front door. I wanted my wreath to have more volume.
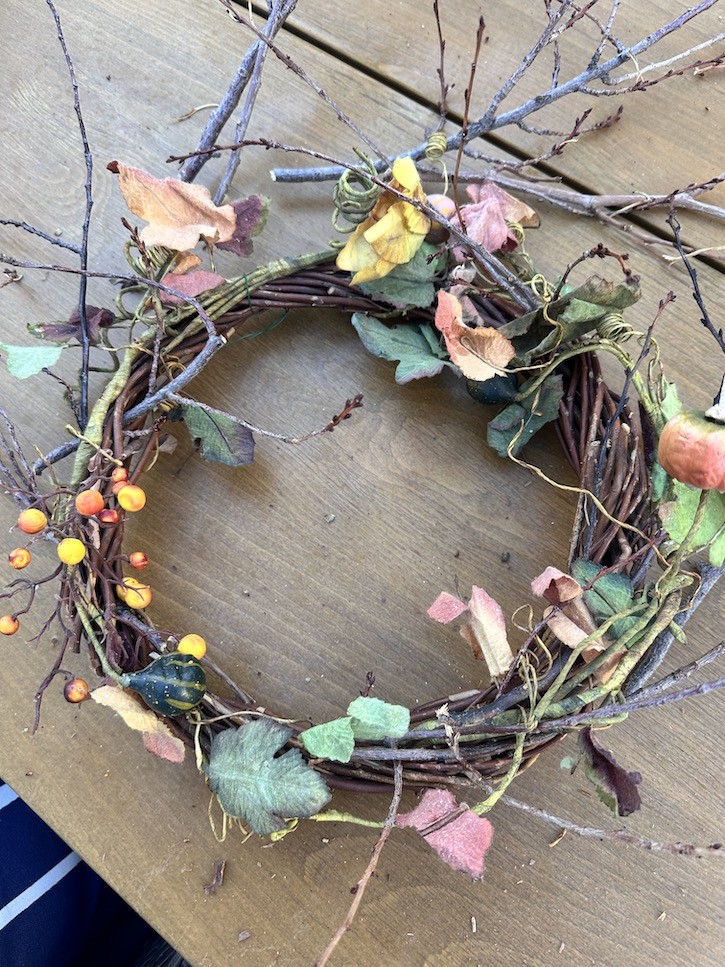
As luck would have it, my daughter had just trimmed some branches from her yard. So I snatched up a bunch of those twigs for this project and to create a spooky entryway on my porch you can see here.
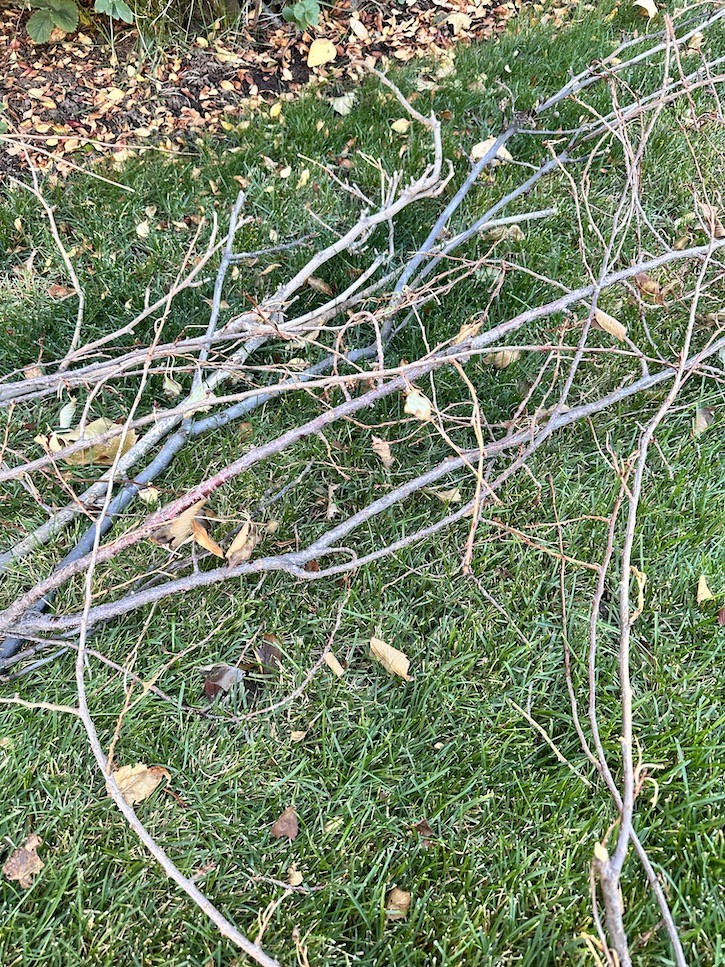
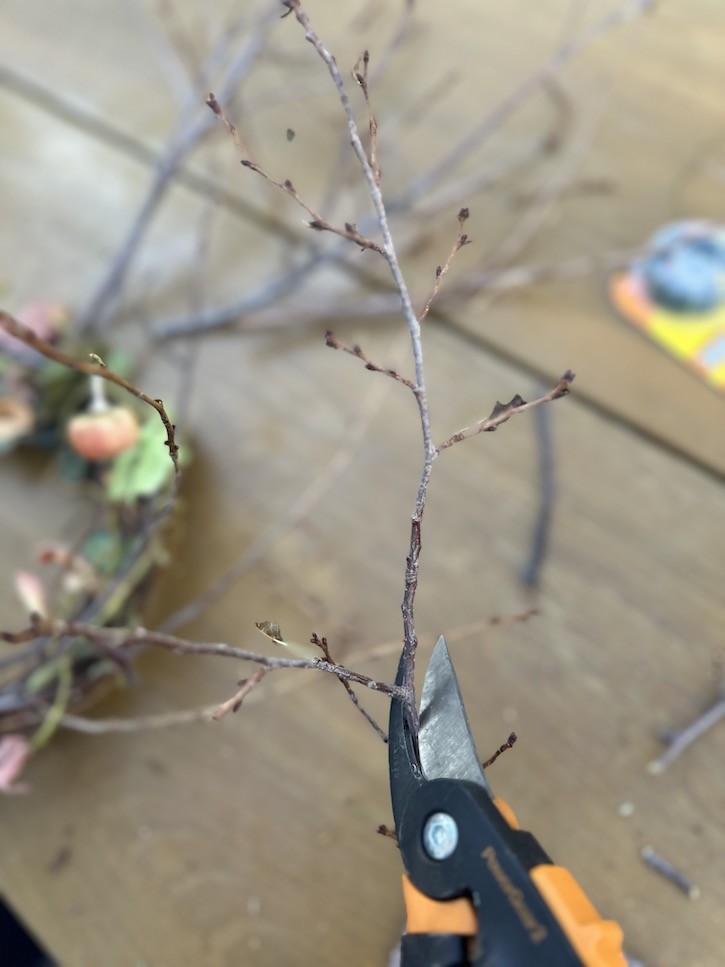

Trim the branches into small pieces, around 12 inches long. Then I started tucking them into the tightly woven grapevine base of the wreath.
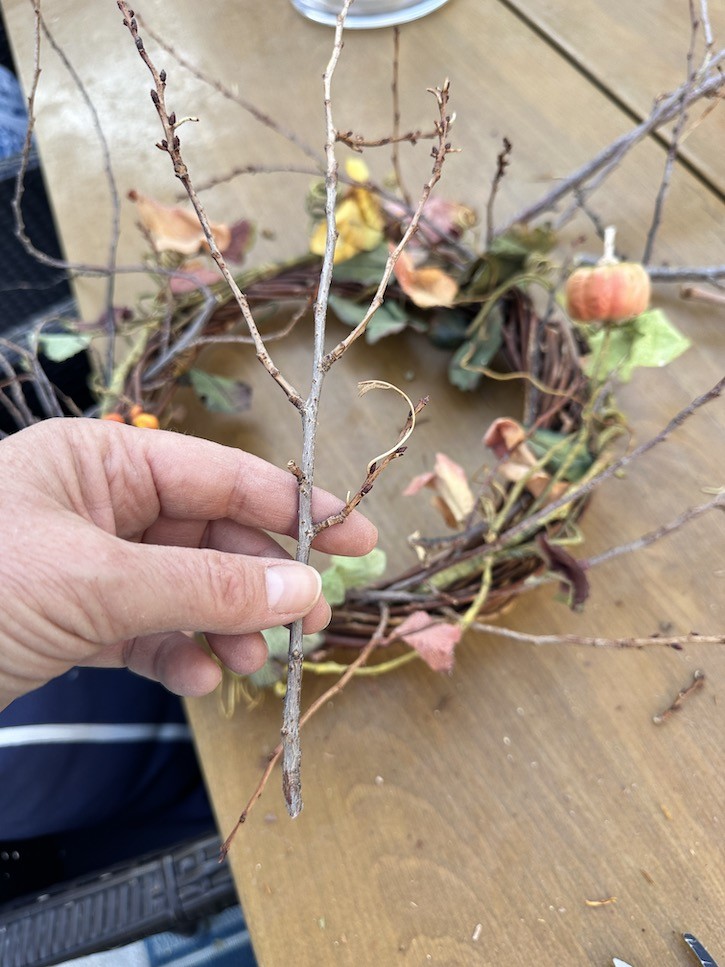
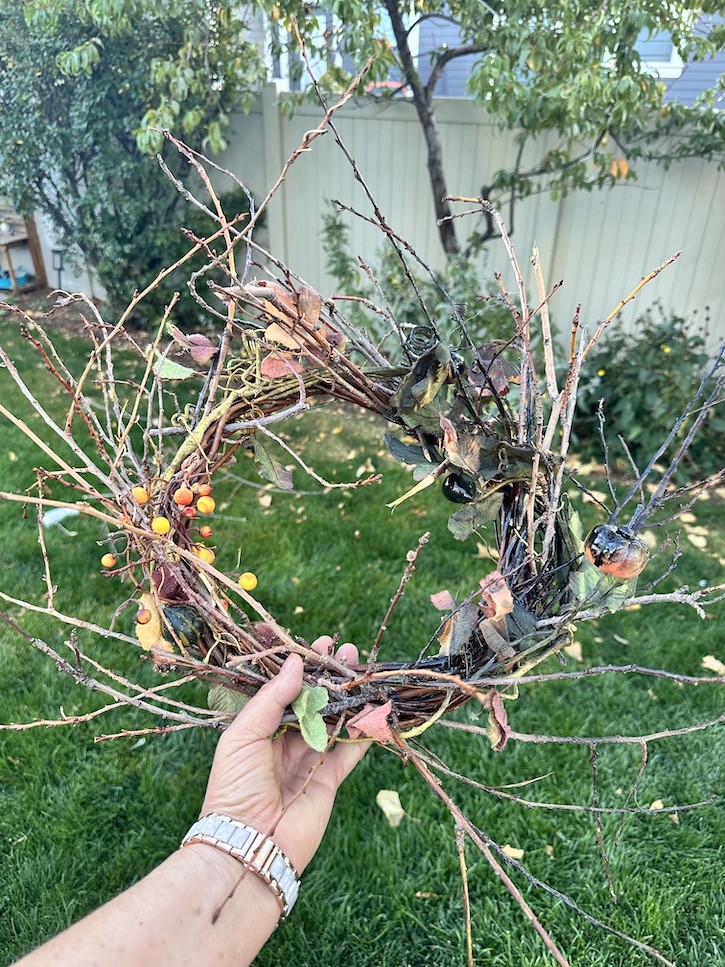
No glue needed—just push the twigs into the grapevine, and they’ll stay in place! I continued adding twigs all around the wreath, making sure they were spaced out evenly to give it that full, textured look.
Step 2: Spray Painting Everything Black
Spray paint is my secret weapon for quick and easy makeovers! I grabbed some black spray paint and covered the entire wreath, including the old faux leaves, mini pumpkins and berries.
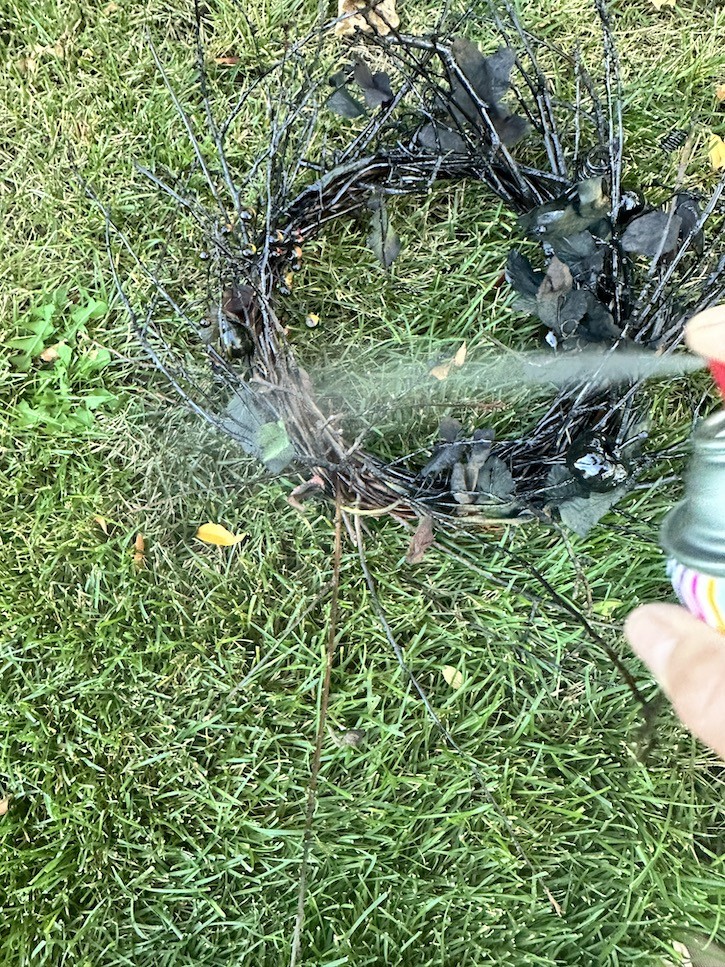
It’s amazing how a simple coat of paint can completely change the look of something, right? (Remember when I spray painted my bathroom faucets? That was a game-changer too!)
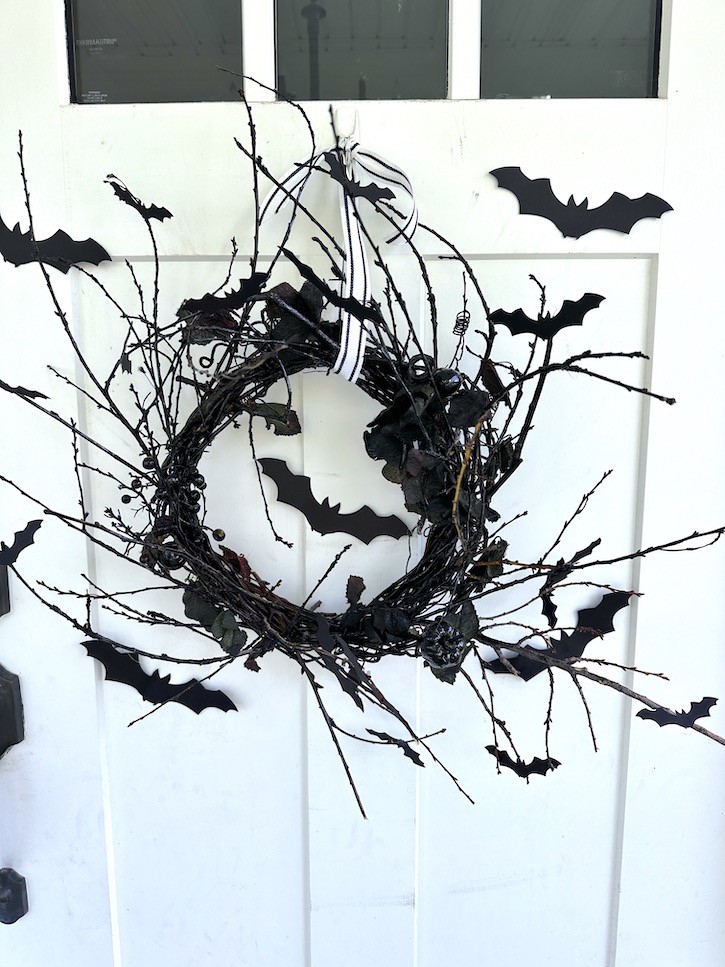
Step 3: Bat Cutouts – The Cricut Magic for your DIY spooky bat wreath
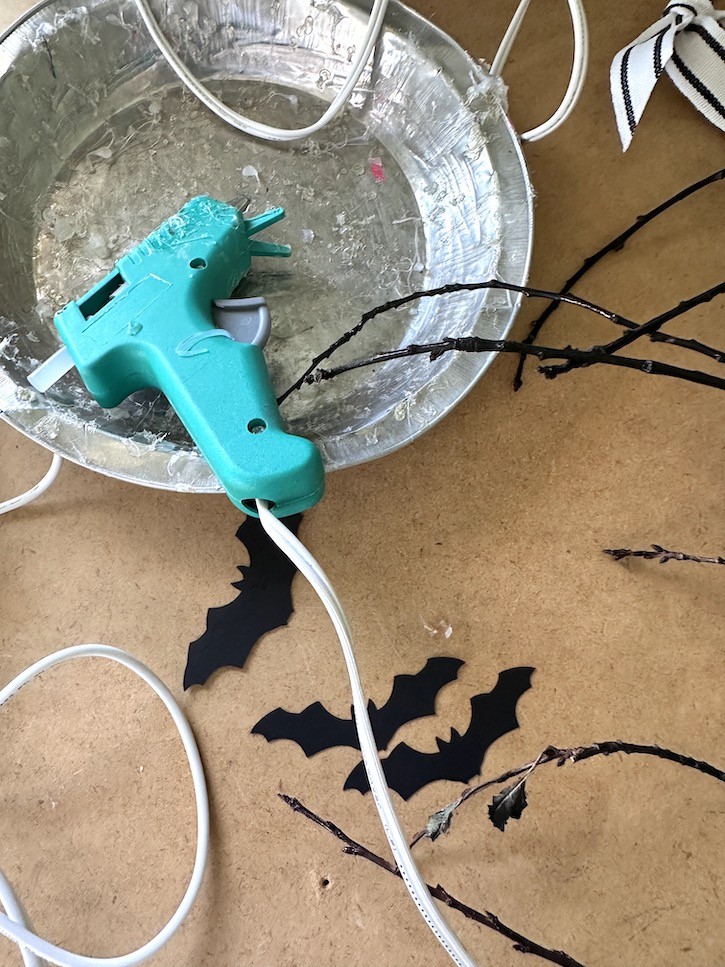
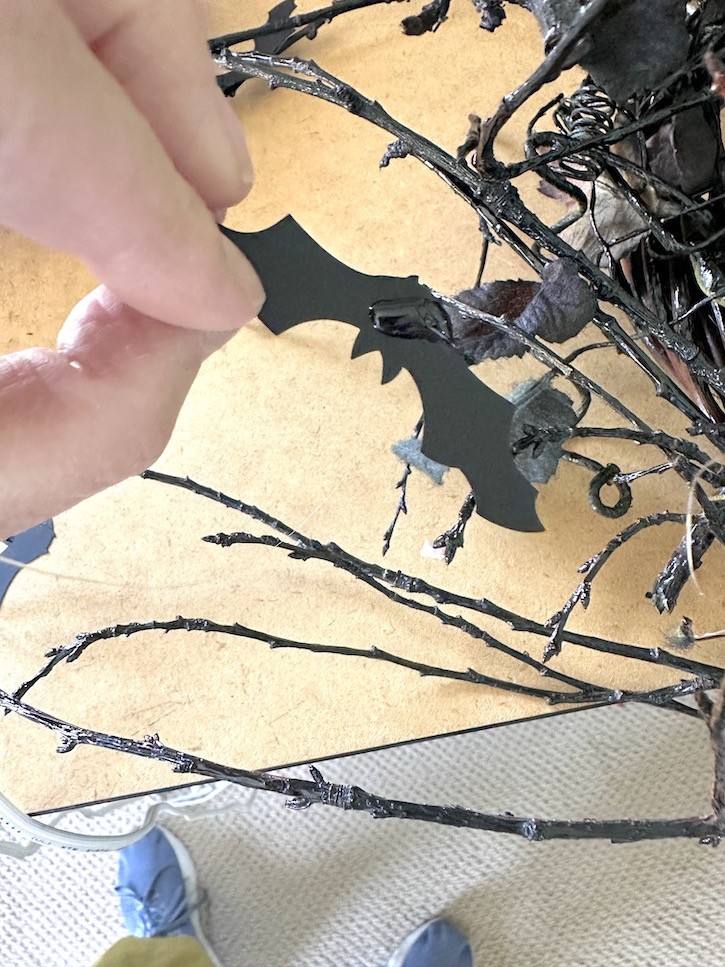
Next, it was time to bring the bats into the picture. Using my Cricut machine, I cut out a variety of black bats in different sizes.
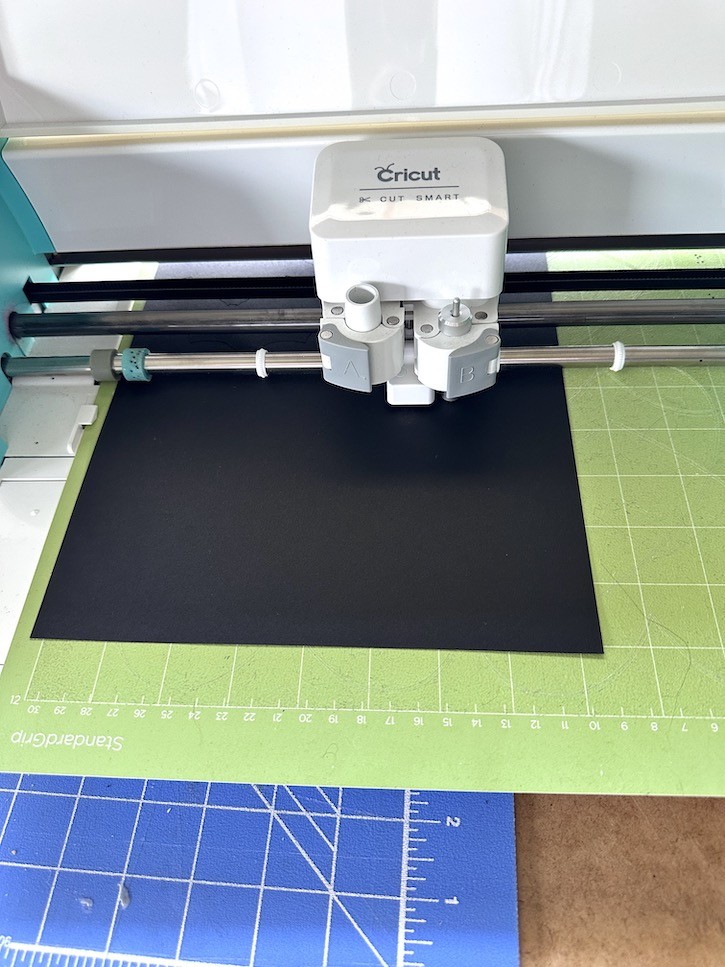
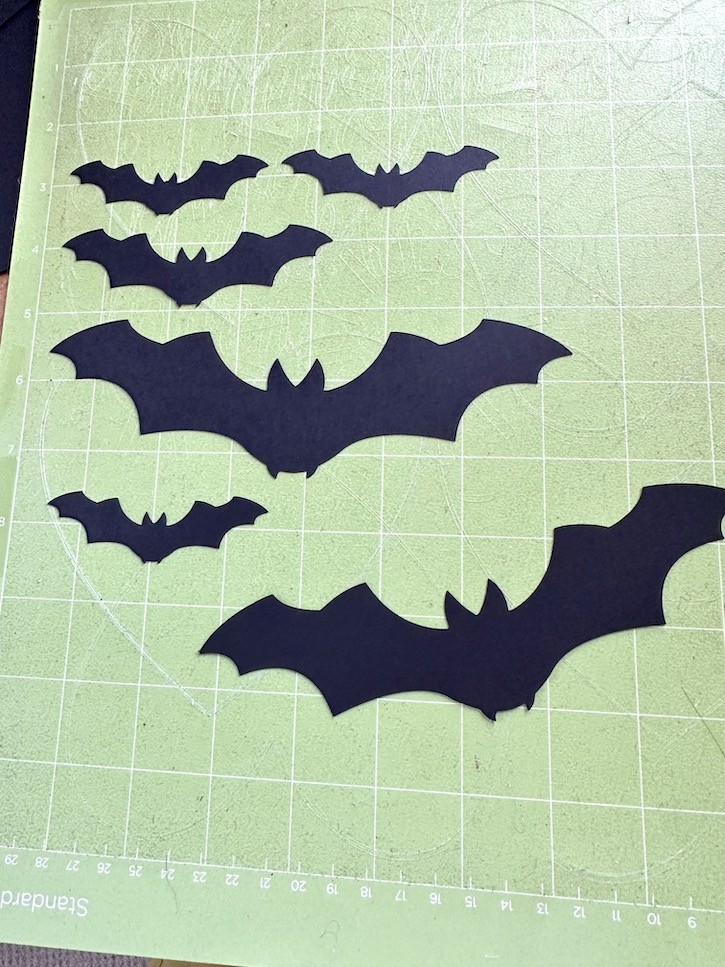
The larger ones I saved to hang around my front door for extra impact. The smaller bats were perfect for the wreath. I hot glued them onto the twigs, and voilà—a DIY spooky black bat wreath came to life!
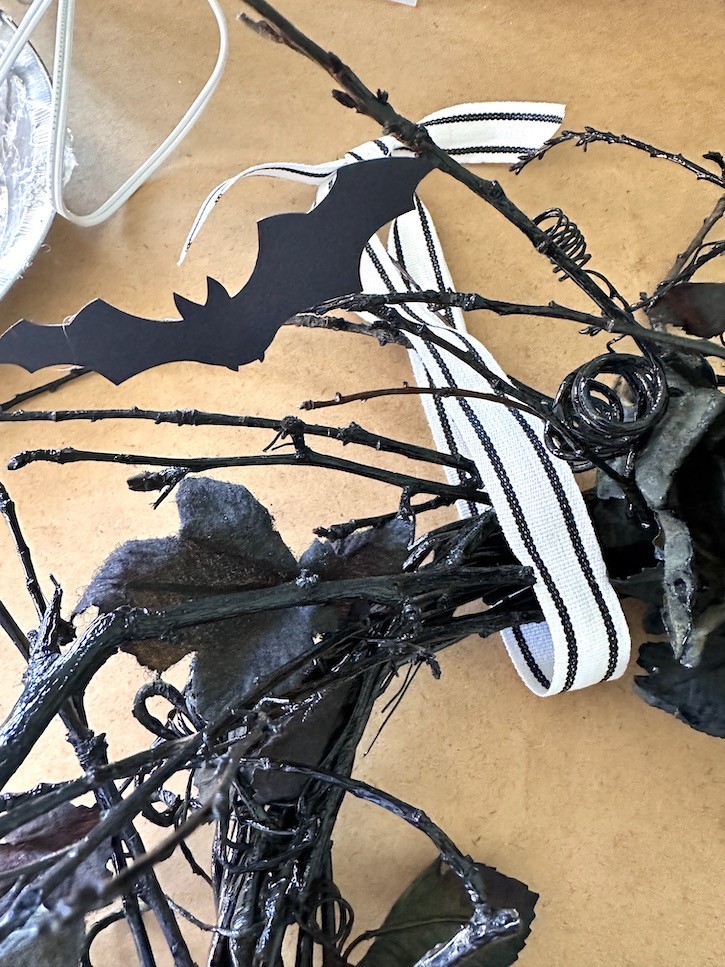
Step 4: The Final Touch – Ribbon
To hang my DIY spooky bat wreath, I used a pretty white ribbon with black stripes, which added the perfect finishing touch. The contrast really made the wreath pop!
This project was super easy, budget-friendly, and turned out so cute! If you have an old wreath lying around, grab some twigs, spray paint, and your Cricut (or even some scissors and cardstock if you don’t have one) to create your own spooky black bat wreath.
You’ll love how simple it is, and best of all, it’s practically free! Here is another fun Halloween/fall porch idea that I have done here.
Stay tuned for my next project where I’ll show you how I’m using the extra twigs for some spooky porch décor!
Happy crafting! 🎃
Shop Similar Items
If you don’t feel like doing a DIY you an buy one already made from Amazon here! I receive a small commission on any purchases you make at no extra cost to you. This helps me tremendously to keep this blog up and running with free ideas for you. Thank you so much for your support!

Leave a Reply