Today, I’m excited to share with you a quick fix for broken wicker arms. I recently discovered a quick way to tackle a common outdoor furniture woe: broken wicker arms on arm chairs. Now, we all know how annoying it can be when those pesky broken bits start poking at us as we relax in the sun, right? But fear not, because I’ve got a quick fix that’ll have you back to lounging in no time, without the need for any intricate reweaving!
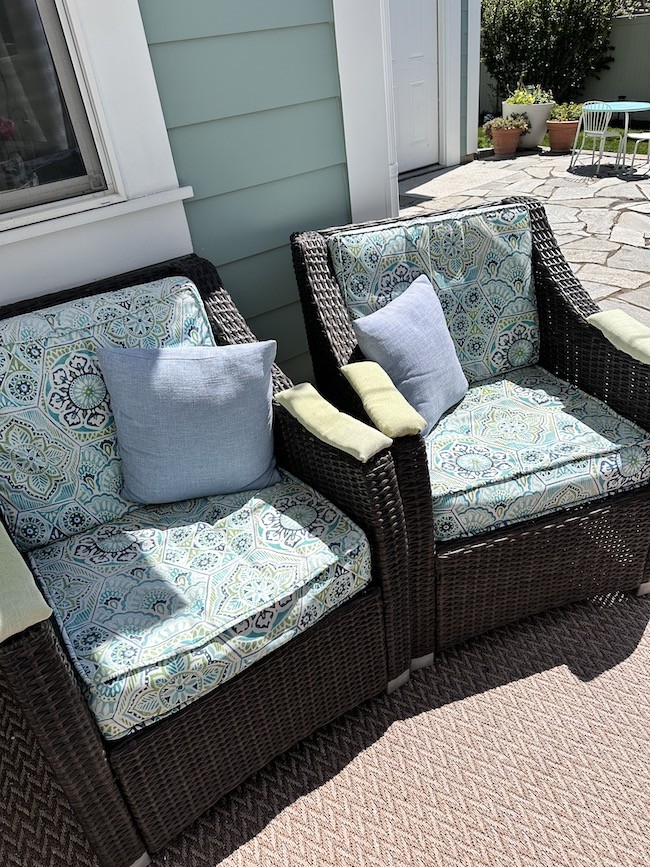
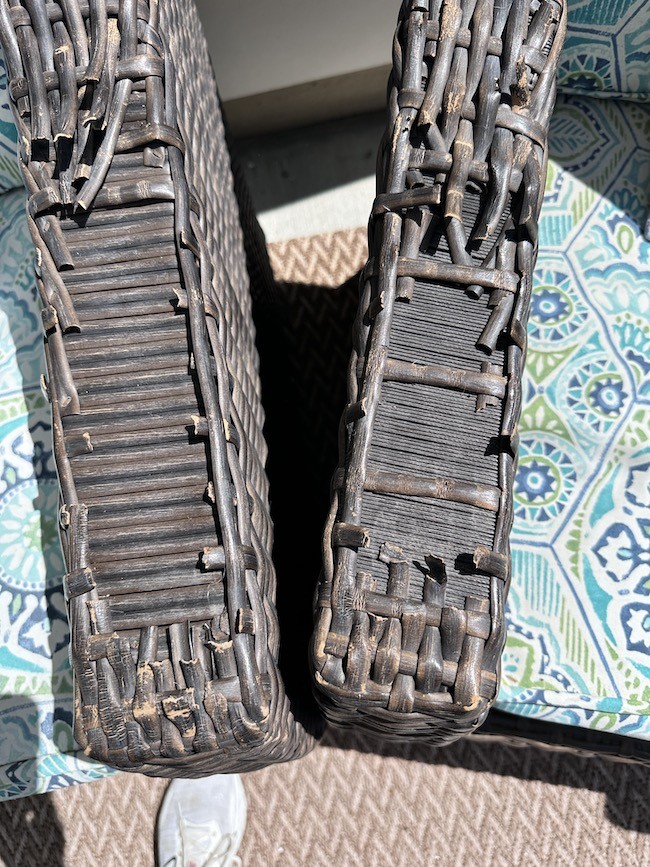
Before pictures of broken wicker arms
Before we dive into the solution, let me show you the not-so-pretty before pictures. My grandkids like to pick at the broken pieces. They were to the point that no one wanted to sit in the chairs because they were so pokey.
Broken wicker arms? No problem! With a little creativity and resourcefulness, we can transform those eyesores into seamless blends with your outdoor decor.
This is such a great quick fix for broken wicker arms. Especially if you are having a get together and don’t have time to reweave the wicker or go buy new ones.
Materials Needed:
- Foam pieces (I repurposed a kneeling pad for this first then I used memory foam pieces)
- Burlap or outdoor fabric ( I repurposed an old outdoor pillow cover)
- Batting (optional)
- Hot glue gun and glue sticks
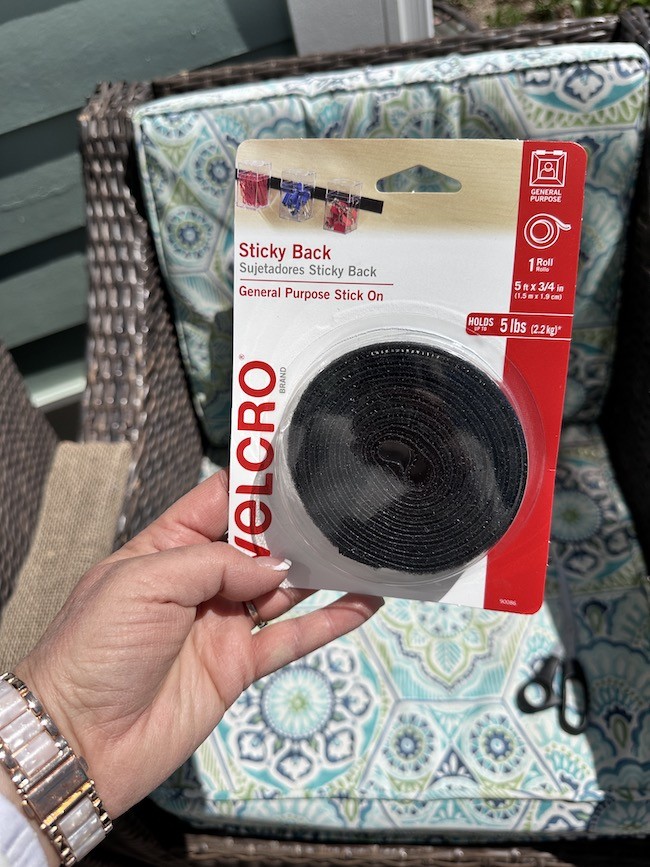
- Self-sticking velcro
Step-by-Step Guide for quick fix broken wicker arms
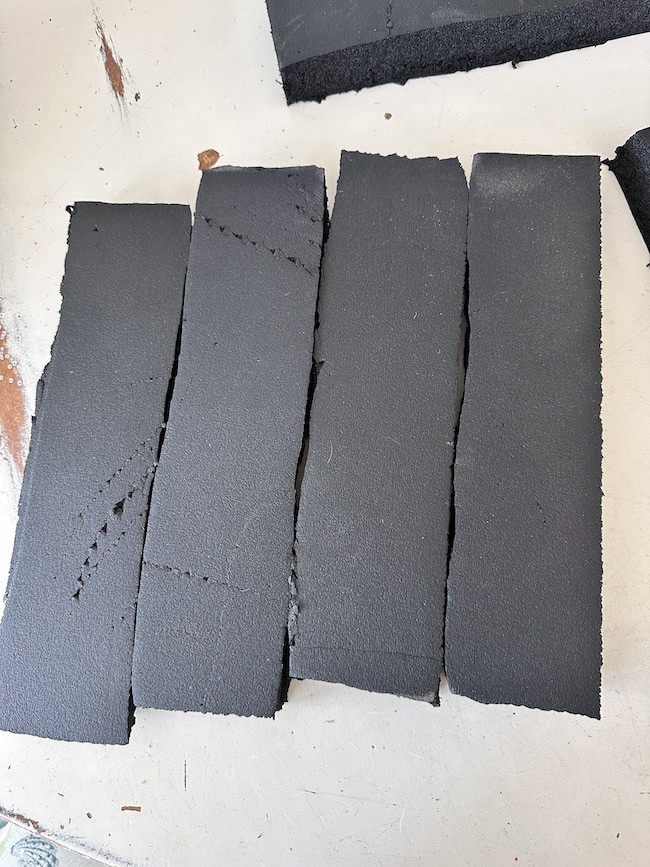
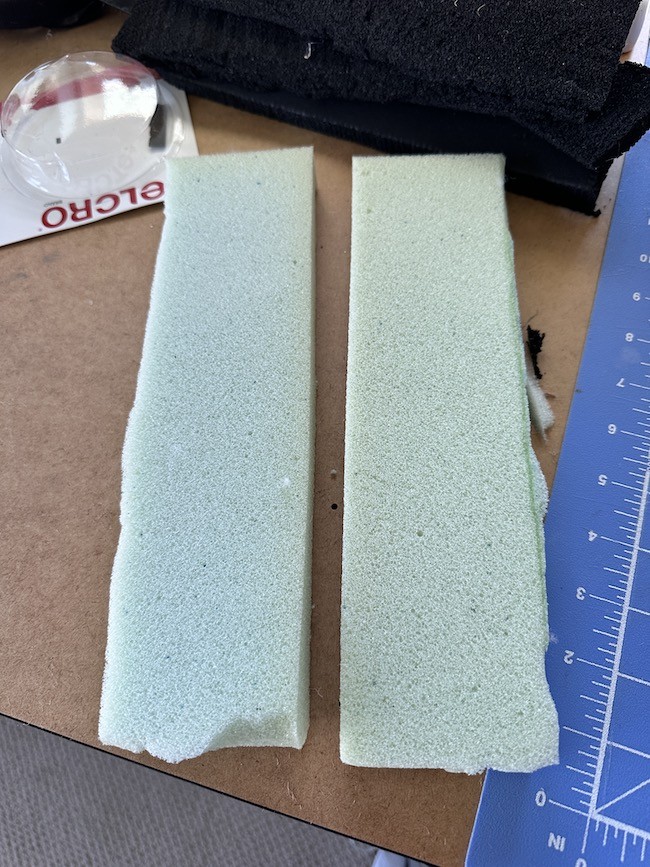
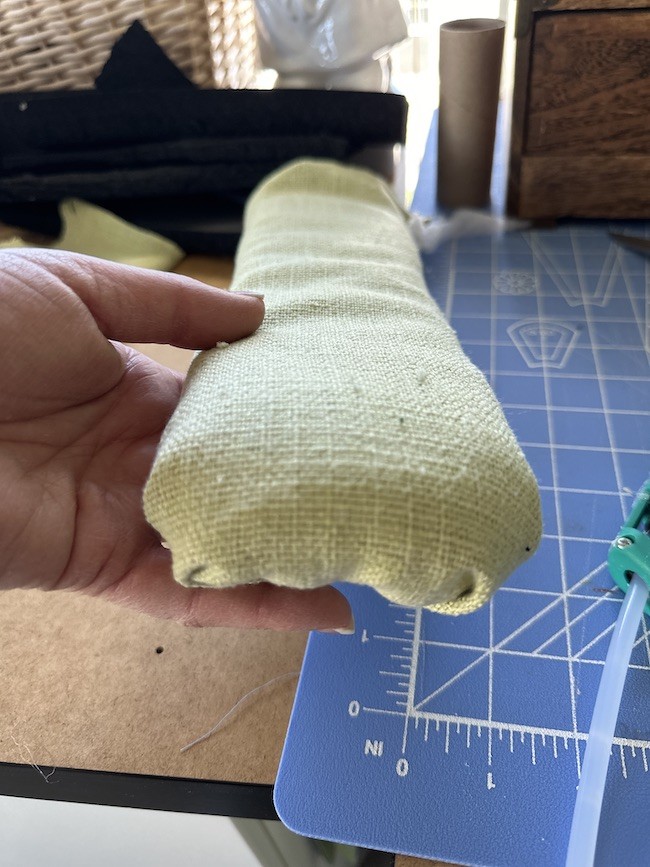
Prepare Your Foam: Cut your foam pieces to fit the dimensions of the broken wicker arms. I experimented with different foam thicknesses. First I cut up a black knee pad and covered it with burlap. They were just too thick. My daughter said it looked like big pieces of lego on the arm chairs. haha

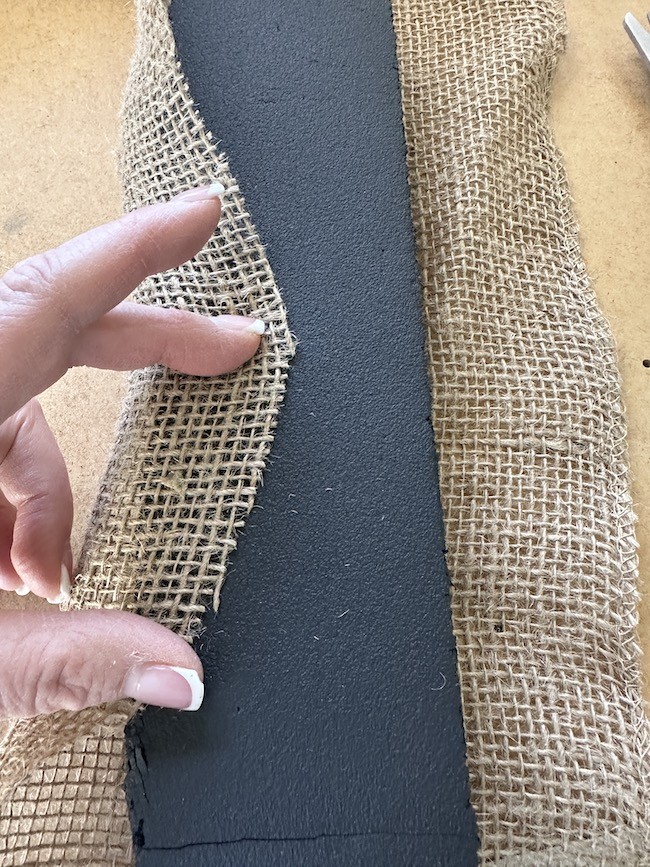
The burlap was little too itchy on the skin too. I kind of liked how the burlap looked but I needed a more comfortable option.
So now I was back to square one with not a lot time left before our guests were to arrive.

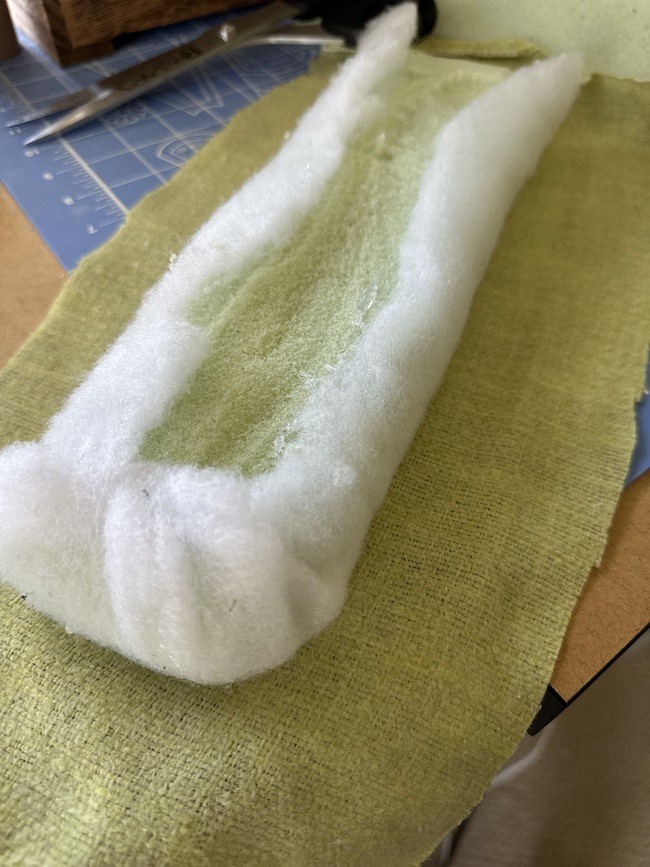
Next I tried memory foam and found that softer memory foam, with a light covering of batting for extra comfort, worked best. Remember, we want it to be plush enough to cushion your arms but not so thick that it alters the chair’s aesthetics.
Wrap it Up:
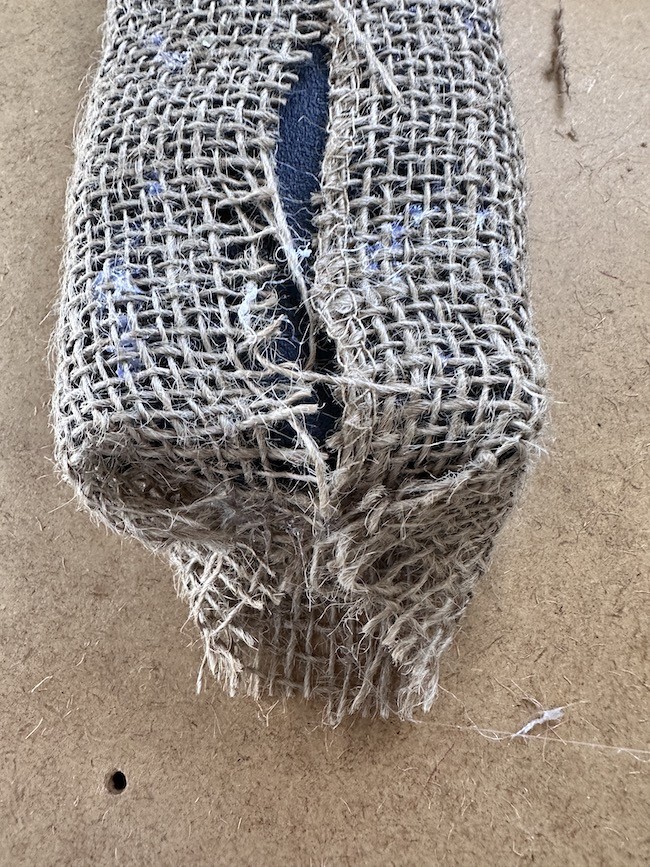
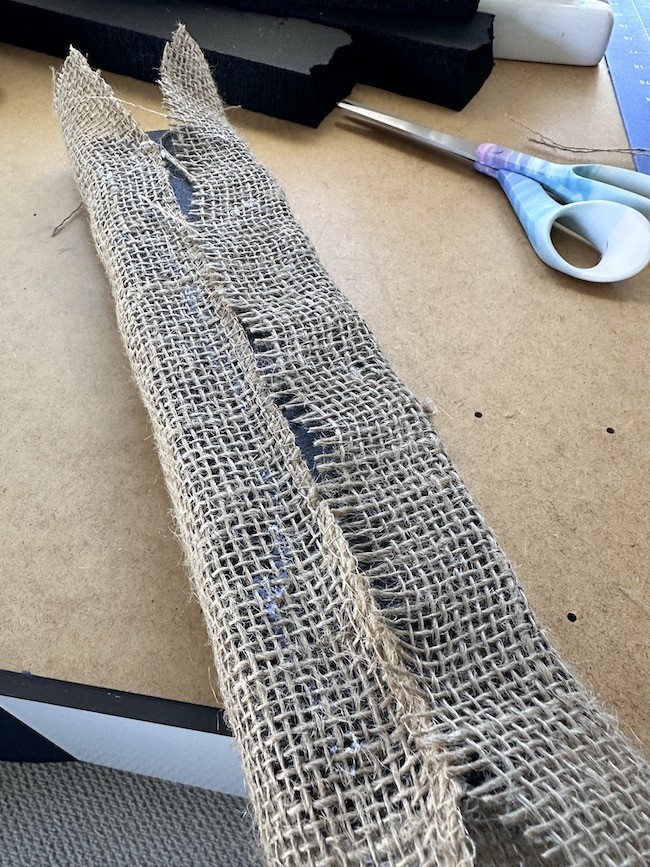
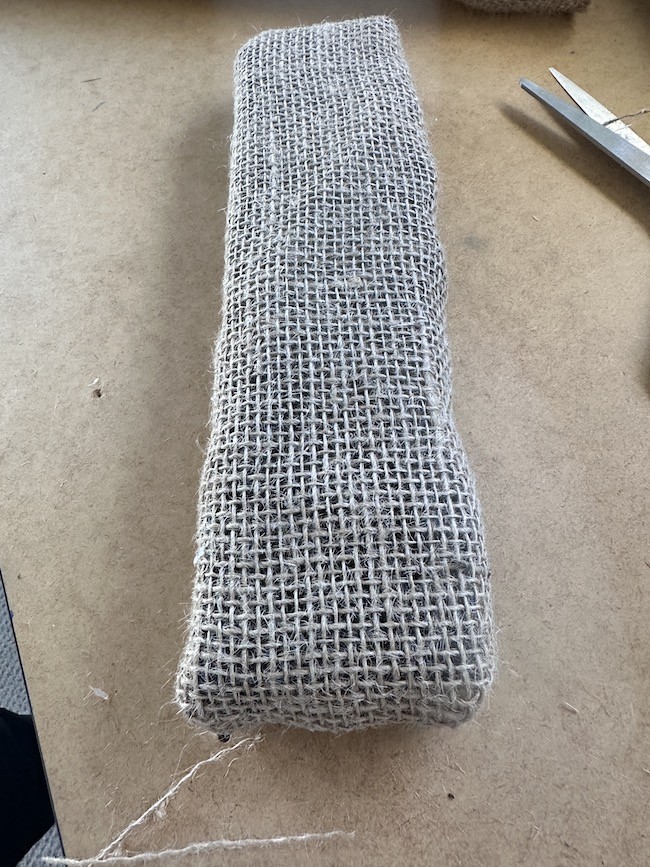
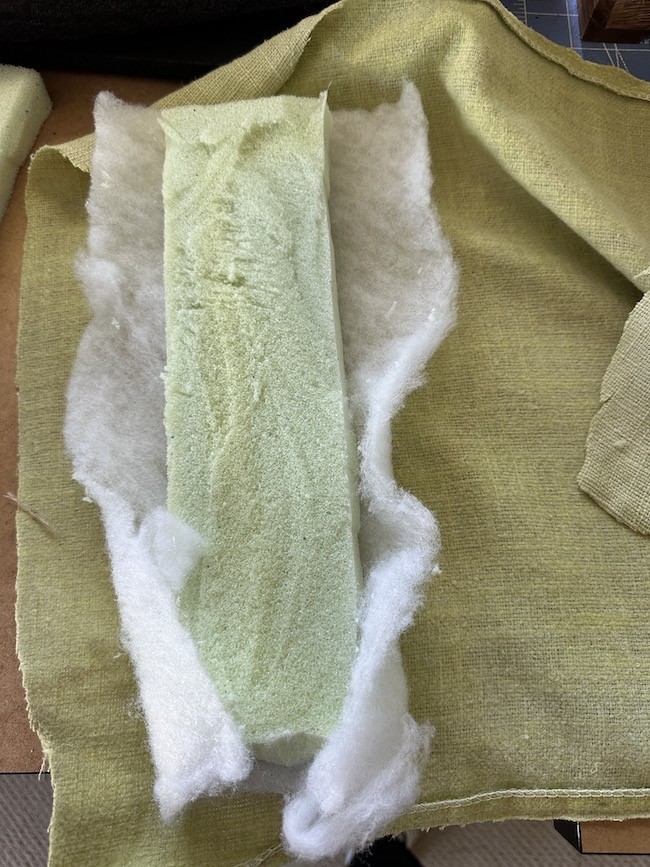
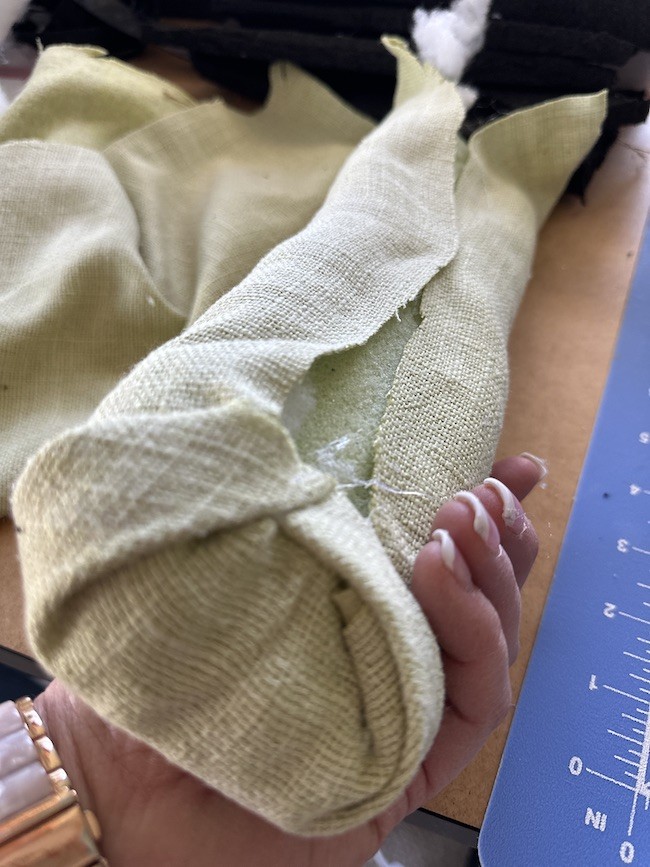
I ended up using an old outdoor pillow cover. I cut the pillow cover in half. Lay your fabric flat add the batting if desired and place the foam piece on top. Fold the fabric over it, just like wrapping a present.
Use hot glue along the edges to secure everything in place. The key here is to ensure a snug fit and tidy finish. I was in a hurry so my snug fit and tidy finish was not perfect. But you get the idea.
Attach your new quick fix covers with Velcro:
Now comes the genius part!
Apply self-sticking velcro strips to both the fabric-covered foam and the arm of the chair. This allows for easy attachment and removal whenever needed, without leaving any permanent marks on your beloved chairs.
Tip- Cut the velcro into smaller pieces and make sure to attach to the edges of your new covers. I was in such a hurry that I didn’t do it good enough and one of them lifts a bit.
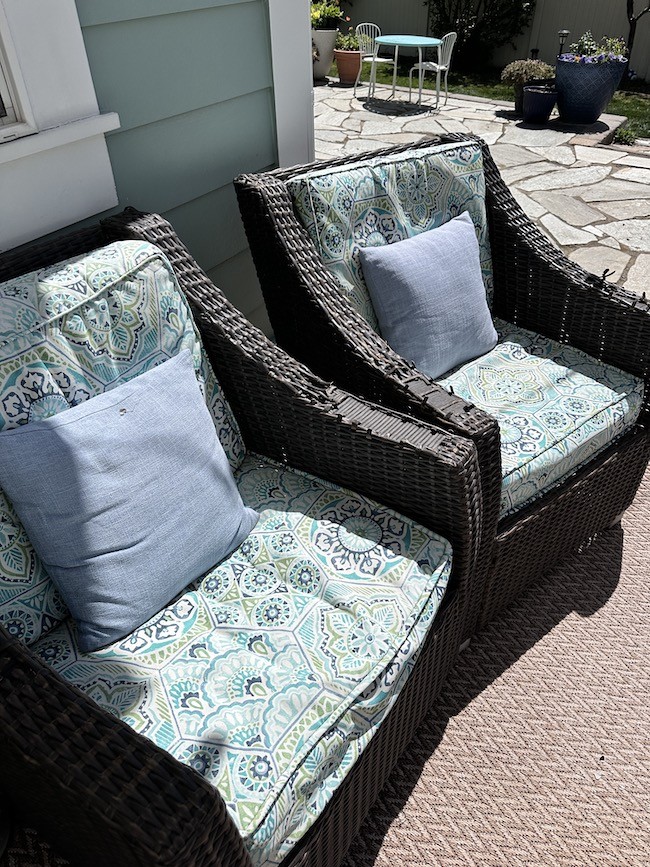
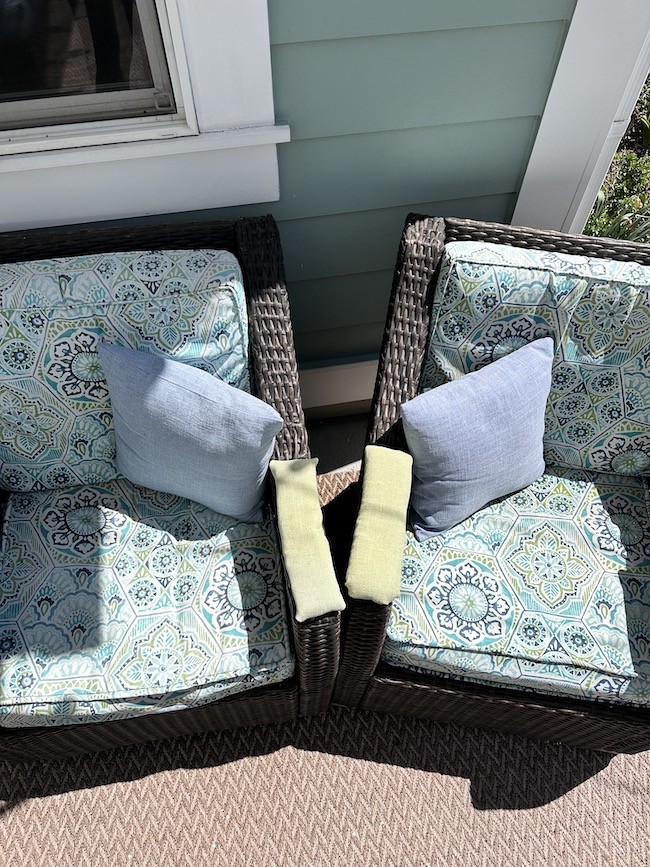
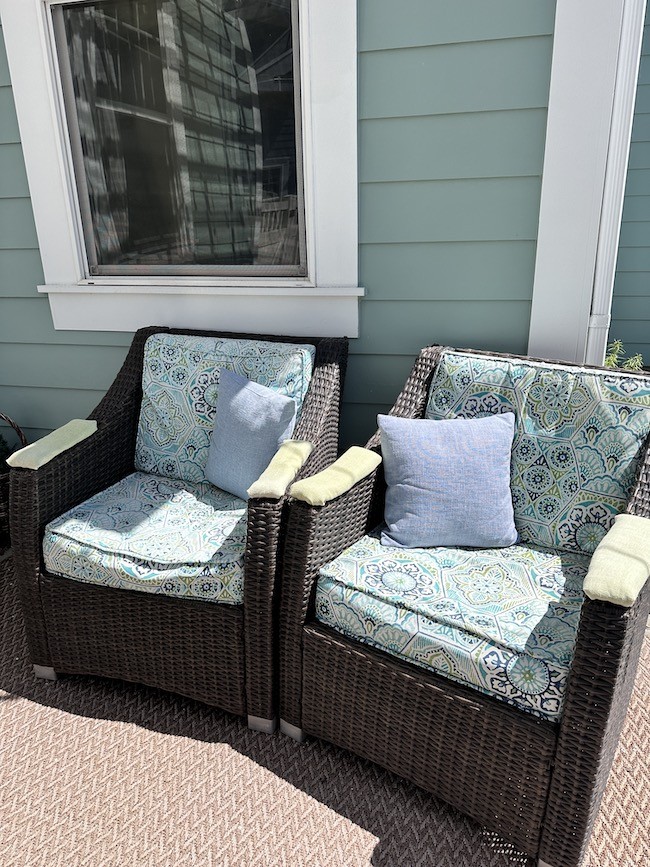
Voilà! You’re Done:
With the foam pieces securely attached to the broken wicker arms, you’ll not only prevent any further poking incidents but also add a touch of comfort and style to your outdoor seating ensemble.
Plus, since there’s no sewing involved, this quick fix is perfect for those of us who might not have a needle and thread handy! If you need a tutorial on sewing new cushion covers you can see my tutorial here.

Final Thoughts:
I recently put my quick fix broken wicker arms solution to the test when I had friends over for a backyard gathering, and they were genuinely surprised when I revealed my little secret. They thought the foam-covered arms were simply part of the chair design!
Talk about a win-win situation.
If you are interested in my chair cushions you can find them here. The Light blue pillow covers are available here. They come in many different colors and are only $7.00 each!


So, if you’re dealing with broken wicker arms on your outdoor arm chairs, don’t despair. Give this no-sew solution a try, and let me know how it works out for you. Remember, a little creativity can go a long way in making your house a home, one quick fix at a time!
Until next time, happy DIY-ing, my friends!
Shop My furniture
These are affiliate links and I make a small commission from any of your purchases at no extra cost to you. This allows me to continue to provide free ideas tips and tricks for you. I really appreciate your support.

Brilliant. I will definitely do this. Thank you!
Thank you I would love to know how it works for you my friend. Please send pictures.
Karin
I’ve got this problem right now. Great idea! Thanks!
Susan.. I am so happy to help with my idea! I would love to see pictures of how yours turns out. Send me pics.
Hugs,
Karin
That is a fabulous fix!