Buon Appetito my friends. I am thrilled to show you how to make classic Italian Arancini. You may be asking what is arancini? Italian fried stuffed rice balls that are delizioso! Arancini is an Italian appetizer. We love eating Arancini when we travel to Italy.
I didn’t have all the exact ingredients on hand for a traditional arancini. Using an air fryer instead of frying in oil made them healthier.
They turned out amazing!
What ingredients do you need to make classic Italian Arancini?

Here is my list of what I used to make my version of classic Italian Arancini-
4 cups cooked Jasmine rice (Most recipes call for cooked risoto)
1/4 cup Ricotta cheese
1/8 Cup shredded fiesta blend cheese (It was what I had on hand)
1/4 Cup shredded parmesan cheese
1 cup mixed Panko and regular bread crumbs (I didn’t have enough panko so I mixed them)
1 egg
1 Tbsp milk
1 tsp Italian seasoning
1 Cup flour
Cooking spray
Marinara sauce for dipping
Steps to make Arancini rice balls
My arancini tuned out a little different. I used regular bread crumbs and they had a lot more texture to them. Plus I did not fry them in oil I used an air fryer.
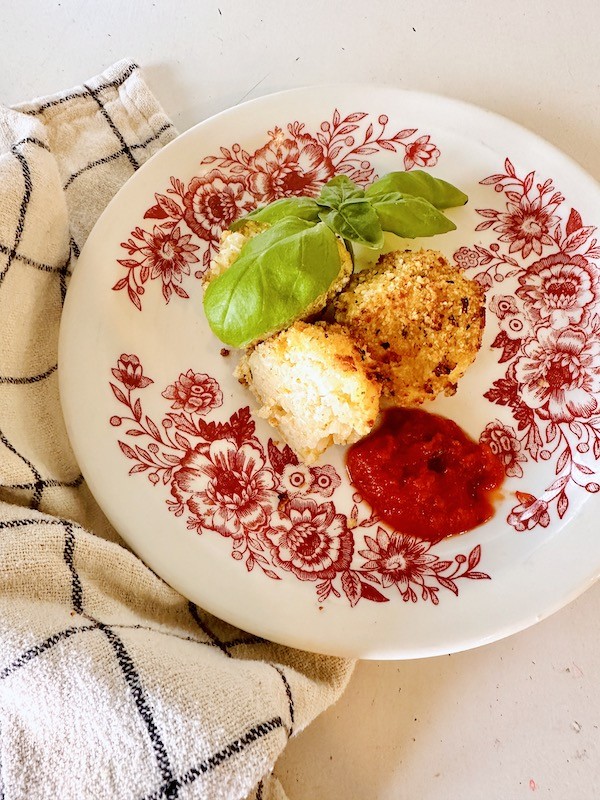
They did not disappoint! Moist and flavorful on the inside and crunchy on the outside.
Yummerz!
Step 1- Cook 4 cups rice. I used my rice warm. Some recipes say to refrigerate the rice ahead of time.

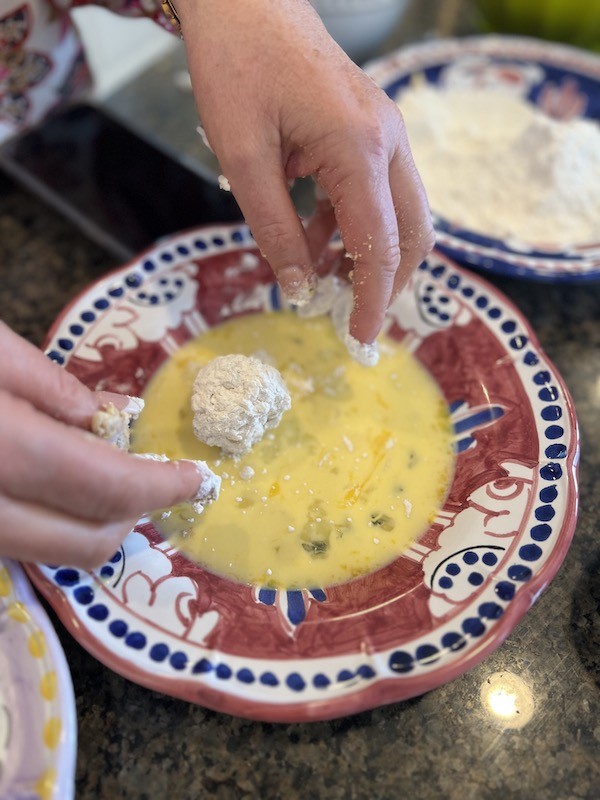
Step 2- Use 3 plates and place flour in one, egg in another and then bread crumbs mixed with Italian seasoning in another plate. You are going to be dipping your rice balls in this order. Flour, egg and then the bread crumbs.
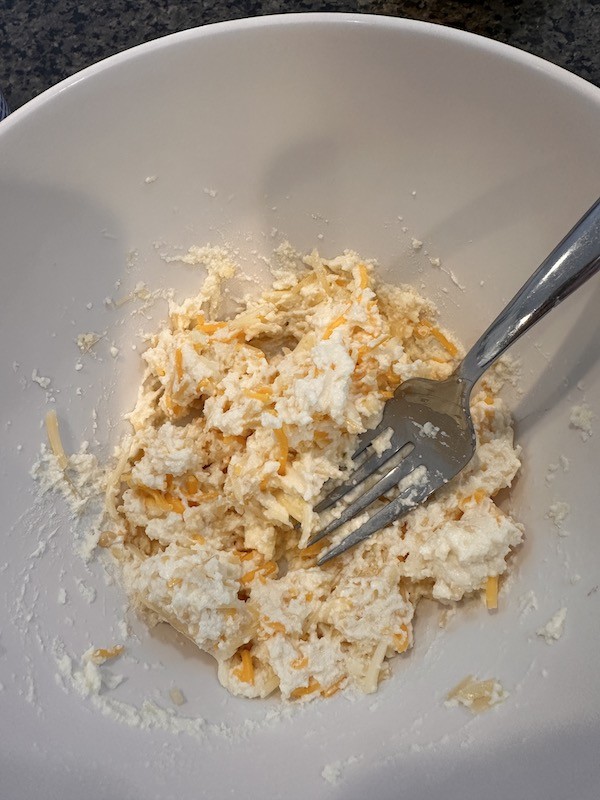
Step 3- Mix ricotta, parmesan and fiesta cheese together with 1 tablespoon of milk in small bowl. (you might have leftovers)
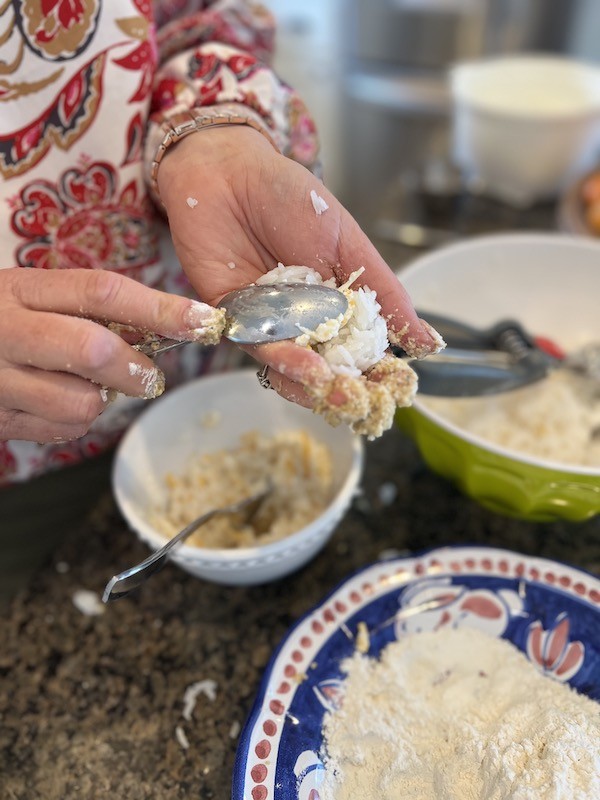
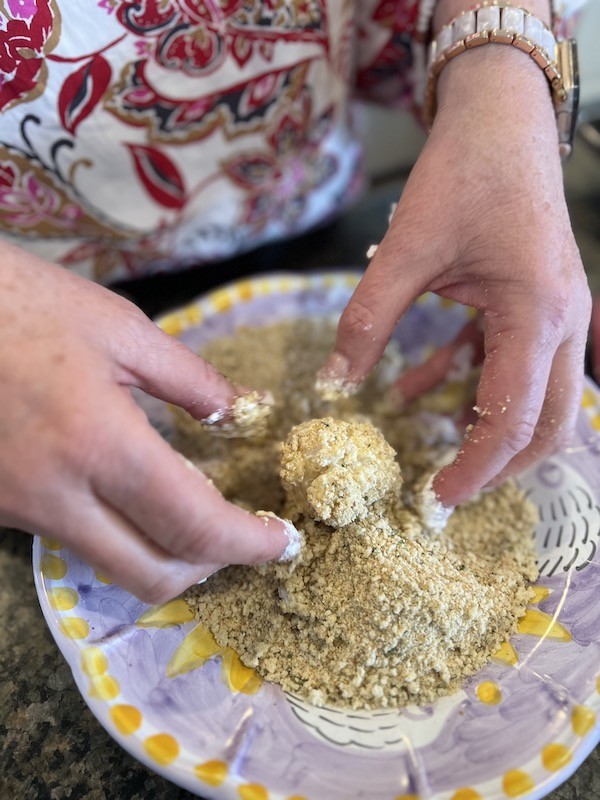
Step 4- Time to form Rice balls- I used a large cookie scoop and pressed a good amount into the scoop. Plop into your hand and form a ball. Make a little indent for the cheese filling. Try to form the rice around the cheese mixture to make the ball shape.
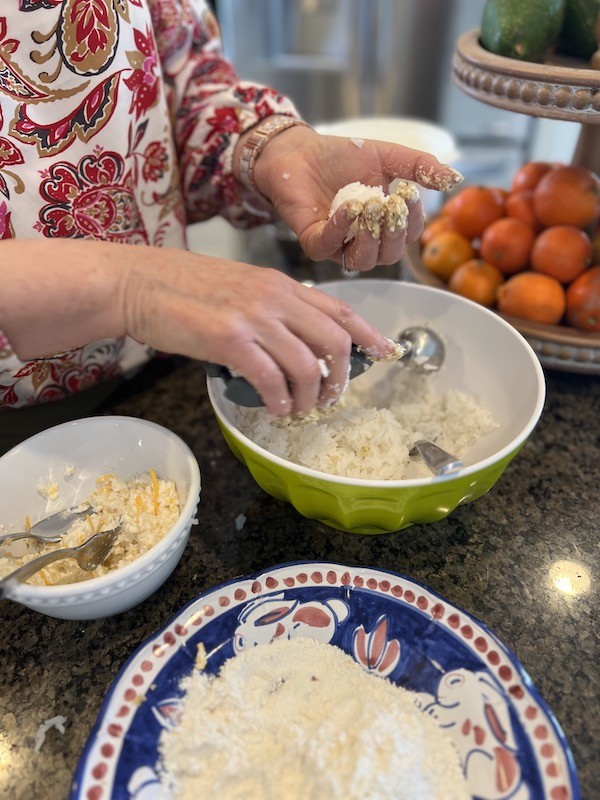
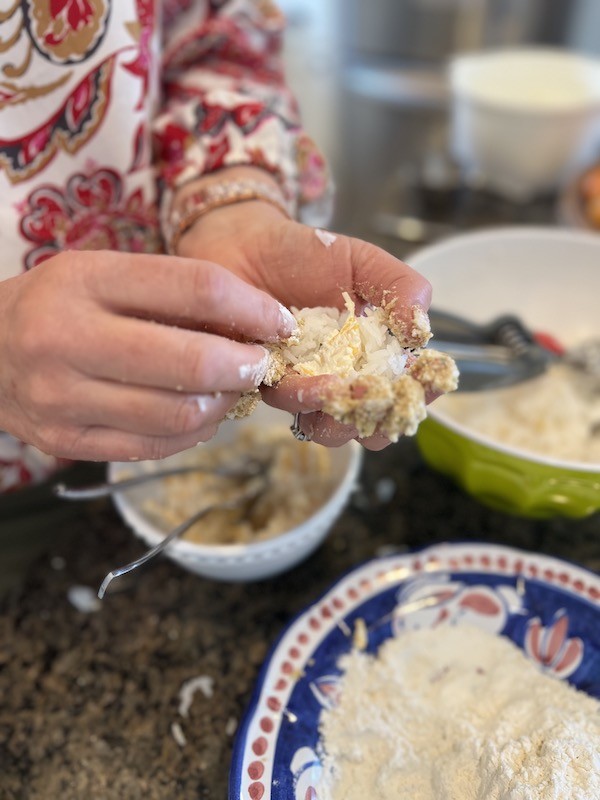
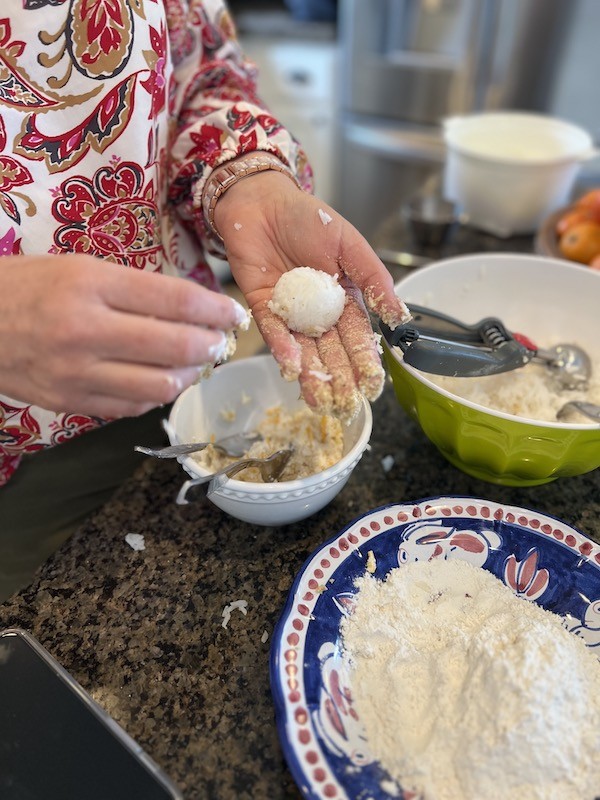
Tip- keep a bowl of water near by to put fingers in to keep rice from sticking to your hands and to rinse them off.
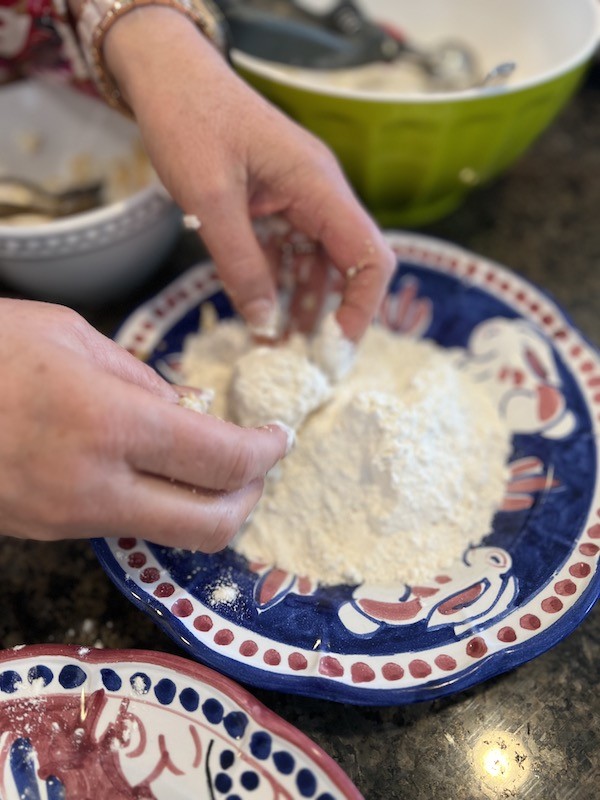
Step 5- Time to roll- Place your rice ball into the flour and roll to coat. Next roll into beaten egg and then finally into bread crumb mixture.
Refrigerate your rice balls
Place your rice balls on a cookie sheet and refrigerate for 30 minutes or more. It helps to keep the rice balls from falling apart.

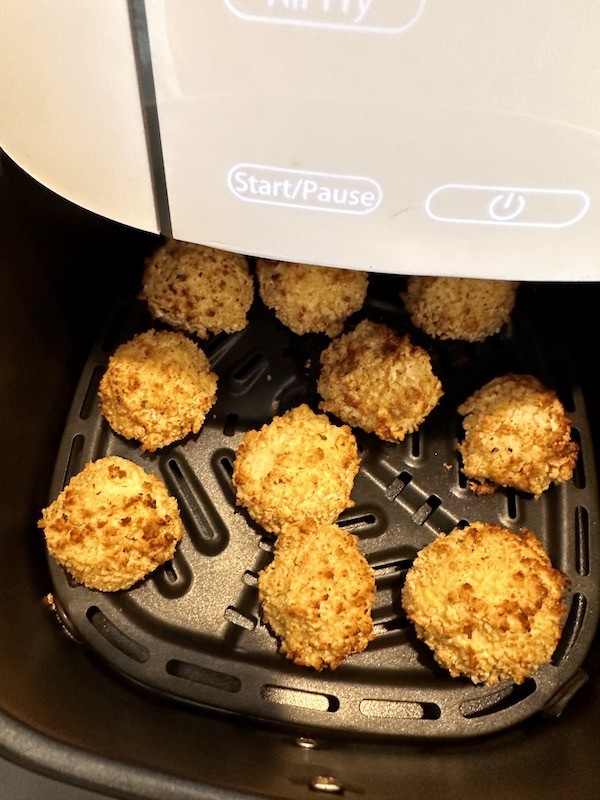
Air fry time!
Normally you would heat oil in a frying pan and deep fry your rice balls but I decided to air fry them instead. Preheat your air fryer to 400 degrees. Spray the balls evenly with cooking spray. Place balls in the air fryer and air fry for about 10 minutes until golden brown.

What to serve with Italian Arancini rice balls
The typical way is to serve these delicacies is with marinara sauce. You dip your rice balls into the sauce and enjoy every bite!

Other options in making Italian arancini is to fill them with vegetables like peas or with meat in the middle. I prefer the cheese in the middle. These are just so good!

Shop Cooking Utensils

Recipe
Italian Arancini Rice Balls
Ingredients
Method
- Step 1- Cook 4 cups rice. I used my rice warm but some recipes say to refrigerate the rice ahead of time.
- Step 2- Get out 3 plates and place flour in one, egg in another and then bread crumbs mixed with Italian seasoning in another plate.You are going to be dipping your rice balls in this order. Flour, egg and then bread crumbs.
- Step 3- Mix ricotta, parmesan and fiesta cheese together with 1 tablespoon of milk in small bowl. (you might have leftovers)
- Step 4- Time to form Rice balls- I used a large cookie scoop and pressed a good amount into the scoop. Plop into your hand and form a ball. Make a little indent for the cheese filling. Try to form the rice around the cheese mixture to make the ball shape. Tip- keep a bowl of water near by to put fingers in to keep rice from sticking to your hands and to rinse them off.
- Step 5- Time to roll- Place your rice ball into the flour and roll to coat. Next roll into beaten egg and then finally into bread crumb mixture.
- Place your rice balls on a cookie sheet and refrigerate for 30 minutes or more. It helps to keep the rice balls from falling apart.
- Preheat your air fryer to 400 degrees. Spray the balls evenly with cooking spray. Place balls in the air fryer and air fry for about 10 minutes until golden brown. Serve with Marinara sauce for dipping
These sound delicious!! I love that you air fried them too. I am skipping most recipes that call for actual frying and making them in the air fryer instead; not only is it healthier but there’s less mess to clean up afterwards.