Karins Kottage

Entertaining * Decorating * Fashion * Travel

  • Contact Us
    • Let’s Collaborate
  • Decorating
    • Tour
      • Coastal Guest Room
      • Dining Room
      • Family Room
      • Front Porch Ideas
      • Kitchen Nook
      • Mud Room Built Ins
      • Shop My Home
    • Crafting
    • DIY
    • Furniture redo
    • Chalk Painting/Painting
    • Organizing
    • Shop My Home
    • Sewing
    • Wall treatments
    • Window treatments
  • Entertaining
    • Baby Showers
    • Birthday Parties
    • Bridal Showers
    • Graduation parties
    • Holidays
      • Christmas
      • Easter
      • 4th of July
      • Halloween
      • Parties
        • Super Bowl Party
        • weddings
      • Thanksgiving
      • Valentines
    • Outdoor Entertaining
    • Tablescapes
  • Fashion
  • Recipes
    • Breads
    • Desserts
    • Main dishes
    • Pasta
    • Recipes
    • Salads
    • Side Dishes
    • Soups
  • Travel
    • Cancun in March
    • Traveling through Italy
    • My Travels to Hong Kong
    • Italy
    • Rogers Gardens- Newport Beach California
Home » Quick Easy Headboard Tutorial

in Decorating· Furniture redo

Quick Easy Headboard Tutorial


quick and easy headboard tutorial-
 
 
For Christmas this year my hubby and I made a quick and easy headboard for our daughter as a surprise.
 
We used 1 x 4 boards and cut them to fit a queen sized bed.
 
We found a tutorial from Our Small Town but we used bigger pieces of wood for ours.
 
 
We measured from the floor up to the point on the wall where we wanted the top of the headboard to rest.
 
Then we measured side to side with about a 1″ or 2 ” overhang on each side.
 
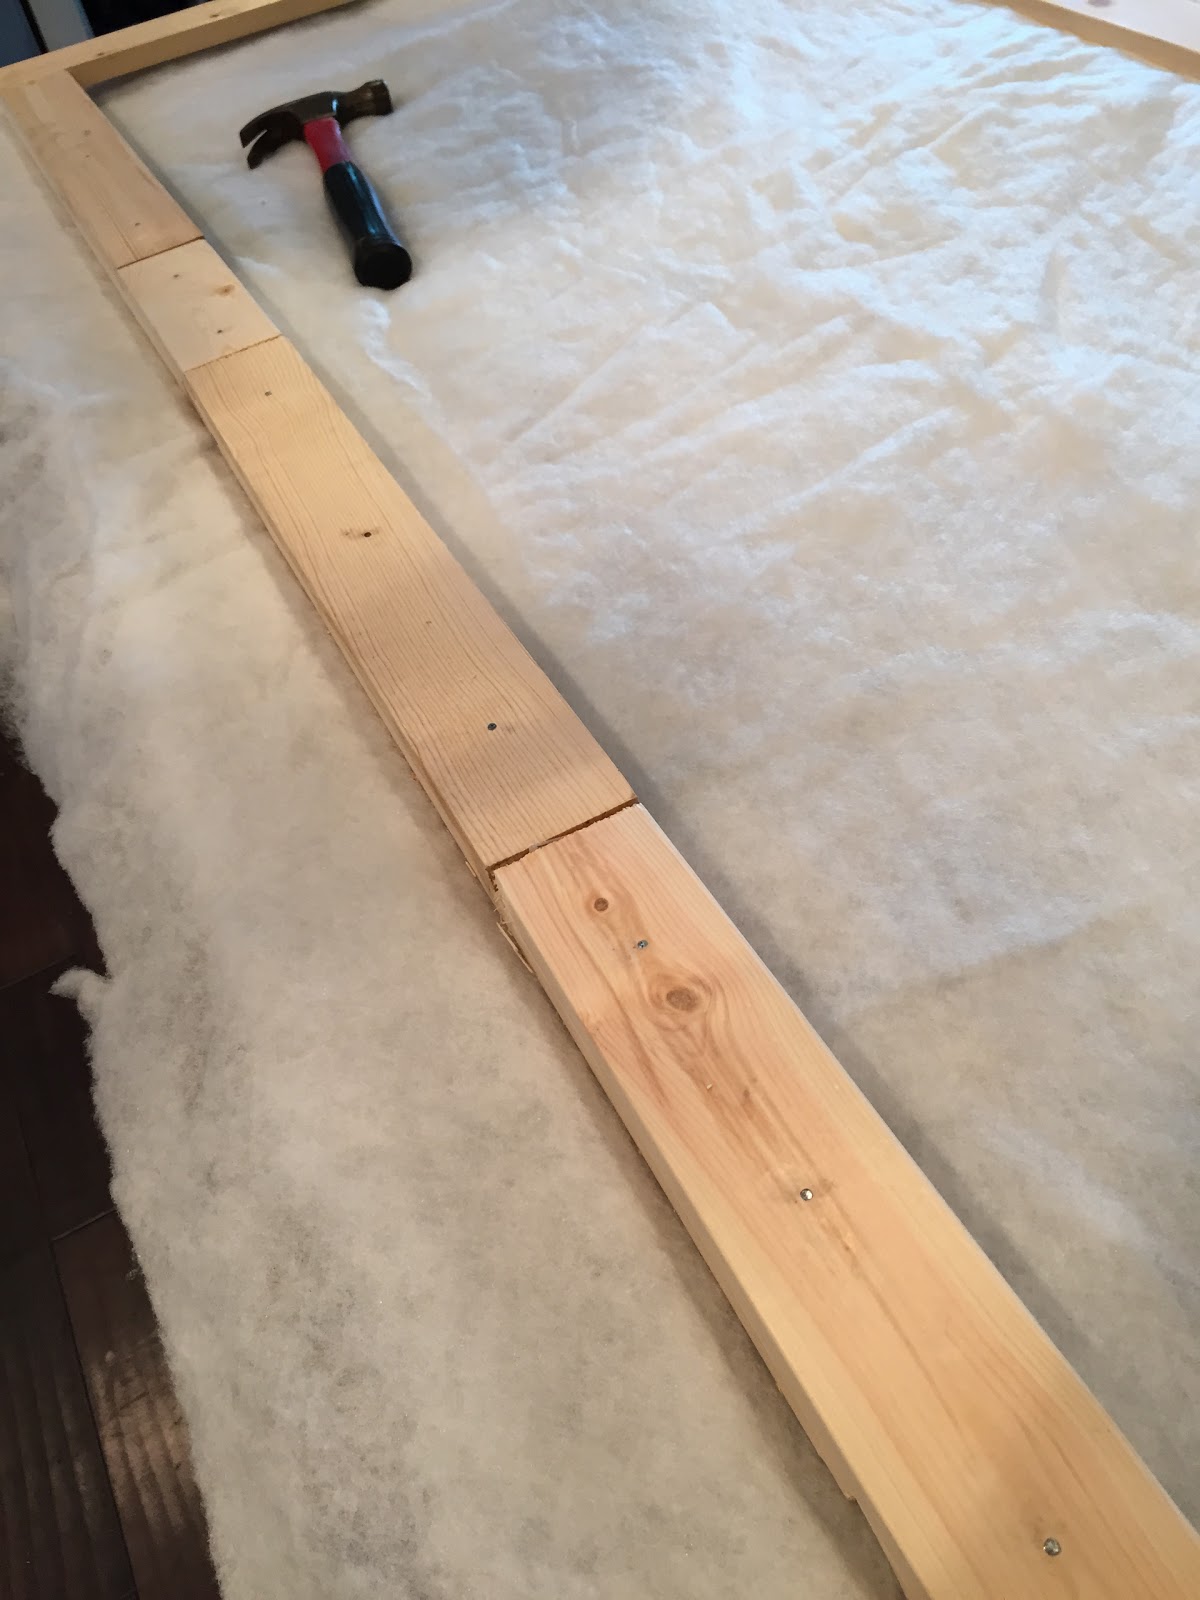
Then we…. or rather he… built the frame. He used screws and drilled them in.
 
TIP: Pre drill holes so the wood wont split…ask me how I know LOL
 
quick and easy headboard tutorial- The Style Sisters
We realized we made one mistake…We should have butted the wood pieces up to each other and used a flat L bracket to hold them together instead of laying the wood pieces on top of each other because it leaves a gap when you put the fabric over it….
 
quick and easy headboard tutorial- The Style Sisters
 
To compensate for the gap my hubby used the left over wood pieces and nailed them on top to make it flush.
 
 
All fixed now 🙂 Lay the headboard on top of batting leaving enough to fold over the tops of the wood. I doubled the batting to make it fuller.
 
 
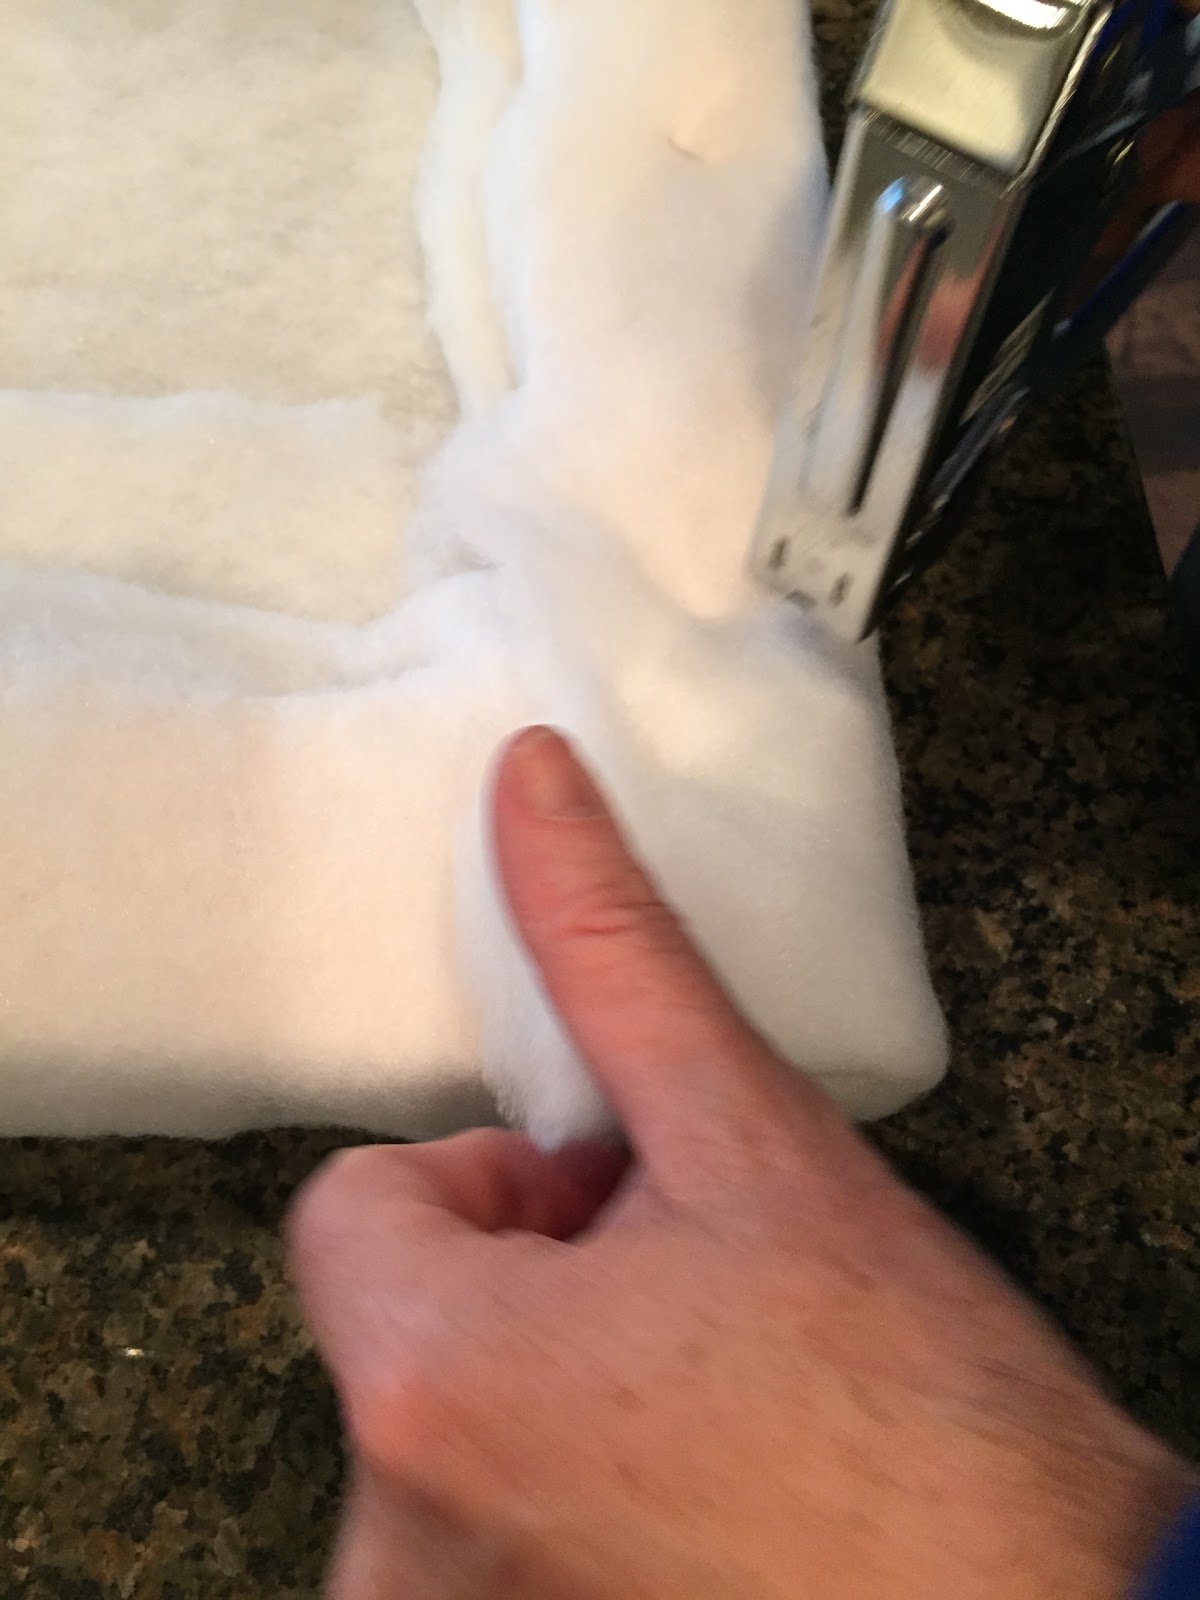
Next use a staple gun to staple it all around the frame.
 
quick and easy headboard tutorial- The Style Sisters
Fold over the edges of batting on corners and staple them down


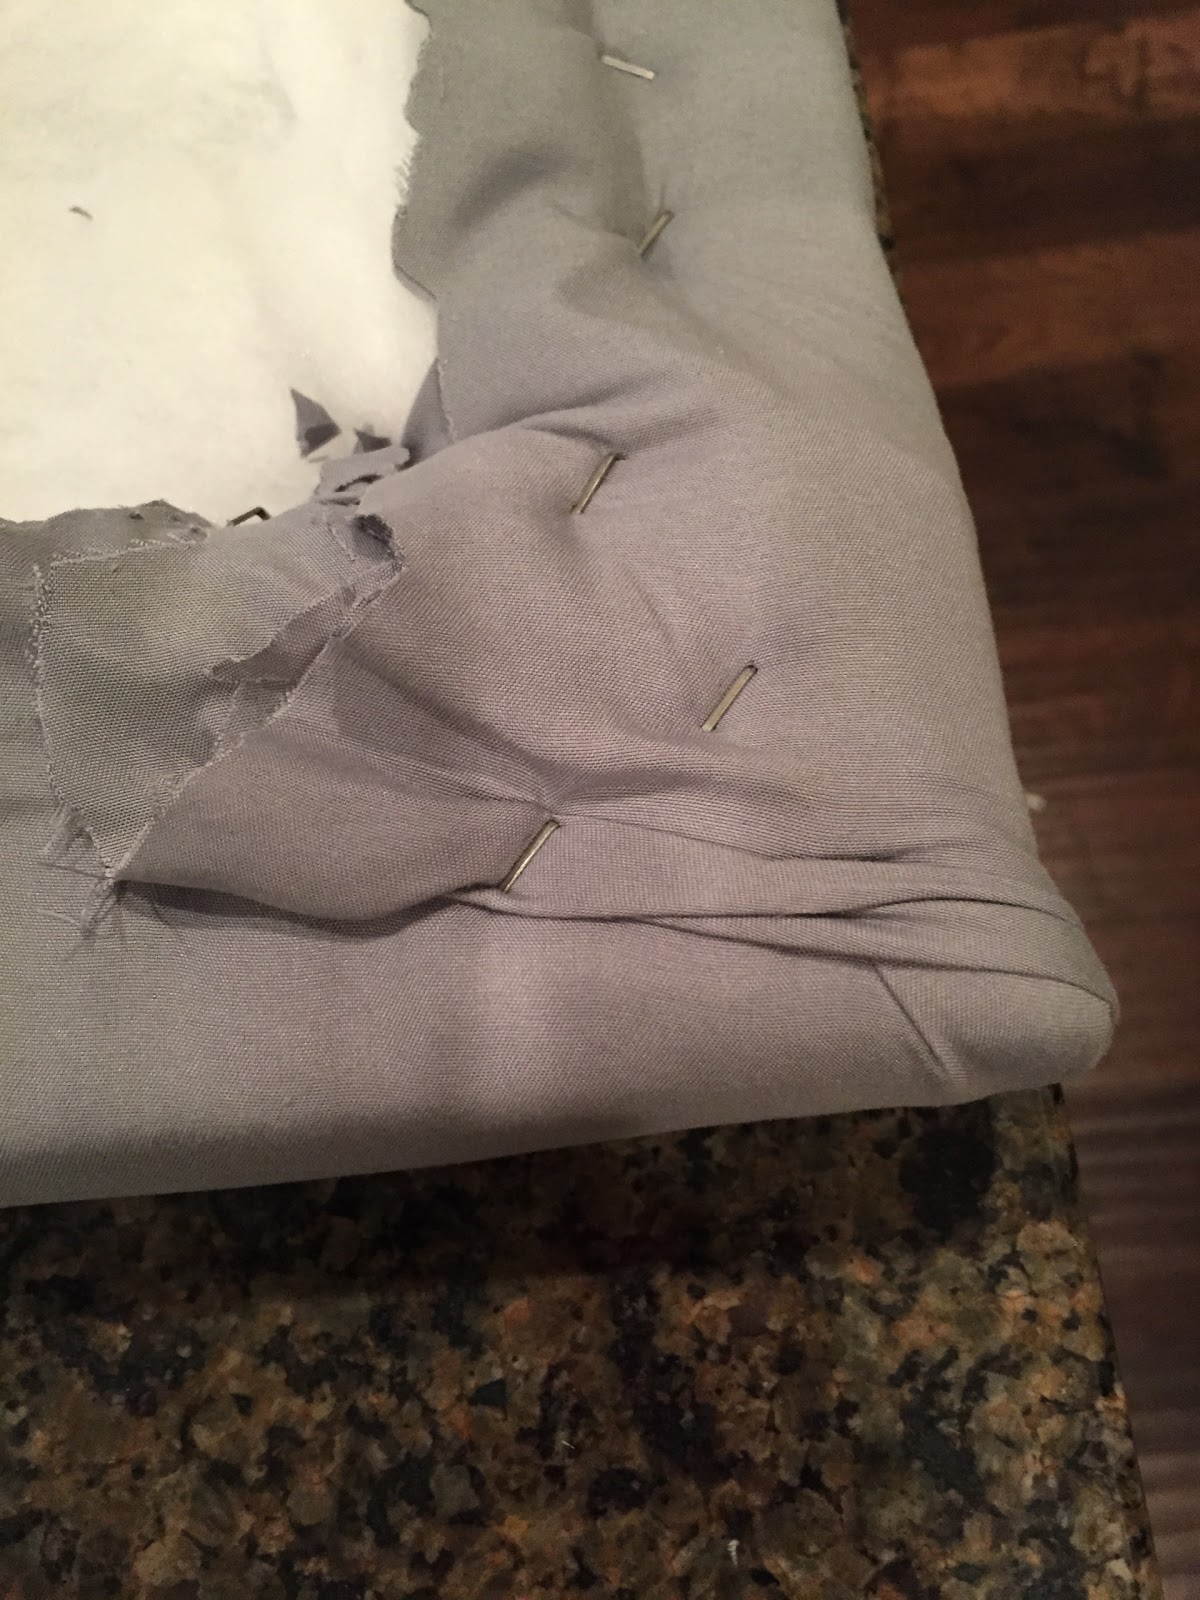
Next lay the frame that has batting all stapled on it on top of your fabric. I chose these queen sized basic grey sheets from Target and doubled up the sheet to make it thicker.
 
We started stapling on the top of the headboard and moved to the bottom of the headboard and stretched the fabric as we went along and made sure it was smooth. 
 
TIP- Check it by lifting it up and taking a look just to make sure it is smooth every so often.
 
Once the top and bottom were stapled down….we moved to the sides and did the same thing. On the corners we kind of folded and pleated the fabric to make it smooth on the corners and stapled.
 
Once the fabric was stapled and smooth we added buttons.
 
I measured to make sure they were even and sewed the buttons on and tried to pull the threads pretty tight to make it look tufted.
 
It doesn’t really look very tufted but I still love how it looks and best of all so does my daughter! 
She was so surprised!


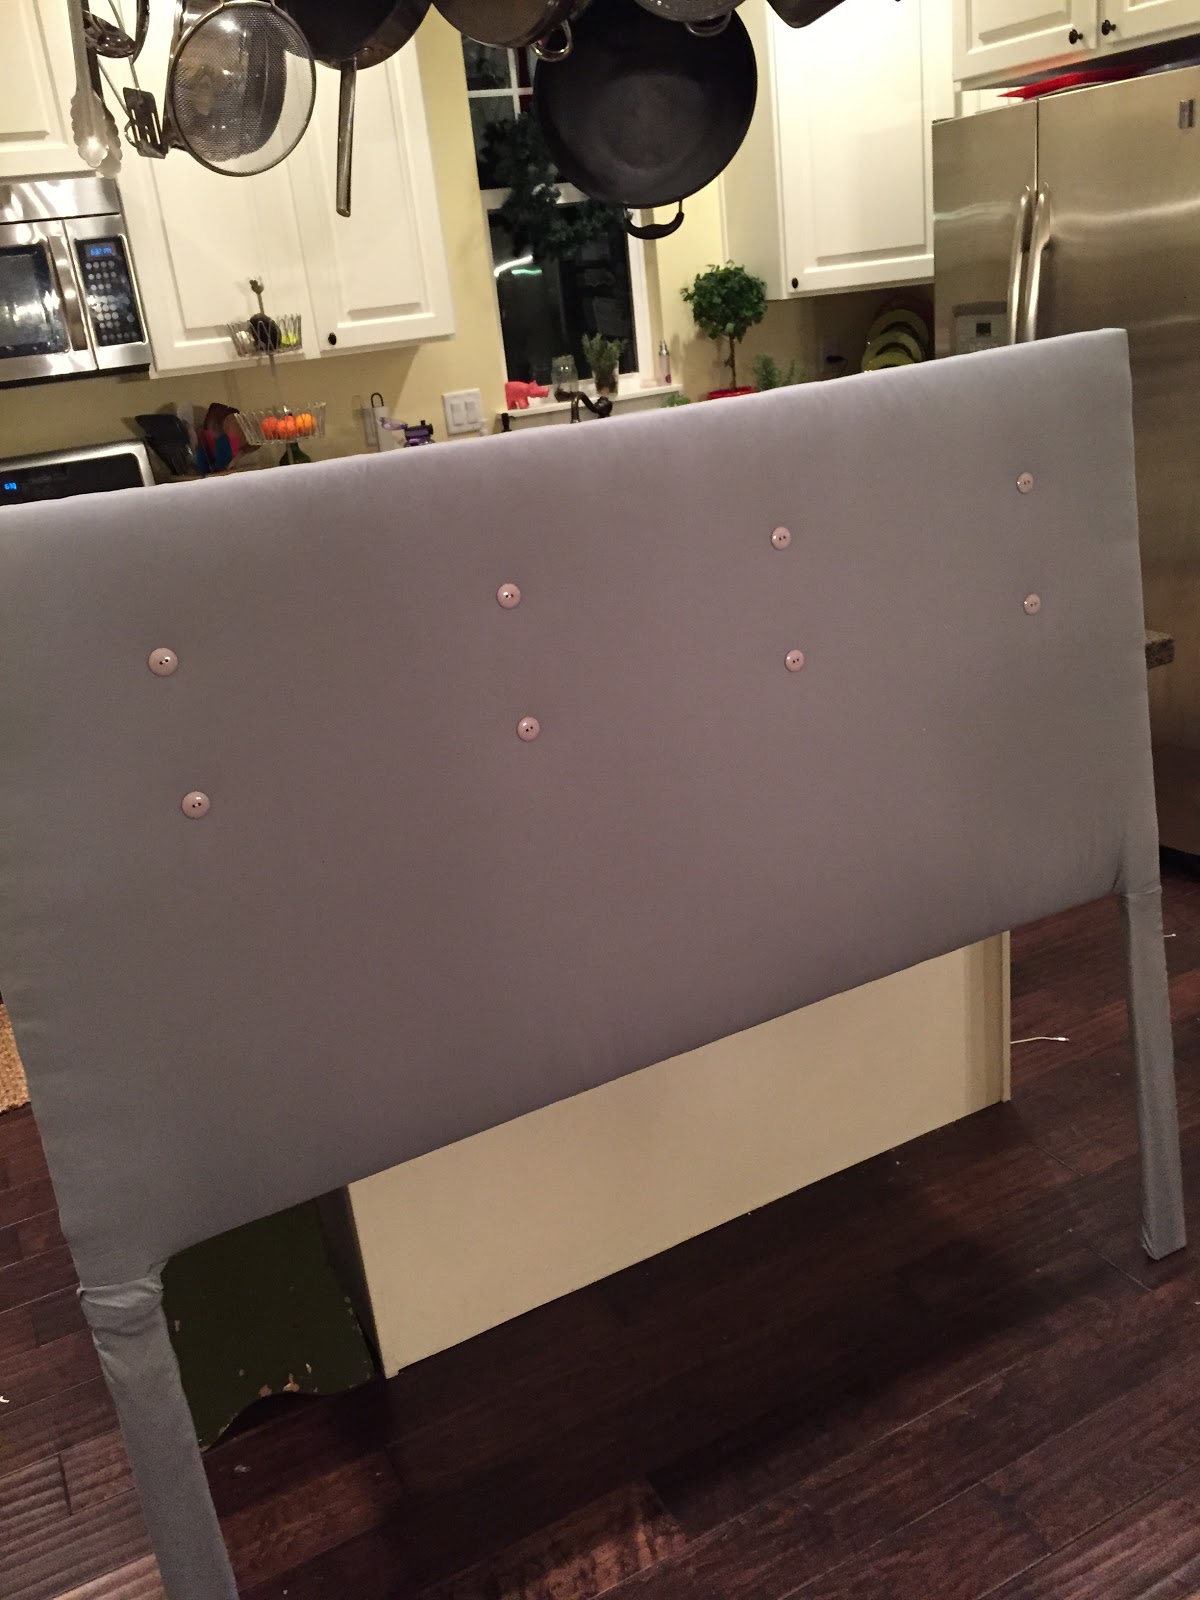
For the legs we added a little extra fabric and stapled it all the way down.
quick and easy headboard tutorial- The Style Sisters
It just made the room look complete! 
 
quick and easy headboard tutorial- The Style Sisters, Headboard DIY
 
If you like this tutorial you will love how my hubby created a new planked top for an existing table.
 
It looks amazing and gives us more space. 


4 Comments

Stay connected to the Kottage

don't miss a thing
☞  SIGN UP TO receive THE LATEST news and updates from Karins Kottage ☜
You’ve successfully signed up! Check your email for details.
Previous Post: « IKEA shelving hack
Next Post: Fashion Friday- Black and White Polka dot blouse versatility »

Reader Interactions

Comments

  1. Jo (A Rose Tinted World) says

    July 26, 2020 at 1:21 pm

    Brilliant tutorial, and such a great project for people on a budget!

    Reply
    • Karins Kottage says

      July 26, 2020 at 1:48 pm

      Thank you so much! It turned out so cute and my daughter loved it!
      Thanks for stopping by!
      Karin

      Reply
  2. Stacey says

    March 5, 2015 at 3:59 pm

    That's a wonderful gift! Our son just moved into a new apartment last weekend and he needs a headboard. I wonder if I could make it look manly enough to please him. 🙂

    Reply

Trackbacks

  1. Creating coastal guest room refresh on a budget - Karins Kottage says:
    July 21, 2022 at 12:55 pm

    […] I found these fun gold letters at Hobby lobby and spelled out the word CALM to hang above my DIY grey headboard. […]

    Reply

Leave a Reply Cancel reply

Your email address will not be published. Required fields are marked *

Recipe Rating


This site uses Akismet to reduce spam. Learn how your comment data is processed.

Primary Sidebar

Search This Blog

Welcome to Karin’s Kottage!

Summer porch

Hi I am Karin! Welcome to my Kottage. I share all things about life here at the Kottage. Cooking, DIY, Crafts and Travel! Learn more about me and my Kottage by clicking on the photo.

Shop My House

Shop My House
  • Contact Us
  • Decorating
  • Entertaining
  • Fashion
  • Recipes
  • Travel

Footer

Looking For Something

Let’s Get Social

  • Email
  • Facebook
  • Instagram
  • Pinterest
  • RSS
  • Twitter
  • YouTube

RSS RSS feed

  • Outdoor DIY Decor Ideas + Coastal Crafts You’ll Love
  • Easy Roasted Vegetable Sandwiches on Ciabatta – A Crowd-Pleasing Favorite!
  • Patriotic Red White Blue Decor + Stylish IKEA Hack
  • Easy & Charming Red, White & Blue Tablescape

Copyright © 2025 · Market theme by Restored 316