My kids and I had a wonderful time creating placemats together so I would like to share the tutorial with you.
Here are the supplies you will need, neon colored poster board, markers to decorate the placemats with (you can use stickers, paint, stamps – whatever your kids enjoy crafting with), fun washi tape and clear contact paper. If you would like to trace the place setting to act as a guide for your kids when setting the table you will also need a plate, glass, and silverware to trace.

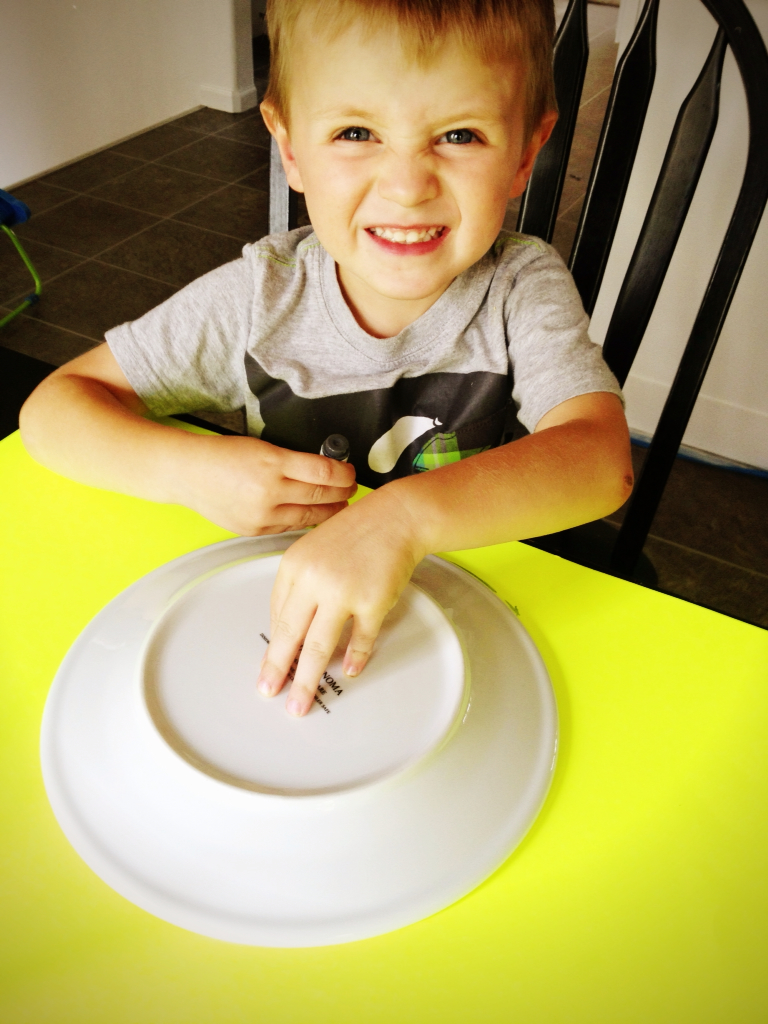
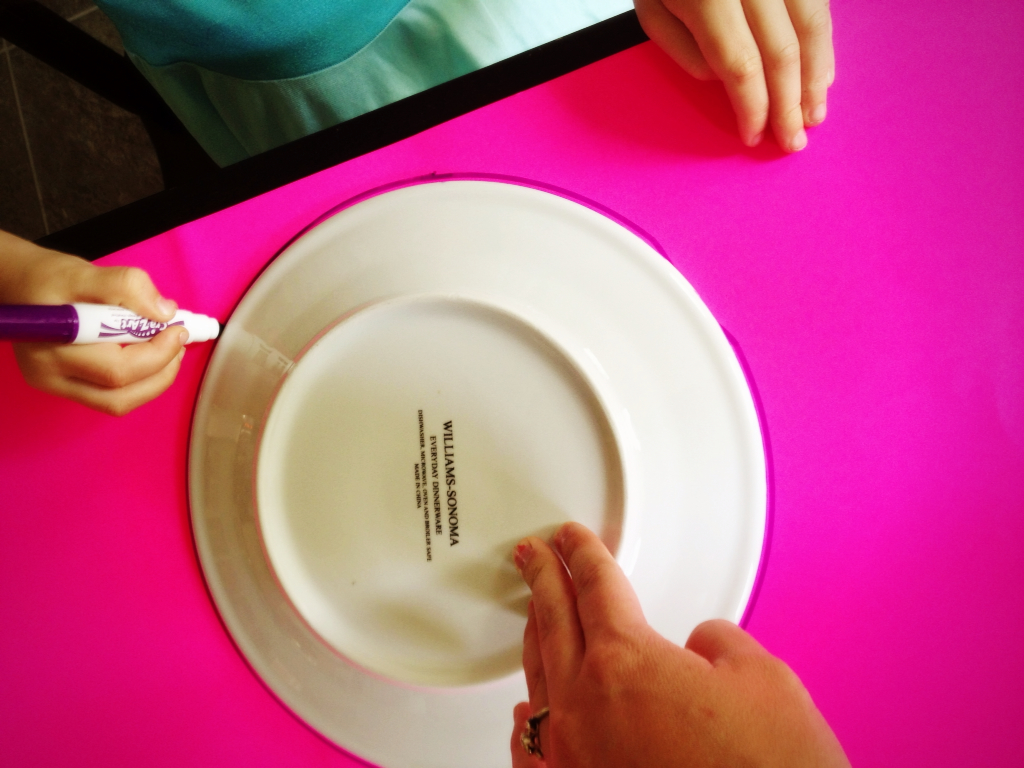
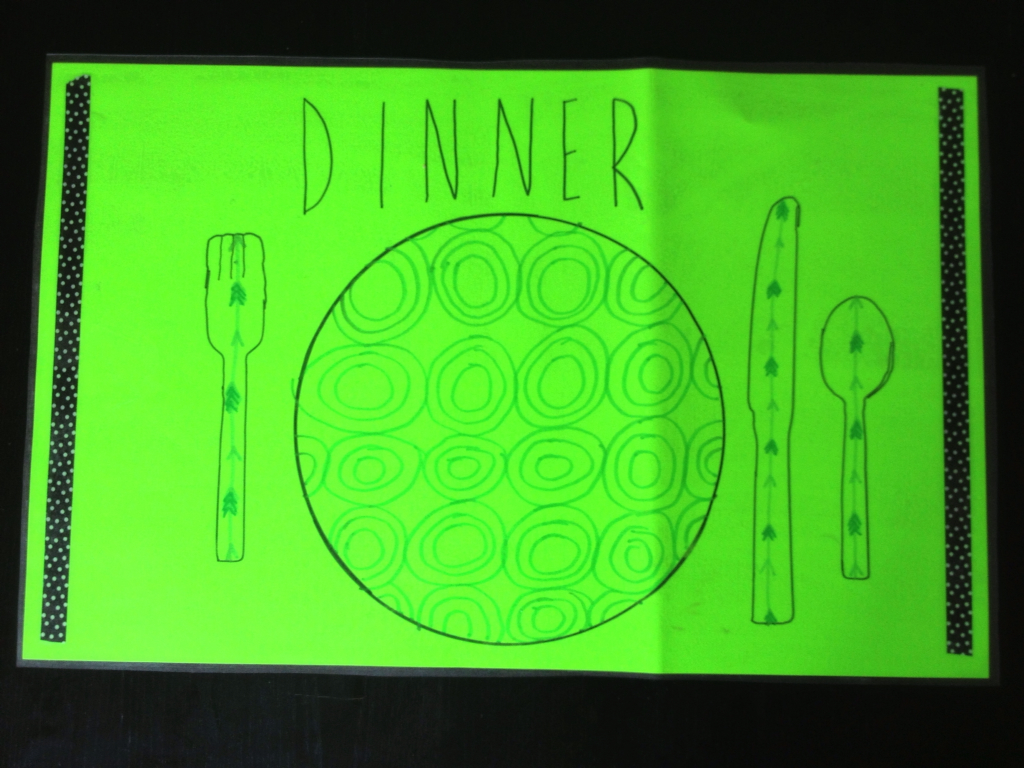
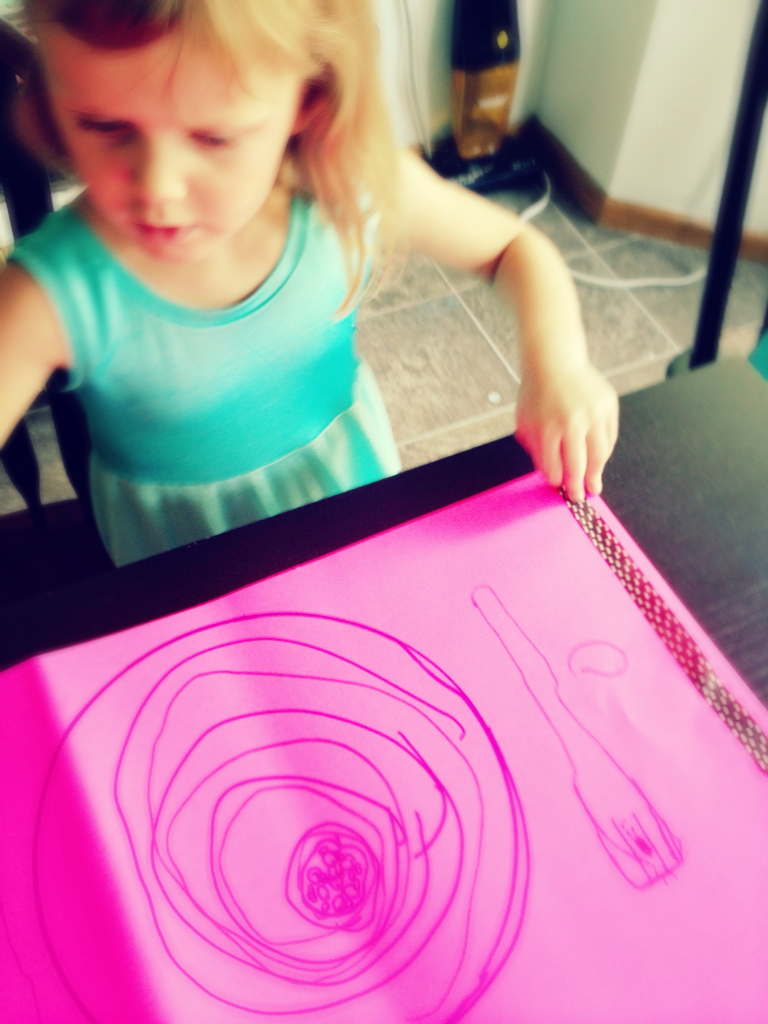
Then with your help trace the silverware in their proper places…forks on the left and knife and spoon on the right. The cup goes on the right above the the knife.

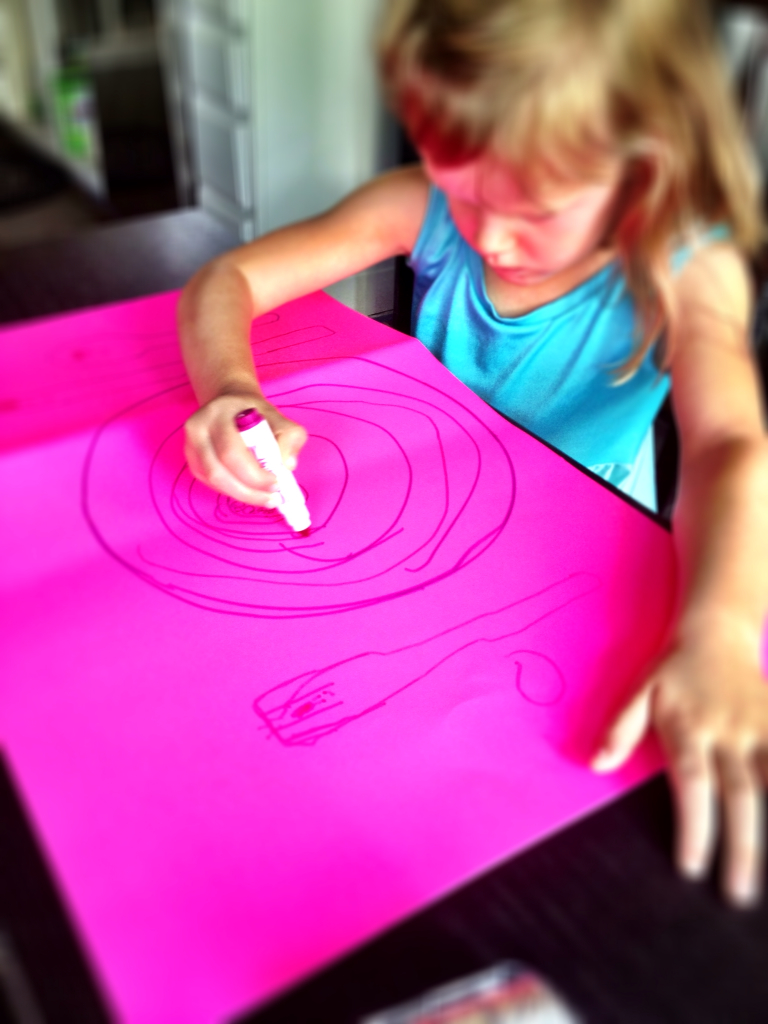
Then let the kiddies decorate their plates in a fun way. I love this picture of my granddaughter concentrating on creating her masterpiece 🙂
Add the tape on the sides for decoration.

This project is not only fun but it teaches them the proper way to set the table and now they can now do it all by themselves!

Even little ones 3 and 4 can now take on the responsibility of setting the table and they feel so happy to be of help.

Empowering your kids to be able to do things for themselves is a great gift you can give them and this project is just one way you can do that. Have fun and set their creativity free!
Leave a Reply