Looking for a darling patriotic craft to add a handmade touch to your 4th of July décor? My daughter Emily and I had the best time creating this adorable DIY USA fabric banner, and I just had to share how we made it with you!
This simple sewing project is full of charm—with soft, stuffed letters that add dimension and whimsy. It’s perfect for hanging on a mantle, porch, or even across a buffet table for your Independence Day celebration.
Let me walk you through how we made our puffy USA banner!
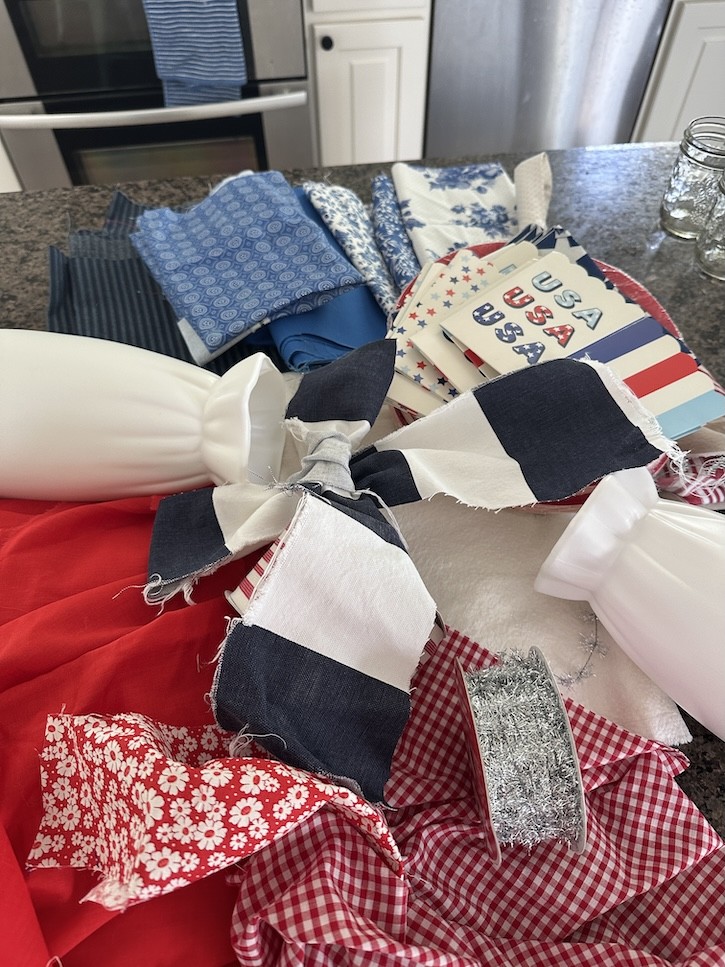
🧵 Supplies You’ll Need for your DIY USA Fabric Banner
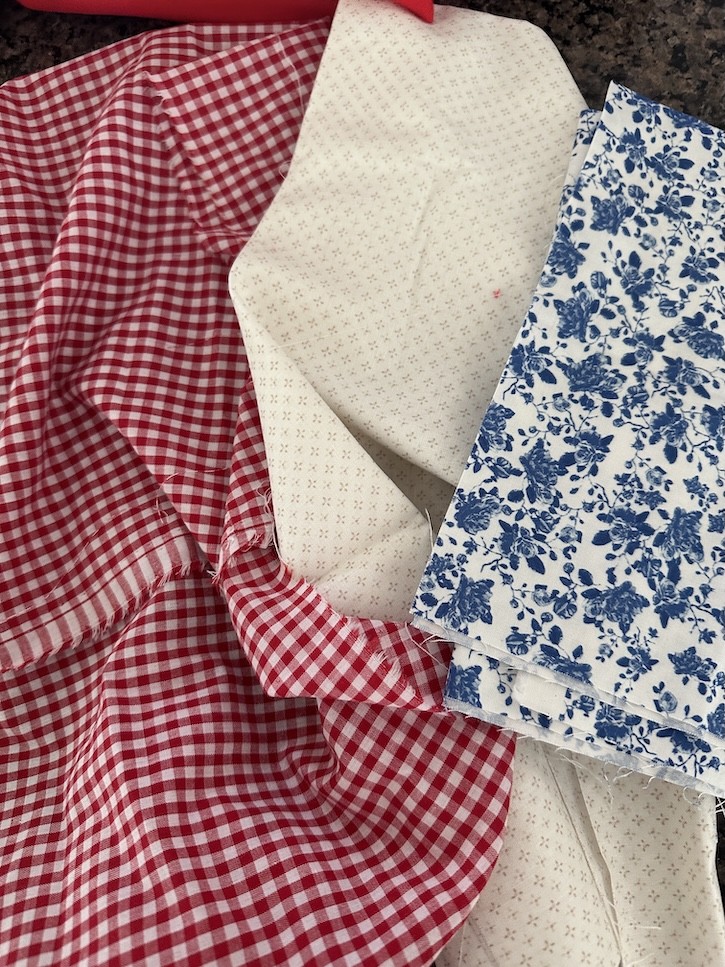
- Red, white, and blue fabric (scraps work great!)
- Soft denim or canvas strip for hanging
- Polyfill stuffing
- Scissors
- Safety pins
- Sewing machine (or needle and thread)
- Cricut machine (optional)
- Printer & paper (if not using Cricut)
✂️ Step 1: Choose & Cut Your Letters
We started by heading to the Cricut website to find a bold, fun font. We printed the letters U, S, and A on 8.5×11″ paper, each one about 10″ x 11″. If you don’t have a Cricut, no worries—you can easily trace or freehand chunky letters onto paper.
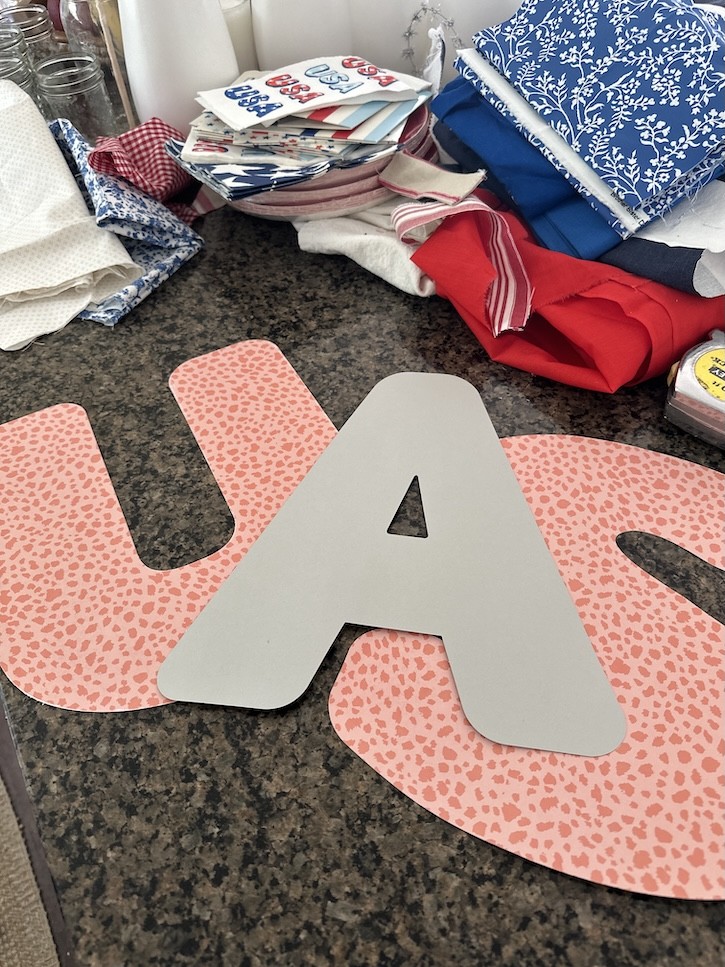
Lay each paper letter on folded fabric, right sides together, and trace around them. You’ll need two layers for each letter—a front and a back.
Then, carefully cut them out.

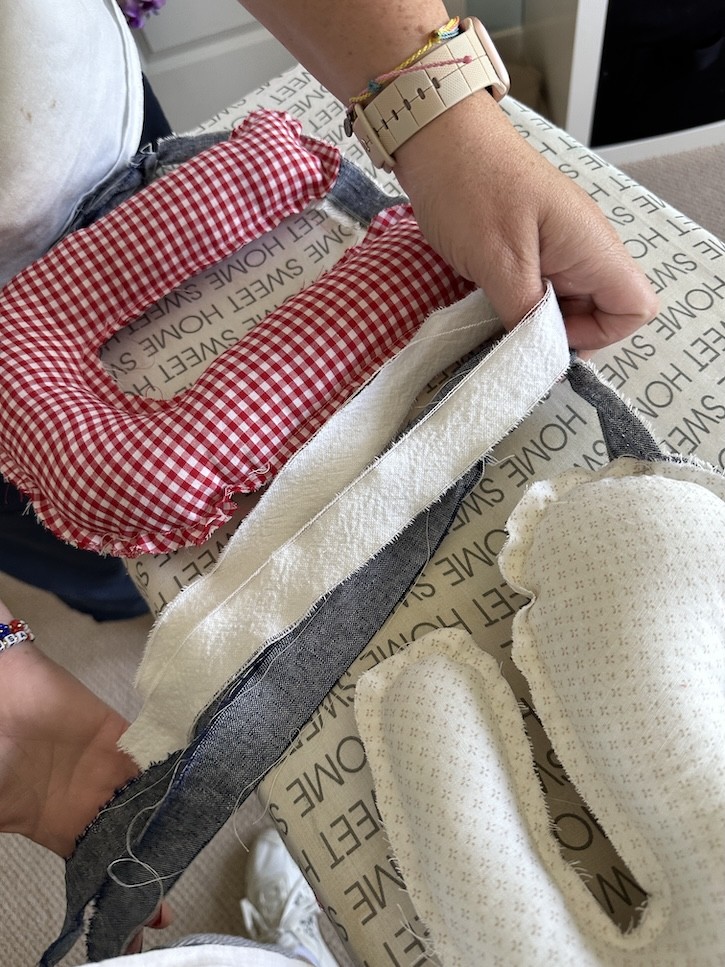
🧵 Step 2: Iron Sew and Stuff
Next, I ironed the fabric so it is nice a smooth and pinned the fabric together.
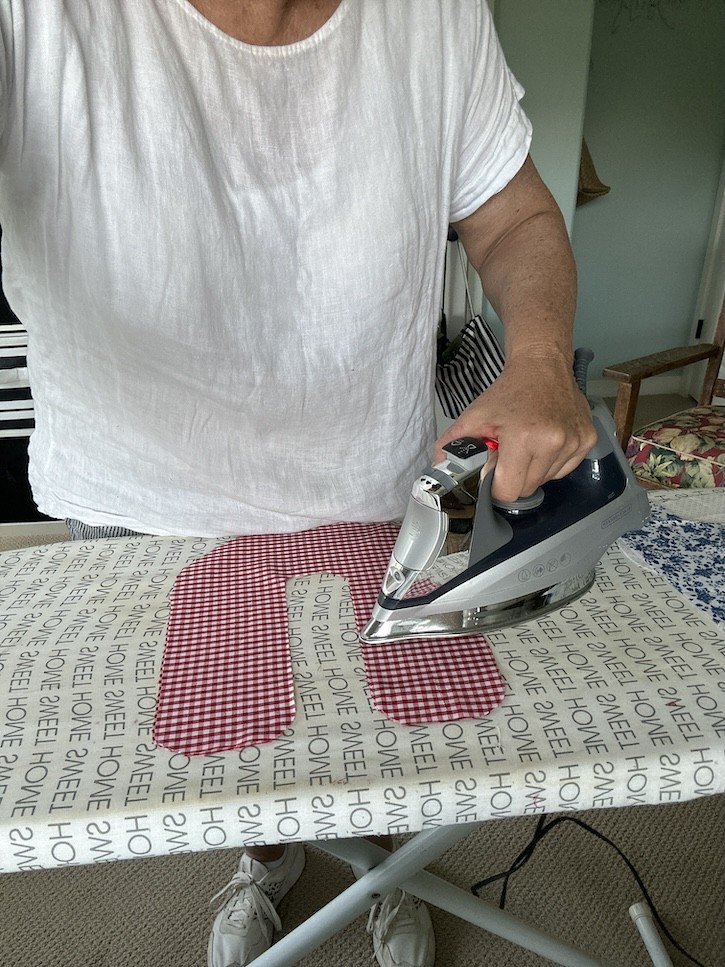
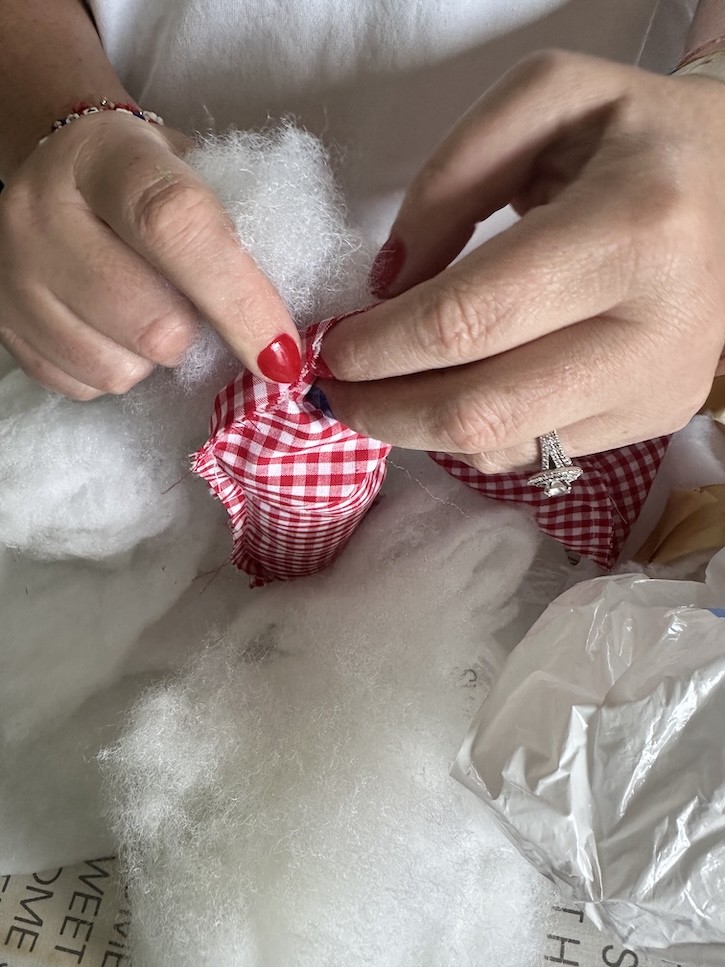
Then I sewed around each fabric letter, leaving a small opening on one edge for stuffing. On the letter A, I also sewed around the inner triangle to give it that true letter shape.
Once the sewing was done, Emily helped me stuff each letter with polyfill, giving them that sweet, puffy look! After they were nice and full, I stitched the openings closed.
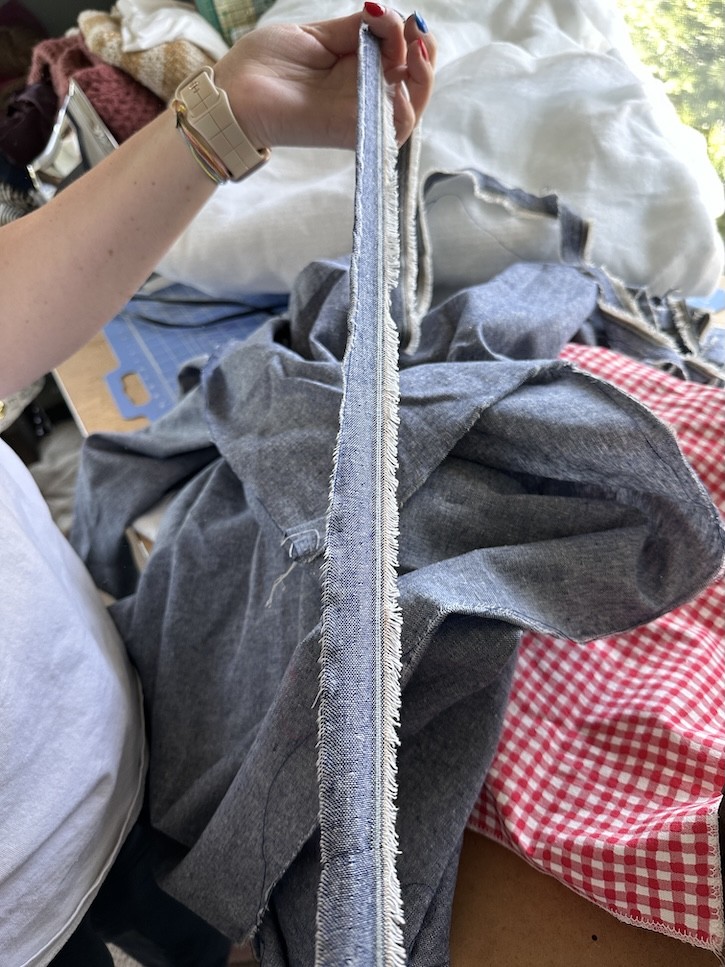
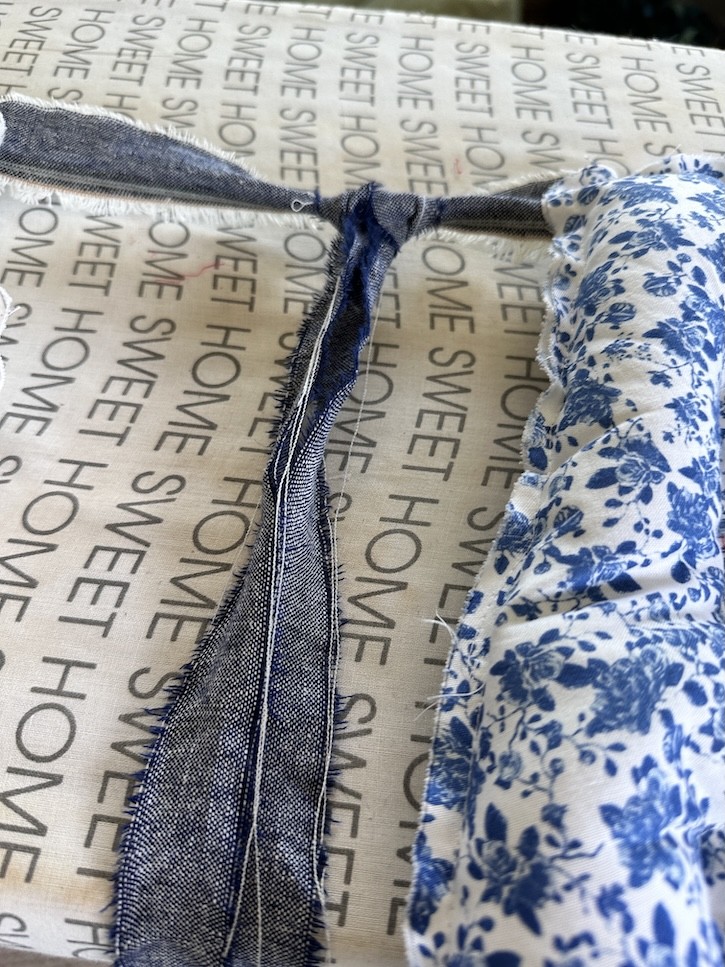
🎀 Step 3: Create the Hanging Strip
For the hanger, we used a soft denim fabric and simply cut a small snip about an inch from the edge. Then we tore the fabric down the length to create a perfectly imperfect rustic strip!
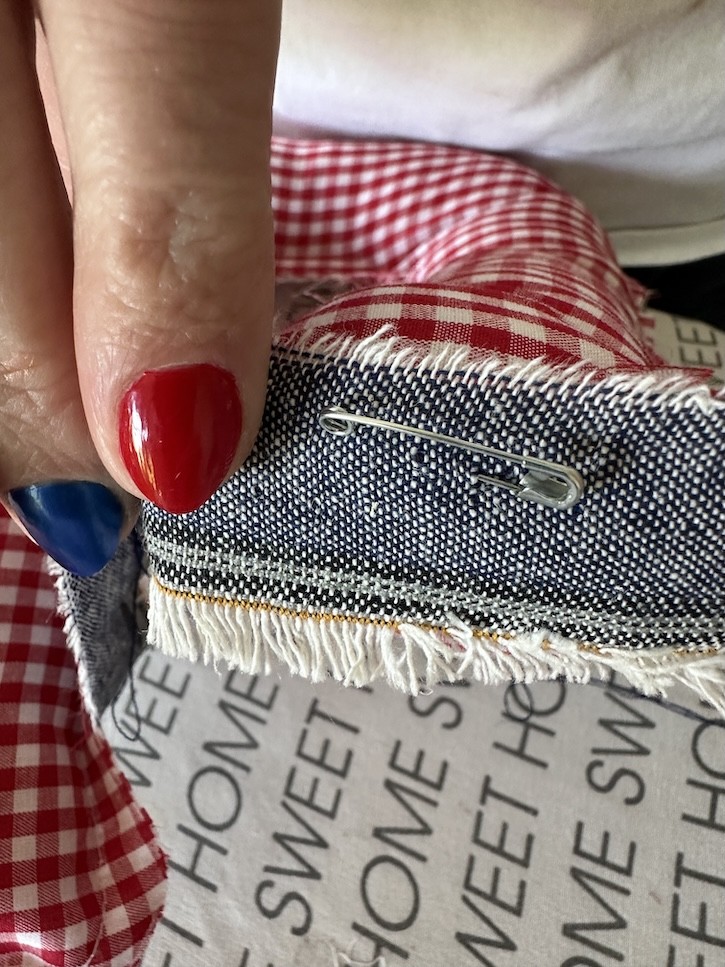
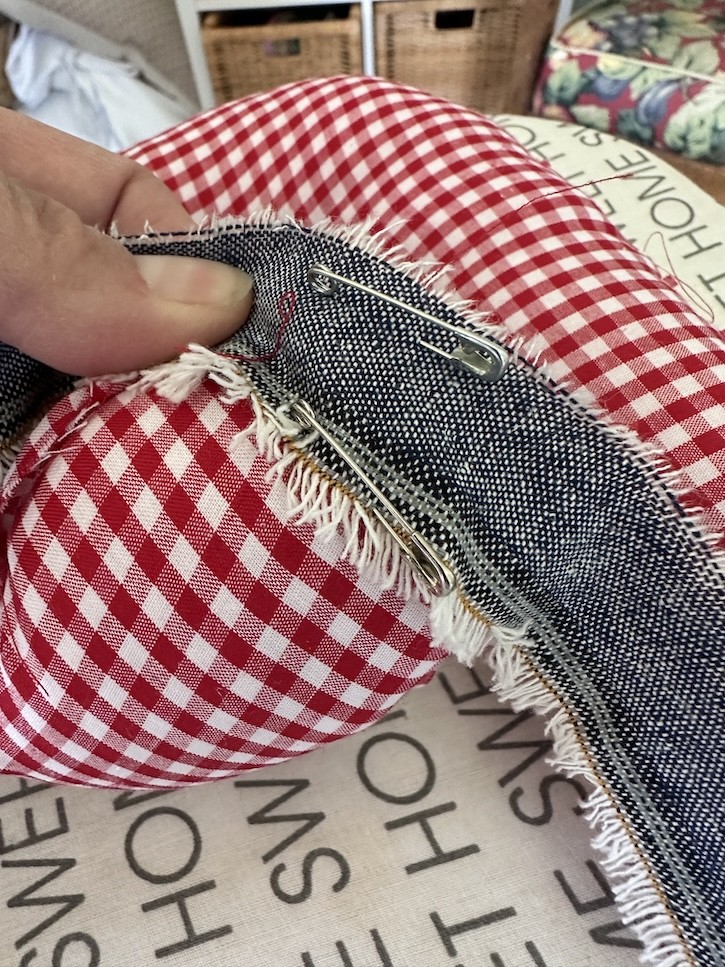
📍 Step 4: Attach the Letters
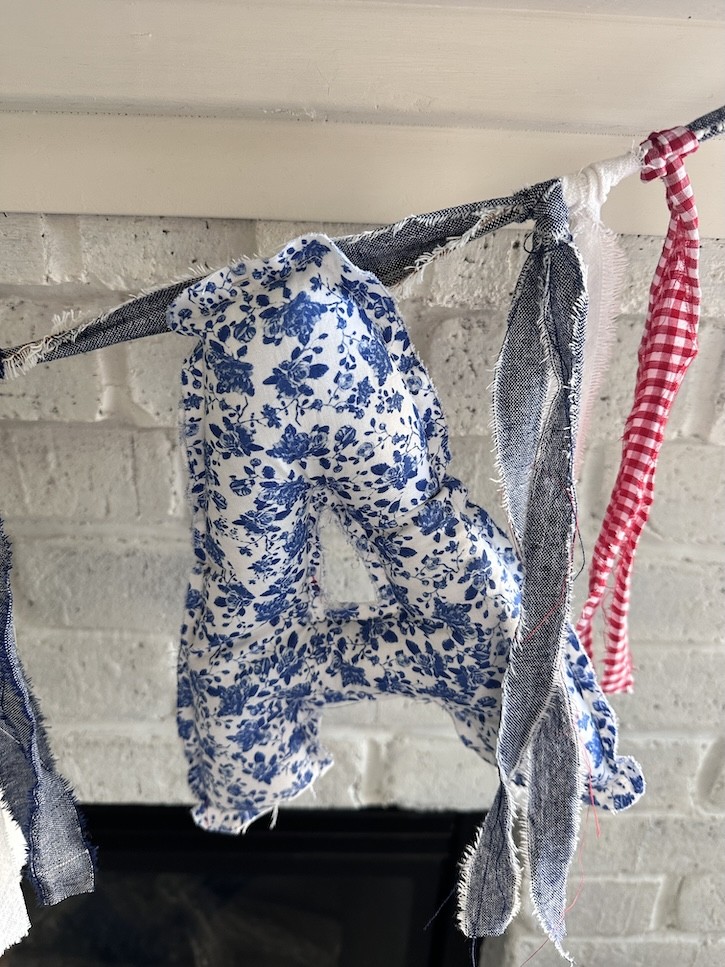
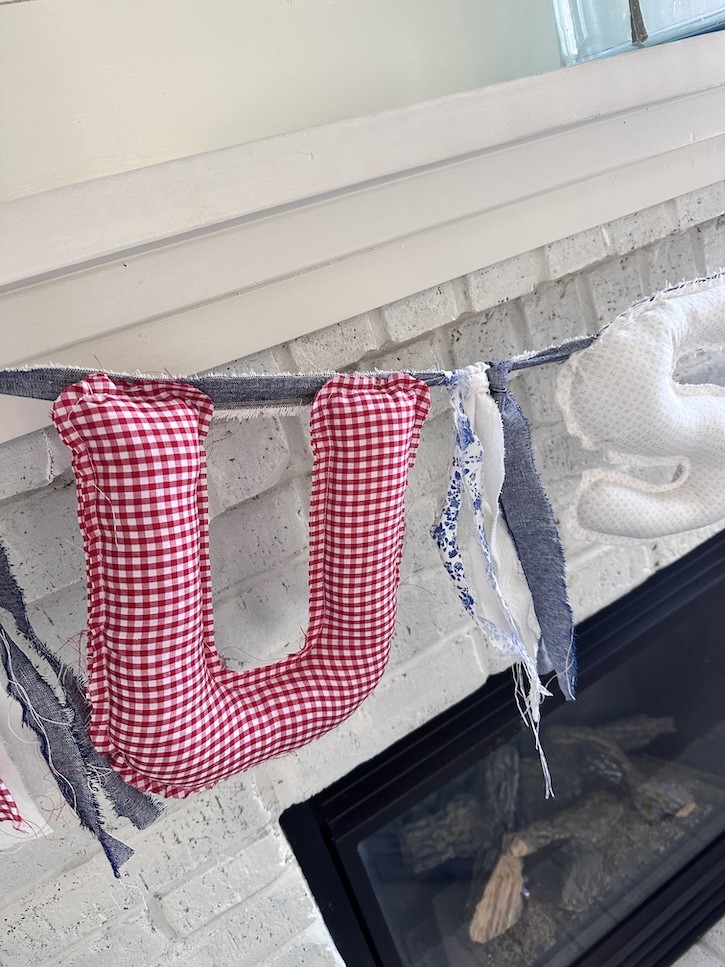
We attached each letter to the denim strip using safety pins—this made it super easy to adjust spacing and remove them later if needed. The pins also help the letters hang straight and evenly spaced.
To finish it off, we added ripped strips of red, white, and blue fabric in between the letters and at each end for a festive, fluttery detail. I just love that homespun, farmhouse feel it gives!
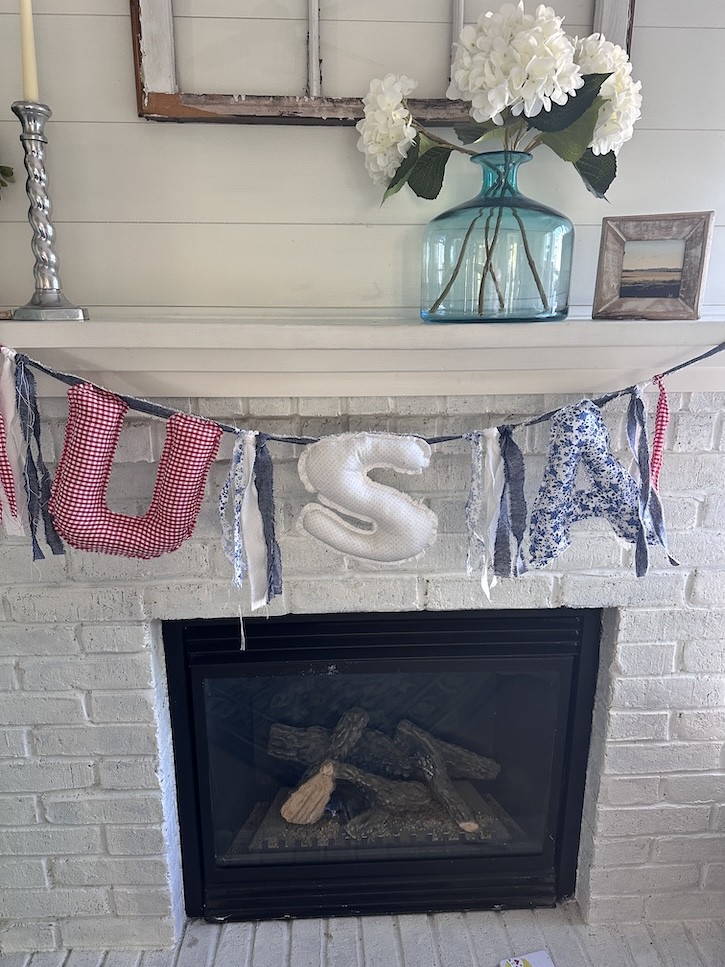
🇺🇸 Display Your DIY USA Fabric Banner with Pride!
We chose to hang our USA banner from the mantle in my living room, and it instantly became the focal point of my 4th of July décor. But honestly, this banner would look so cute hanging across a doorway, window, or even your outdoor table setup!
This craft was such a sweet project to do with Emily. There’s just something special about creating handmade décor together, especially for holidays that mean so much.
More Patriotic Ideas You’ll Love:
- 4th of July Tablescape with Denim & Old Root Beer Bottles
- DIY Patriotic Red, White, and Blue Ribbon Wands
- Backyard Entertaining: Red, White & Blue Edition
Have you made your own patriotic banners before? I’d love to hear what materials you’ve used or how you might personalize this idea! Leave a comment and tag me on Instagram if you try this project!

Let’s make this Independence Day a little more handmade and heartfelt 🇺🇸💙
Leave a Reply