My newest project- Paneling above the fireplace to bring in that beachy cottage look! This was such a fun and easy project to do and so inexpensive.

What I used to create paneling
My latest project that was super easy and fun to do was paneling the area above our fireplace. I used what is called fashion board from Lowes. A large panel is under $10.00! It only took one board with lots left over.

This is the before…no texture just painted yellow above the fireplace. Not very exciting. I was so excited to see how it would turn out.

We measured the wall space top to bottom and side to side and decided on 6″ boards.
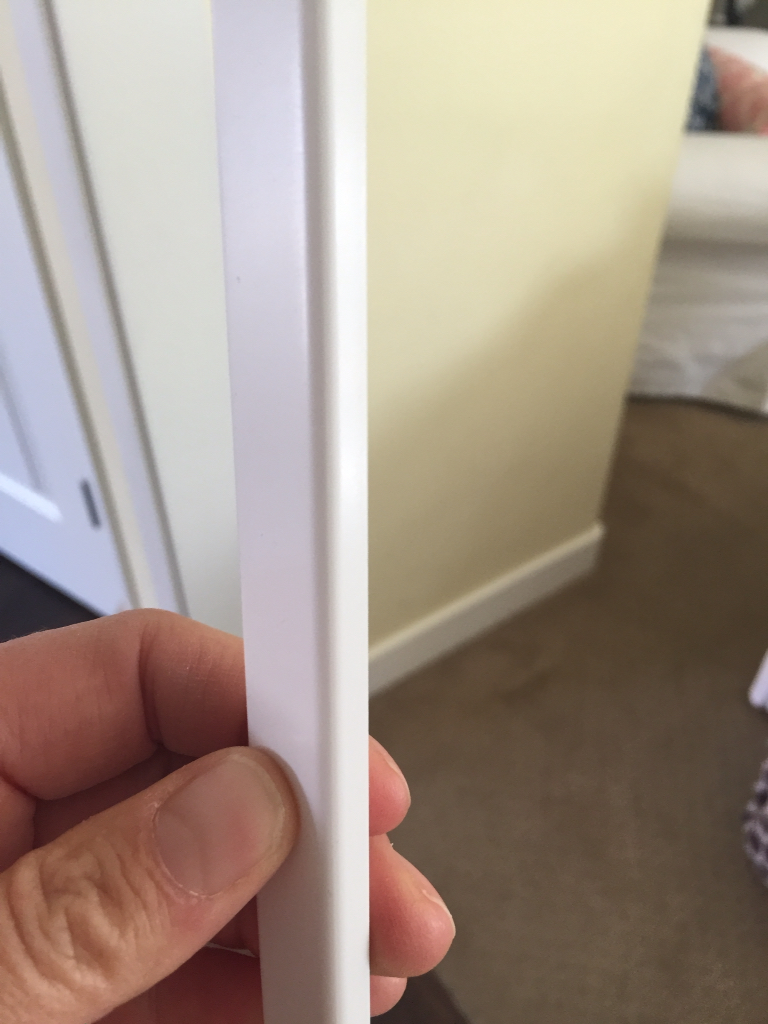
Although he bottom board ended up being 5 3/4″
TIP: measure twice cut once LOL any way we had lowes cut the boards to our specifications.

We placed nickels in between to give us a slight gap.
They would tend to fall out as we hammered but it gave us a the perfect guide to have space between each slat.

We just stacked one on top of the other using finishing nails.
TIP: this board is thin…if you had a huge wall to do I would probably use a thicker type of wall board or backer board so the nails don’t go all the way through.
For this project it has worked perfectly and we have had no lifting.
Finishing fireplace panel above fireplace with trim
Because we have raw edges and a gap up at the top we used some simple already painted white trim.

After it was all attached to the wall we painted it with leftover white paint I had in the garage that matches my trim.

I love how it looks!
You can see my live video of the finished fireplace here on my periscope. You need the app to view it but hopefully some of you already have it if not download it it’s kinda fun!

[…] have added shiplap to a couple of places in our house. Above the fireplace and in the […]