If you’ve ever wanted to try your hand at making a vintage looking pumpkin craft, this fun DIY project is perfect! Using a simple Walmart plastic pumpkin, some paper towels, tape, aluminum foil, glue, and paint—you can transform an ordinary piece into a charming old-fashioned Halloween decoration. This project even brought back memories of paper mache projects from elementary school for me, and it’s such a sweet activity to do with kids or grandkids.
Supplies You’ll Need
- Walmart plastic pumpkin
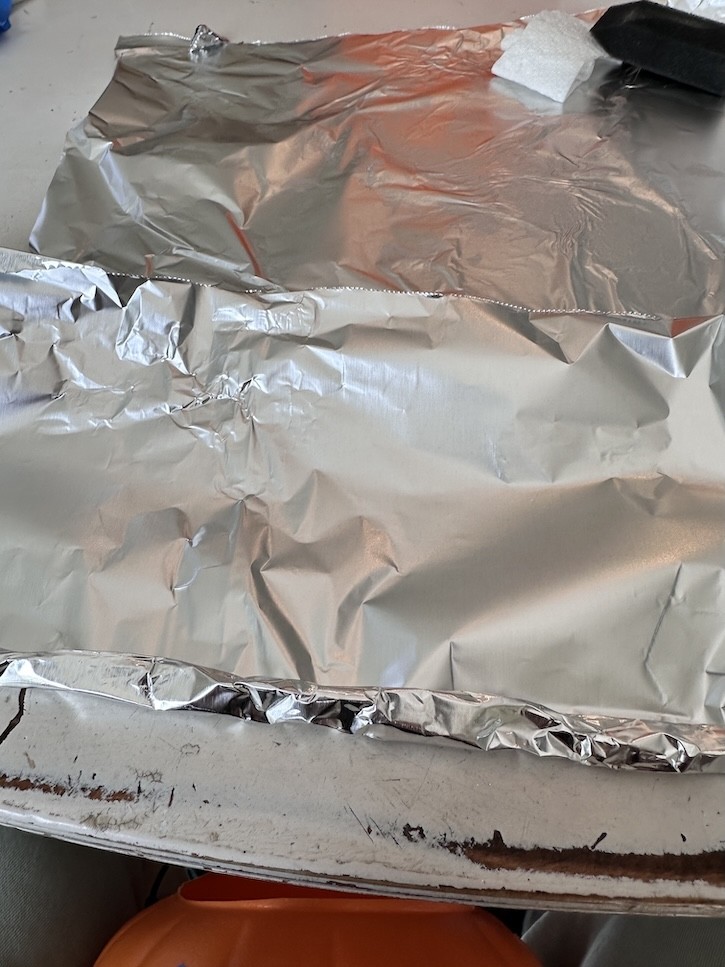
- Aluminum foil
- Painter’s tape or masking tape
- Paper towels
- Mod Podge or Elmer’s glue (diluted with water)
- Craft paints: orange, brown, white, black, yellow (and even a touch of red if you want rosy cheeks)
- Paint brushes
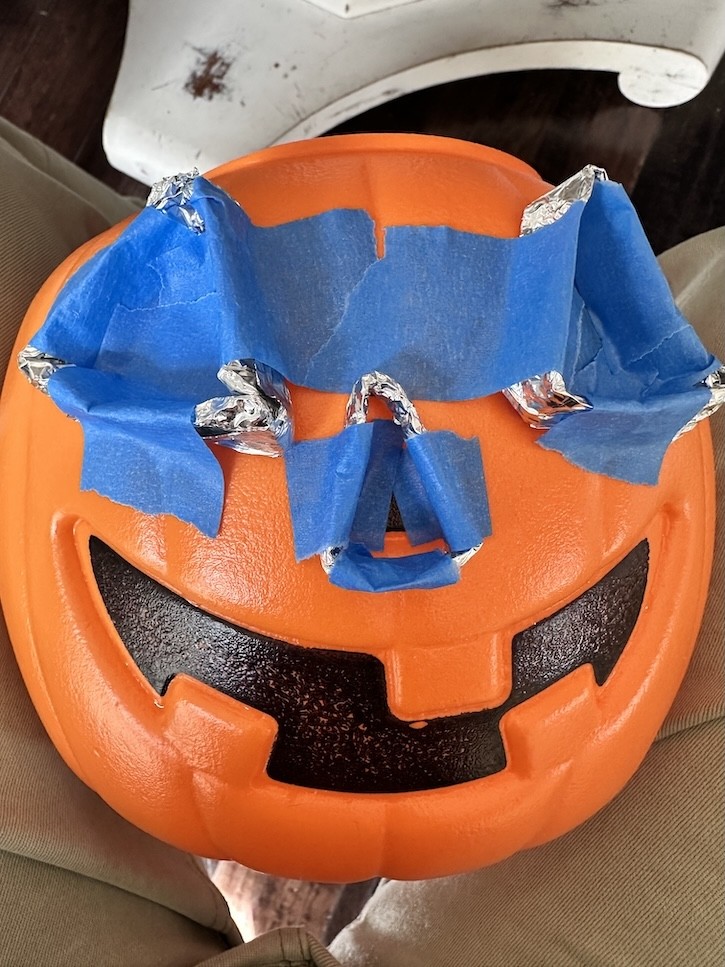
Step 1: Add Dimension with Aluminum Foil
To give your pumpkin that quirky vintage vibe, start by rolling up pieces of aluminum foil and taping them around the eyes, nose, and mouth. You can add little extras like eyebrows, under-eye puffs, or even two little bumps on the back for a playful “pumpkin bum” (yes, I’ve seen it done and it’s hilarious!).
This step is where you can let your creativity run wild. The foil gives your pumpkin personality and creates that dimensional look that really pops once you paint it.
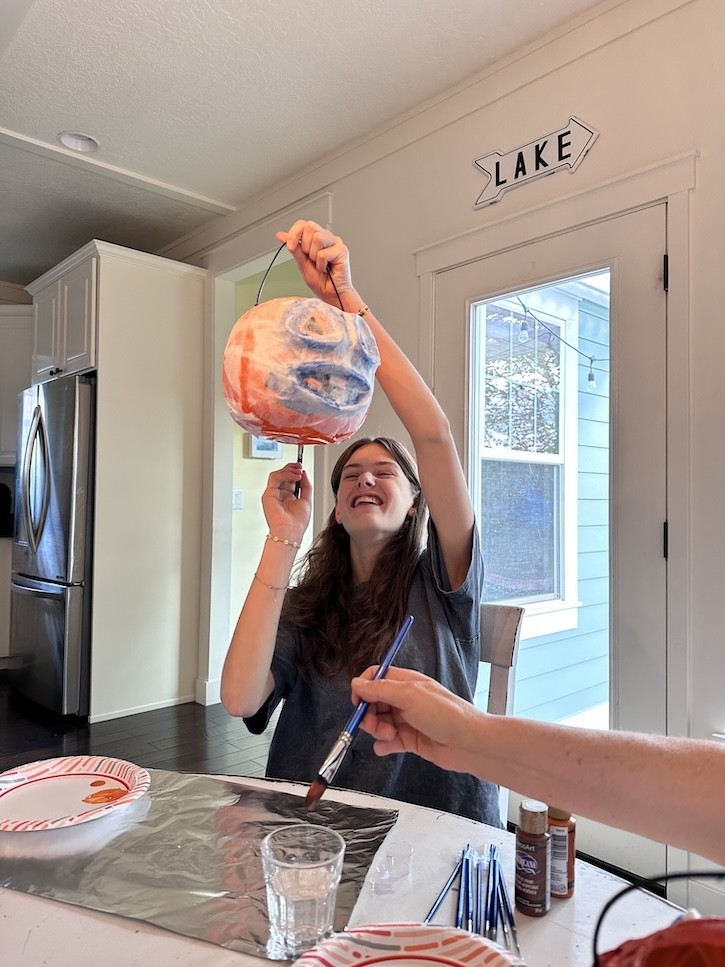
Step 2: Paper Mache Time
Now for the messy (and fun!) part—paper mache. Rip your paper towels into strips. Dip each piece into the diluted glue, wring out the excess, and smooth it over your pumpkin. Make sure to push in the paper towel into all the deep areas so that it takes on the 3 dimensional shapes.
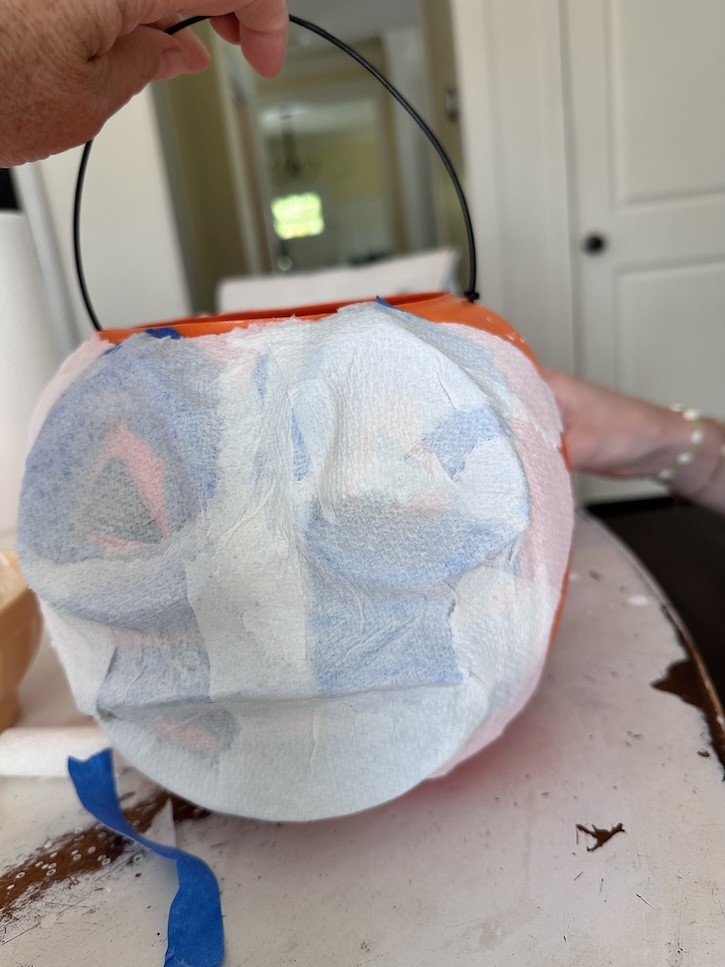
💡 Tip: Don’t worry about leaving some wrinkles. I actually left a few in mine on purpose to create that aged, weathered look that makes vintage pumpkins so charming.
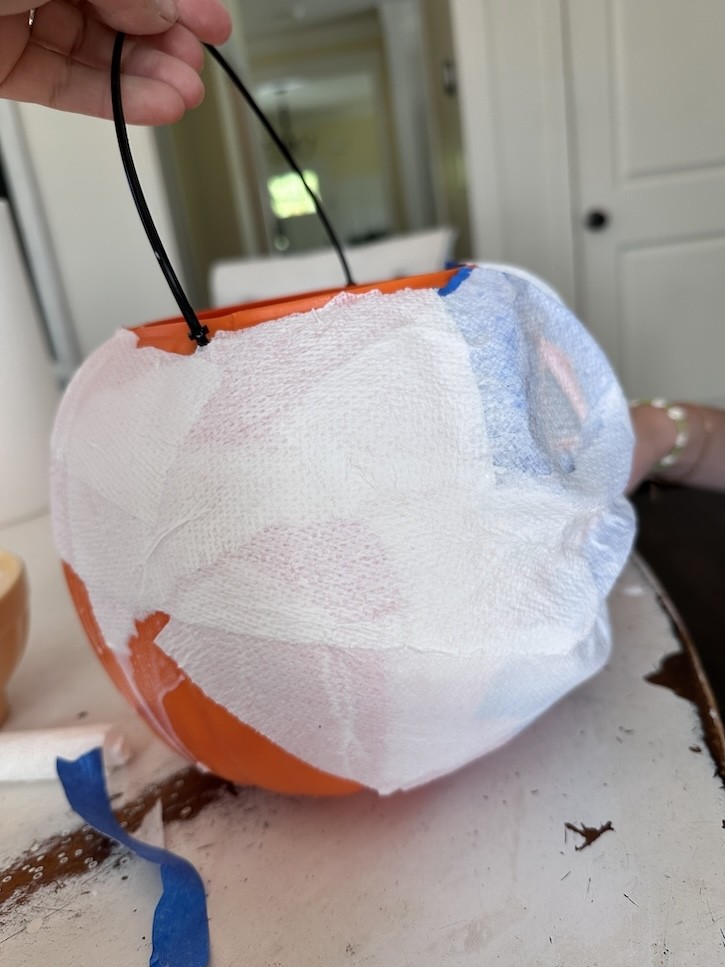
Cover the entire pumpkin with one layer. If you want a chunkier, more textured look, you could add a second layer. I’ve also seen people shred cardboard egg cartons, mix them with water and glue, and apply that paste for even more texture. Since my granddaughter and I wanted a quicker project, we stuck with just one layer of paper towels.
Step 3: Let It Dry Completely
Once your pumpkin is fully covered, set it aside and let it dry completely. Depending on your climate and how much glue you used, this could take several hours or overnight.

We were wanting to get the third pumpkin dry quickly so my granddaughter used my hair dryer to get hers to dry very quickly. It worked great.
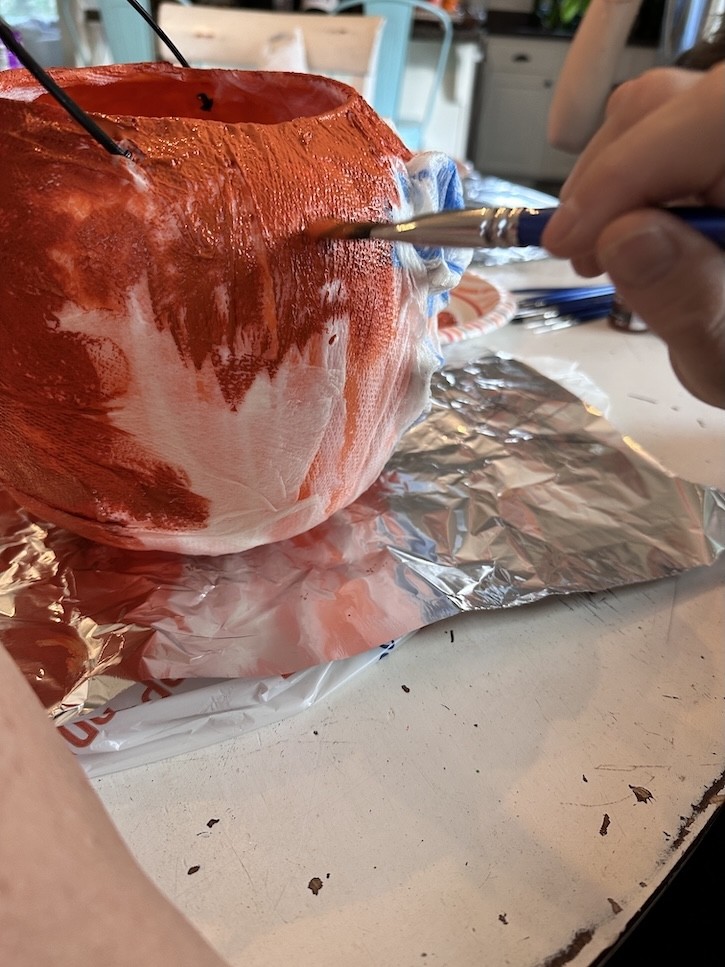
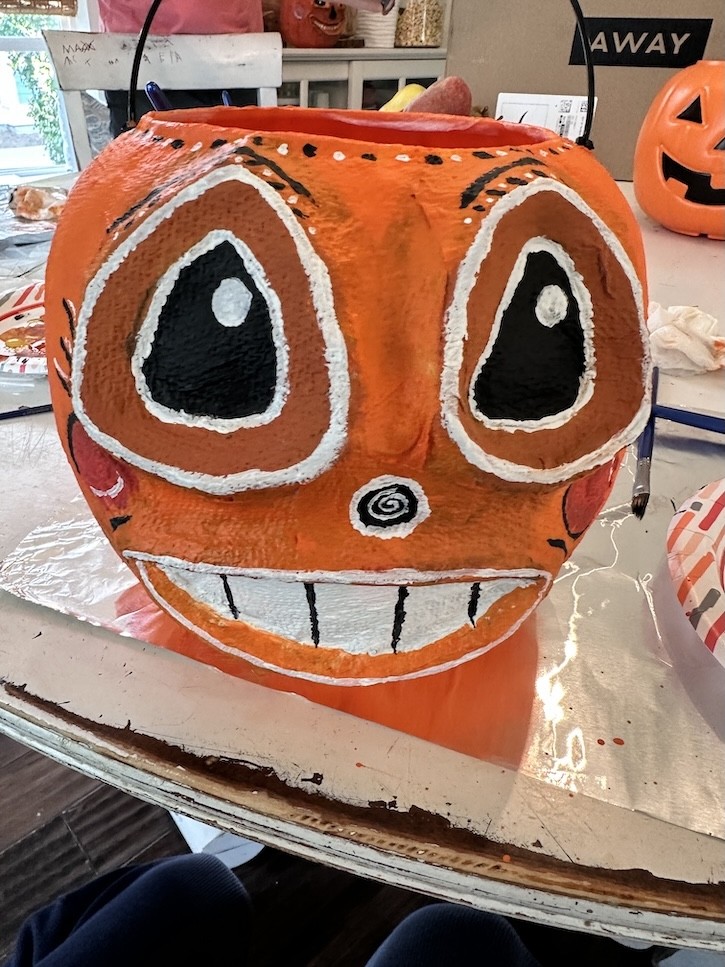
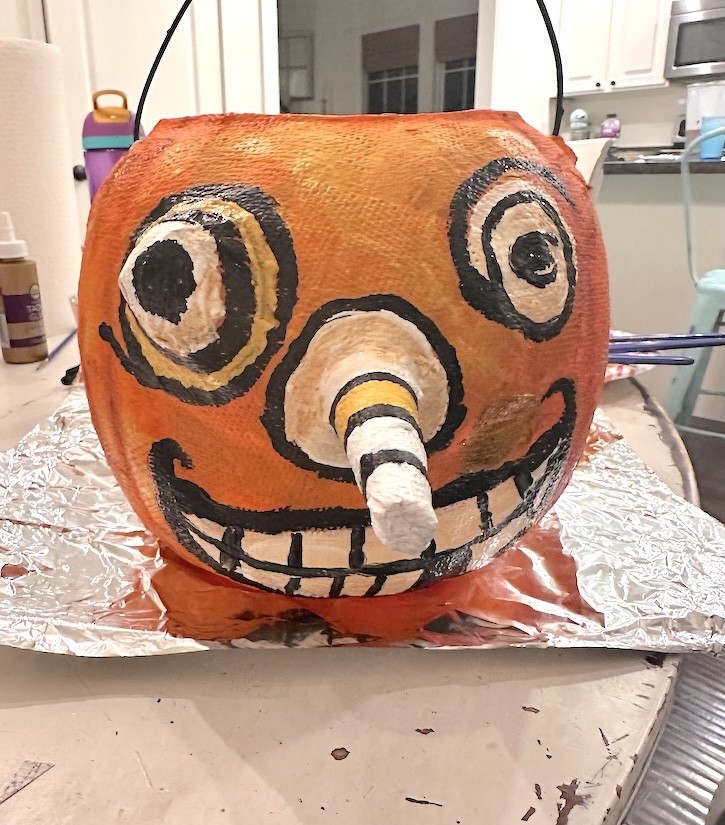
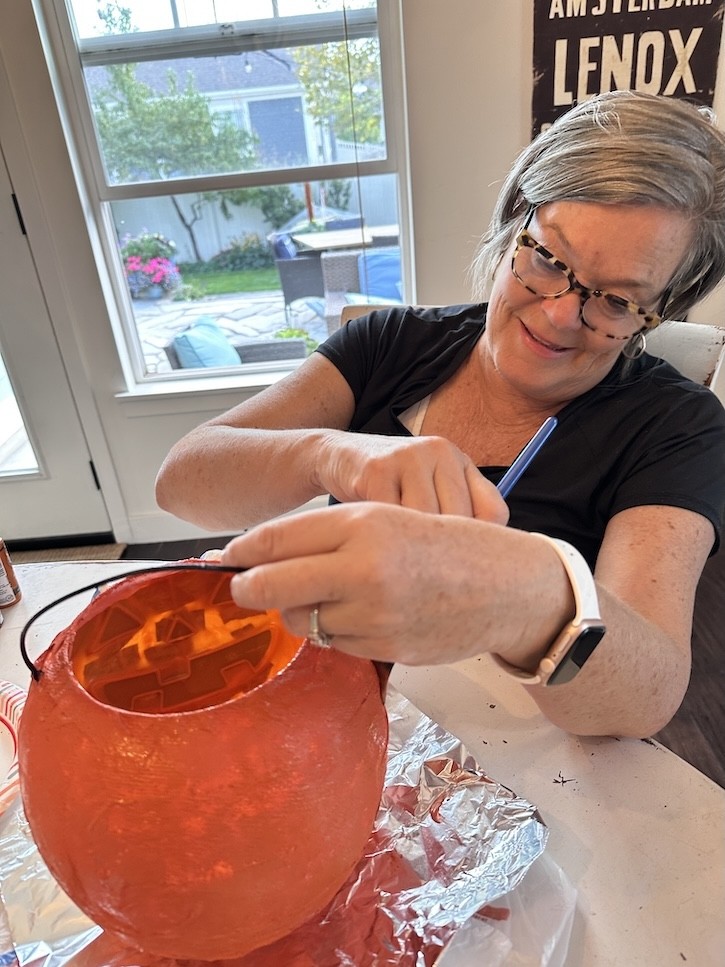
Step 4: Time to Paint
This is where your vintage looking pumpkin really comes to life! Start with a base coat of orange. I used a more muted, vintage orange while my granddaughter went bold and bright with hers.
From there, layer on details:
- Yellow around the eyes for a glowing effect.
- A mix of red, orange, and white for rosy cheeks.
- Black for outlining the mouth, eyes, and nose.
- White highlights for eyes and teeth.
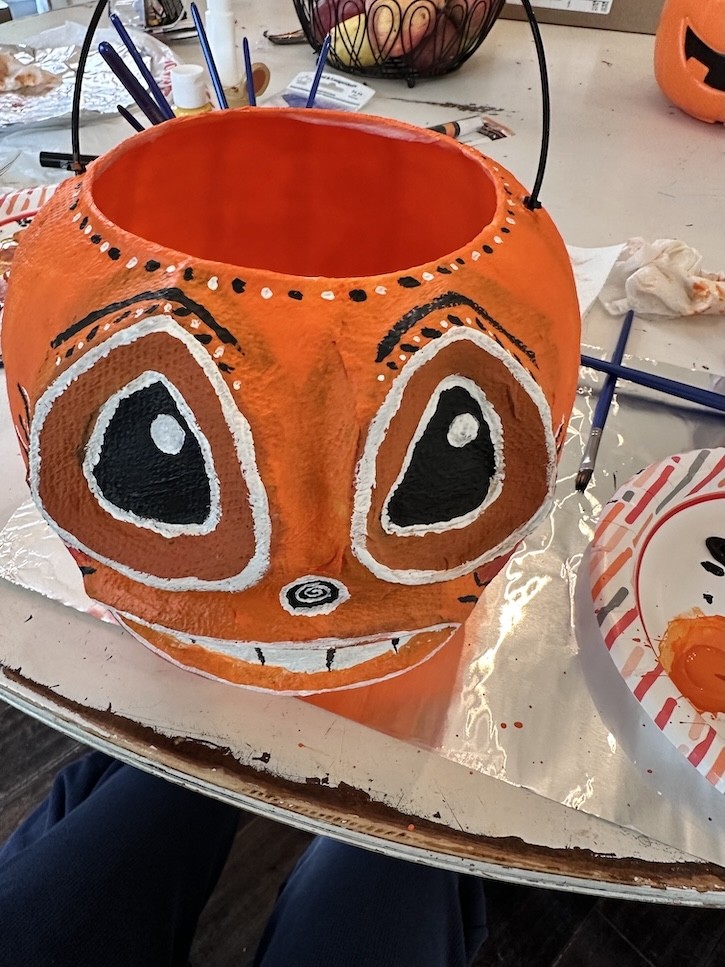
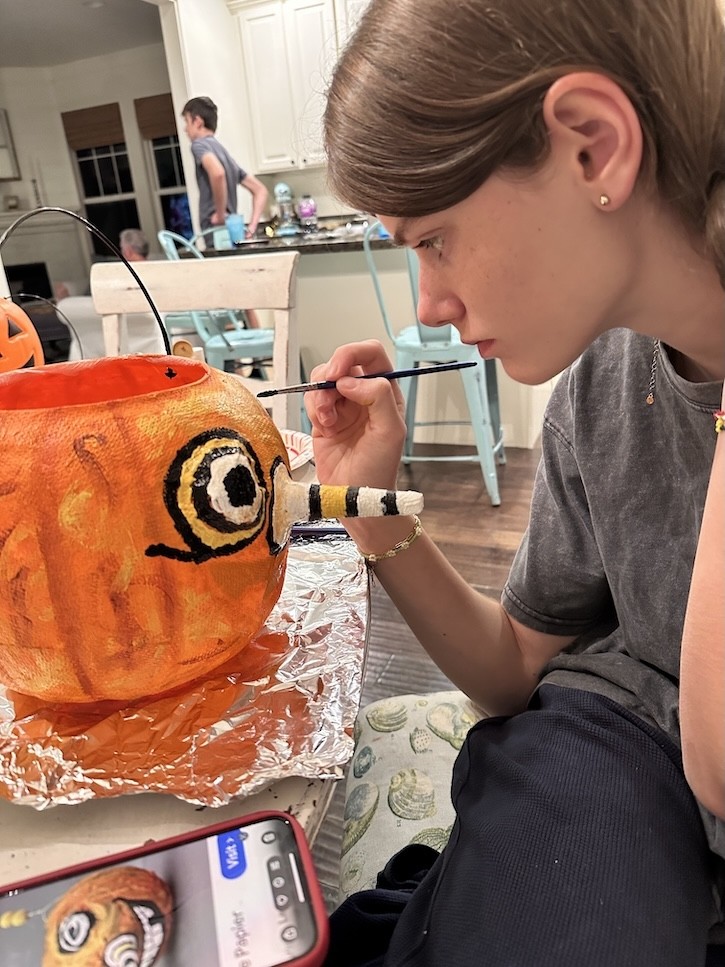
Don’t be afraid to experiment—if you make a mistake, just paint over it! My granddaughter even decided to start a third pumpkin because she was having so much fun creating different looks.
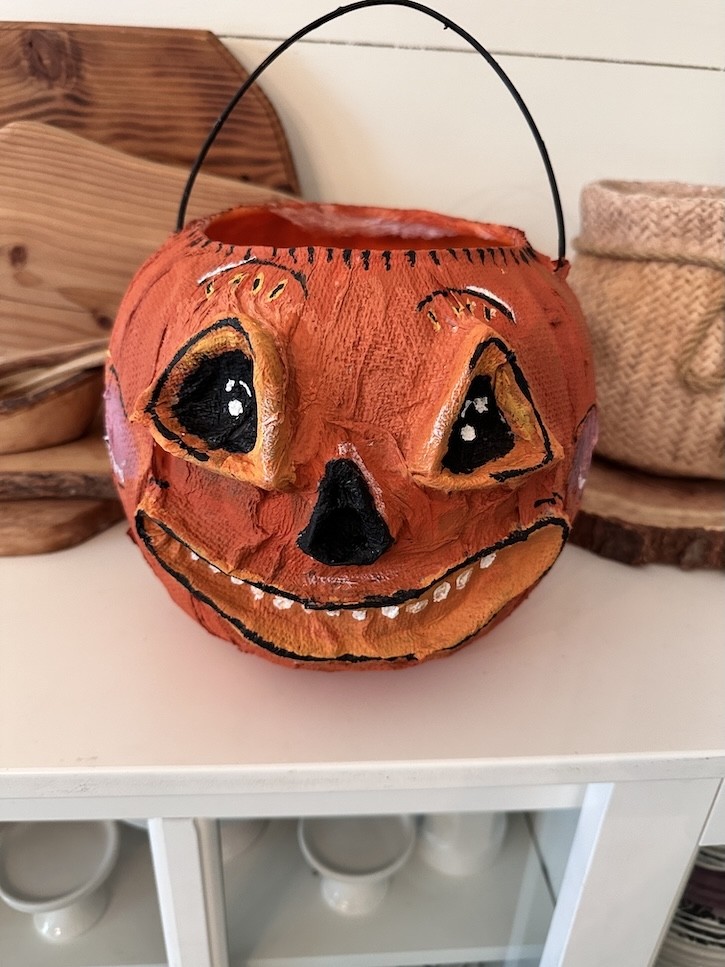
The Finished Pumpkins
In just one afternoon, we had two (and then three!) adorable vintage looking pumpkins. Each one turned out completely unique, which is what makes this project so special. They look like they’ve been passed down for generations, and they’ll add so much character to your Halloween décor.
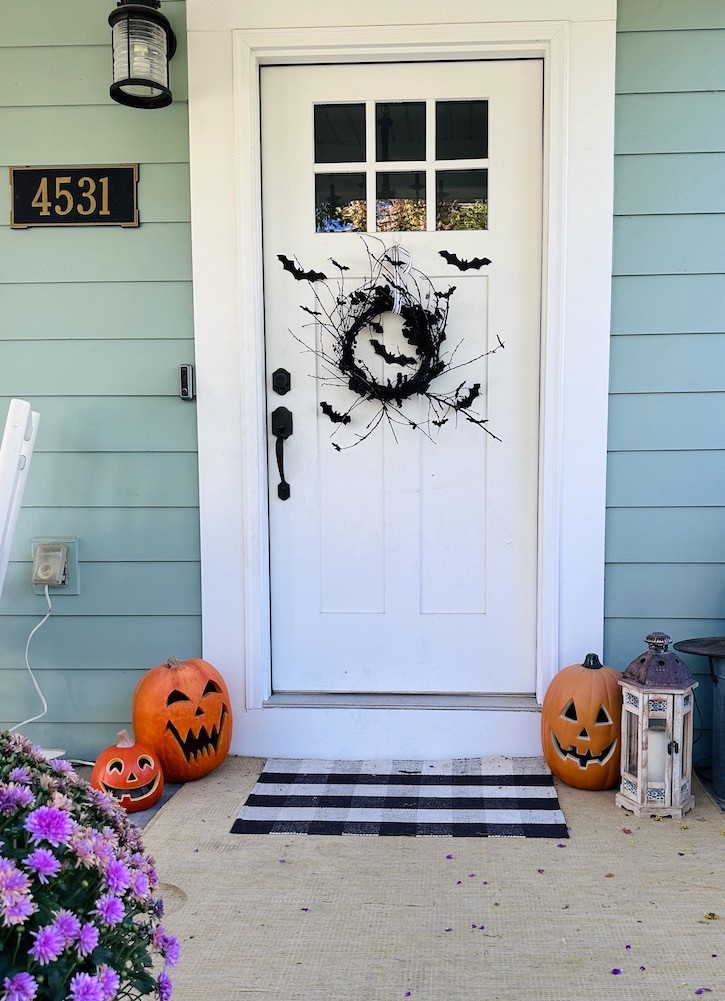
I love pumpkins this time of year and use them in my decorations inside and out.Pumpkins on my mantle here and on my porch here,

I love creating unique fall/Halloween projects here are a few of the ones I have created over the years.
Karins Kottage Halloween Crafts
DIY Spooky Black Bat Wreath Makeover For Free
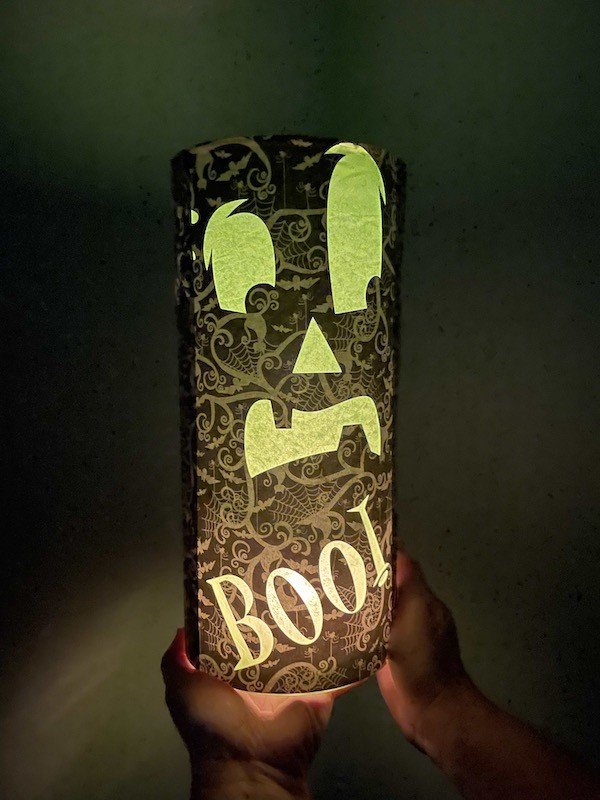
How To Make Spooky Illuminating Tissue Paper Candle Sleeve
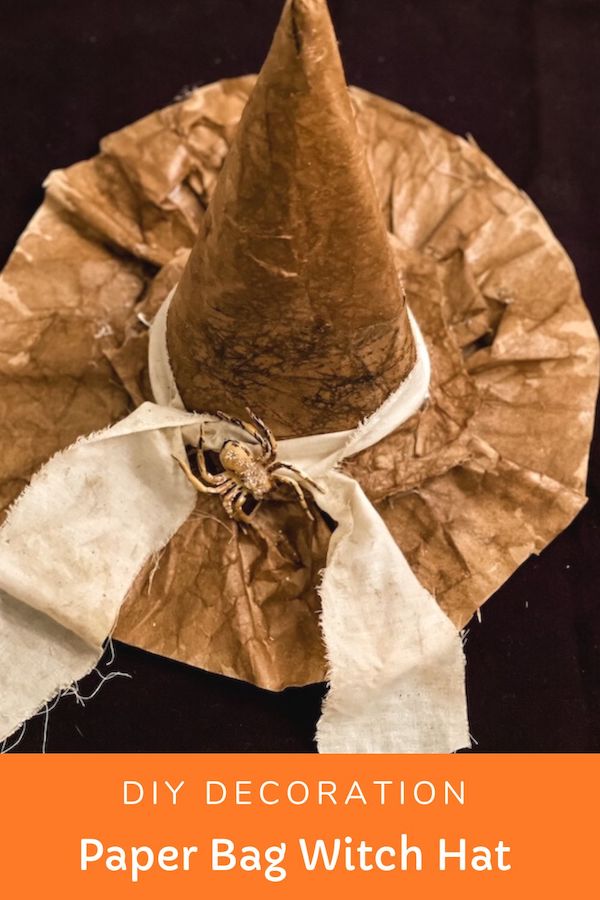
Make an easy paper bag witch hat
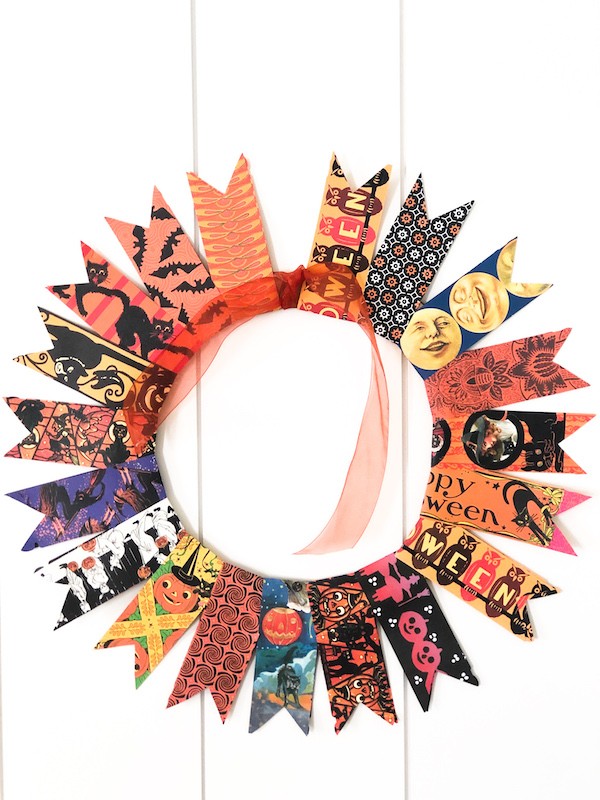
Simple Easy Halloween Paper Wreath
Why You’ll Love Making This Vintage Looking Pumpkin Craft
- Brings back nostalgic memories of paper mache school projects.
- Fun to do with kids or grandkids and make memories
- Totally customizable—make yours as silly, spooky, or sweet as you like.
- Budget-friendly: most supplies are items you already have at home.
Final Thoughts
This vintage looking pumpkin craft is now one of my favorite fall projects. My granddaughter and I laughed, painted, and got our hands messy together—and now we have whimsical pumpkins to display year after year.
I’d love to hear if you try making your own vintage looking pumpkin craft! Drop me a comment and let me know how your pumpkins turn out. 🎃
Leave a Reply