Sometimes the simplest fall decorations end up being my favorites.
This creamy white yarn pumpkin is one of those projects.
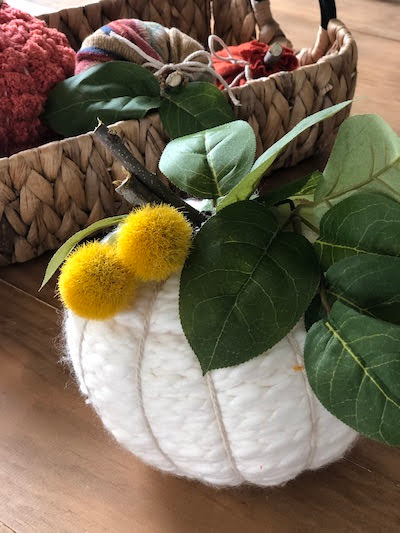
I originally made yarn pumpkins in several different fall colors, and they were all so cute! You can see my original easy yarn pumpkin tutorial here. Easy to Make Adorable Yarn Pumpkins
But lately I have been drawn more and more to creamy whites, natural wood tones, greenery and silver for my fall decorating.
Since my family room has lots of blue, white and green coastal colors, I love using neutral fall decorations that don’t compete with the rest of the room.
This soft, woolly-looking pumpkin adds fall texture without adding a lot of extra color.
And the best part?
It starts with an inexpensive dollar-store pumpkin!
Why I Love Neutral Fall Decor
Don’t get me wrong — I still love a little orange in the fall.
I’ve used beautiful warm orange accents on my fireplace mantel before, and you can see one of those looks in my simple and stylish fall mantel decorating ideas. See My Fall Mantel With Orange Accents
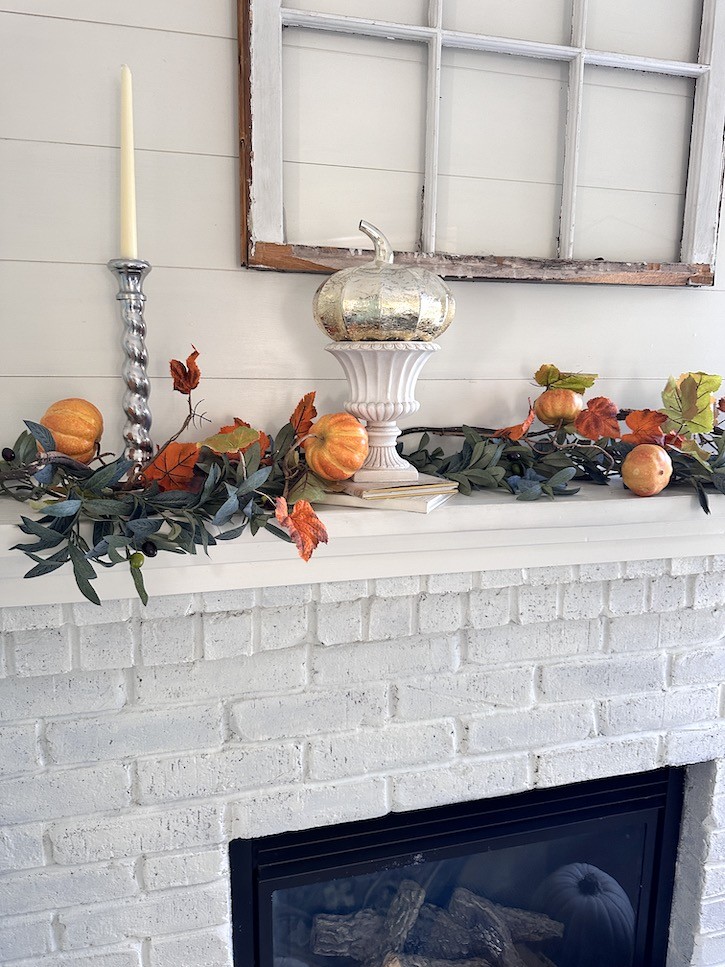
But for the past few years, I have found myself gravitating toward a quieter fall color palette.
Think:
- Creamy white
- Natural wood
- Greenery
- Silver
- Soft textures
- Just a touch of warm autumn color
I especially love the way these colors work with the blue and white already in my family room.
One of my favorite examples is my fall mantel decorated with silver pumpkins, greenery and neutral accessories. See My Neutral Fall Mantel With Silver Pumpkins
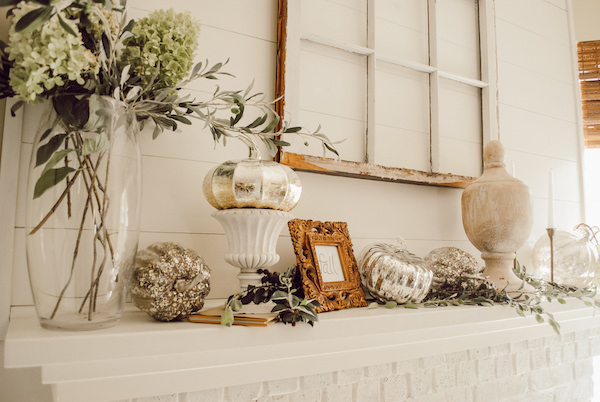
Adding a chunky yarn pumpkin to that mix brings in another layer of texture without making everything feel too busy.
A Cozy Woolly Pumpkin Without Any Knitting
Doesn’t this pumpkin look like it should require some kind of knitting skill?
Nope!
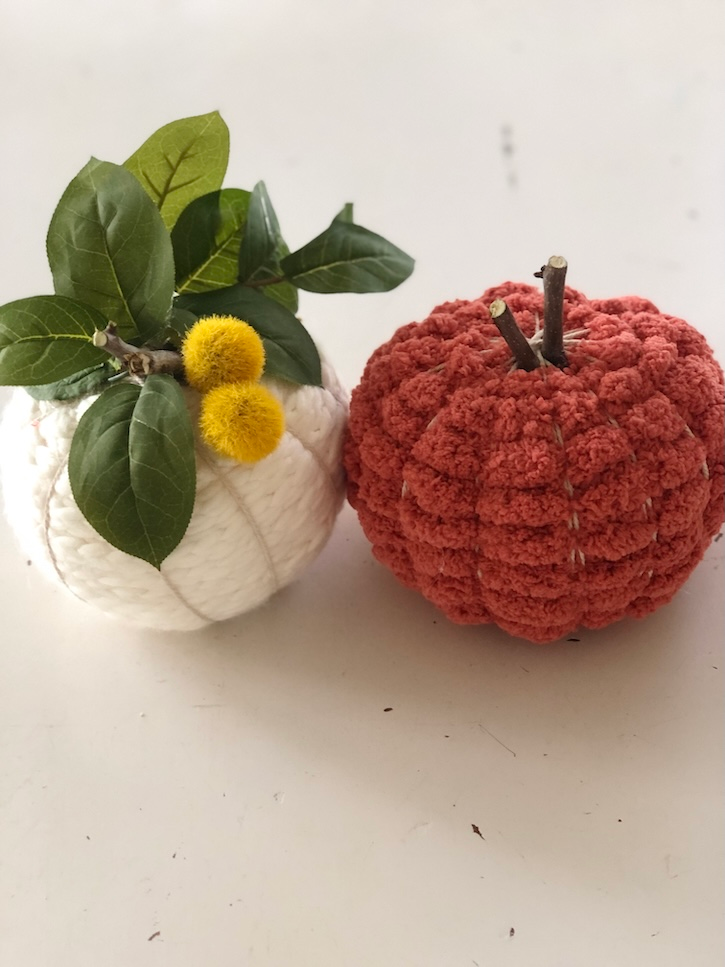
There is absolutely no knitting involved.
You are basically wrapping a dollar-store pumpkin in chunky cream-colored yarn and attaching it with hot glue.
That is my kind of craft.
It’s inexpensive, easy and doesn’t require any fancy supplies.
Supplies for a Creamy White Yarn Pumpkin
You will need:
- One inexpensive foam or plastic pumpkin
- Thick creamy white yarn
- Hot glue gun
- Glue sticks
- Basic string or twine
- Scissors
- Faux greenery
- Faux yellow ball flowers or pom-pom stems
- Optional real pumpkin stem or small branch
You can really have fun with the yarn.
I like a thick, fluffy yarn because it gives the finished pumpkin that soft, almost woolly appearance.
Step 1: Remove the Pumpkin Stem
Start by removing the faux stem from the top of your pumpkin.
On inexpensive craft pumpkins, these usually pop right off.
Don’t worry about what the top looks like because we are going to cover it later with yarn and our new stem decorations.
Step 2: Start Wrapping the Pumpkin With Yarn
Turn your pumpkin over and begin at the bottom.
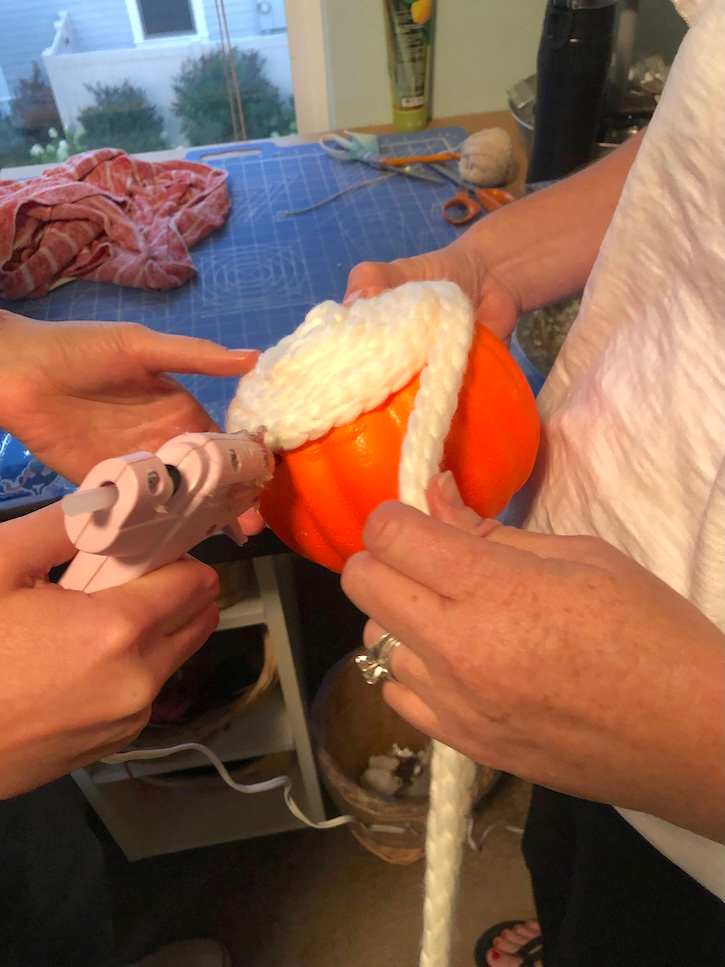
Add a little hot glue and attach the end of your creamy white yarn.
Begin wrapping the yarn around the pumpkin in a circle.
Continue adding small amounts of hot glue as you work your way around.
Keep the rows of yarn close together so the original pumpkin color doesn’t show through.
Step 3: Continue Wrapping Toward the Top
Keep winding the yarn around and around the pumpkin, working your way from the bottom toward the top.
Add hot glue every so often to hold the yarn securely in place.
You don’t need to glue every single inch.
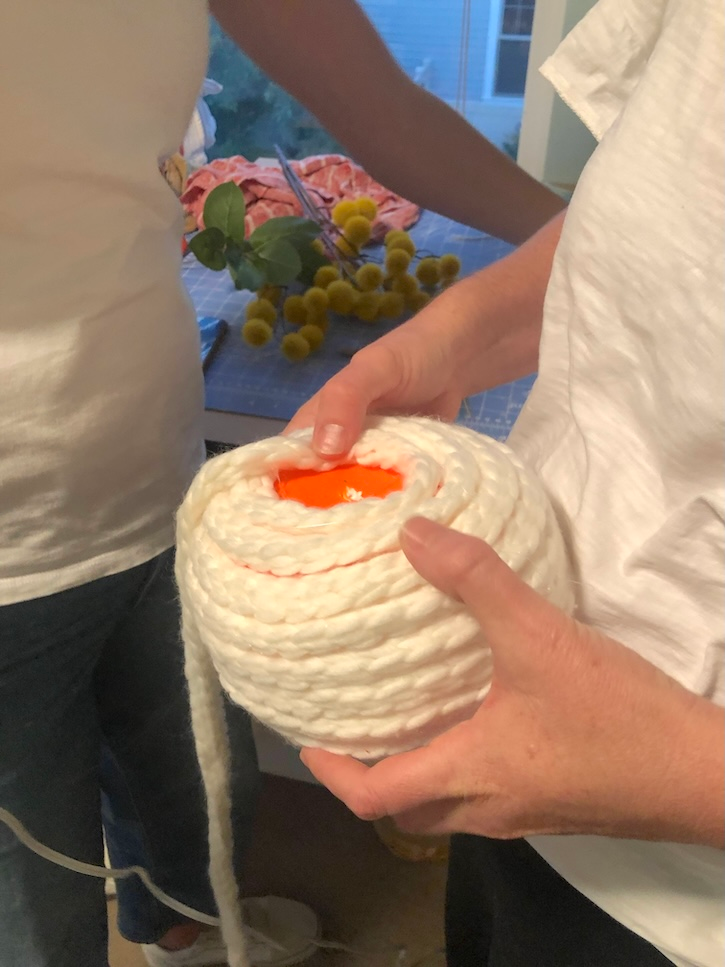
Just use enough to keep everything from sliding around.
As you get closer to the top, keep winding the yarn inward until the original pumpkin is completely covered.
This is where you start to see that wonderful chunky texture come to life.
Step 4: Create Pumpkin Sections With Twine
Now we want to give our fluffy yarn ball a little more pumpkin shape.
Cut several long pieces of simple string or twine.
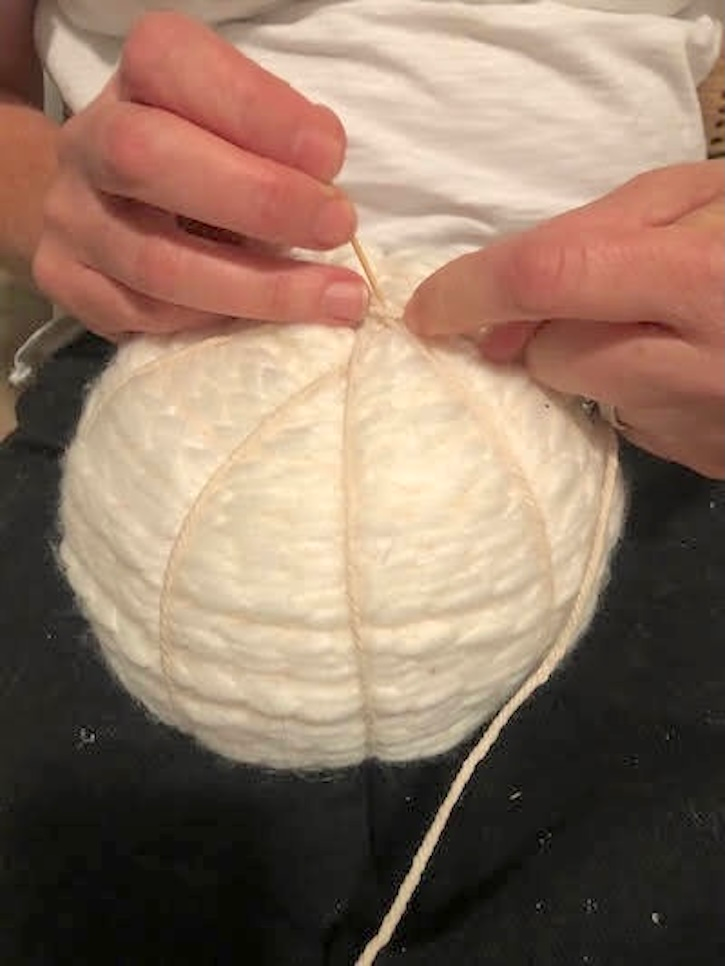
Wrap the twine from the bottom of the pumpkin up and around the top to create sections, just like the natural ridges you see on a real pumpkin.
Pull it snug enough to create definition in the yarn.
Continue wrapping until you have divided your pumpkin into several sections.
Tie everything securely at the top and add a dab of hot glue to keep the twine in place.
This is probably the one step where an extra pair of hands can really help!
One person can hold the pumpkin while the other tightens and ties the twine.
Step 5: Decide What to Use for the Stem
Now comes the really fun part.
You can decorate the top in all kinds of ways.
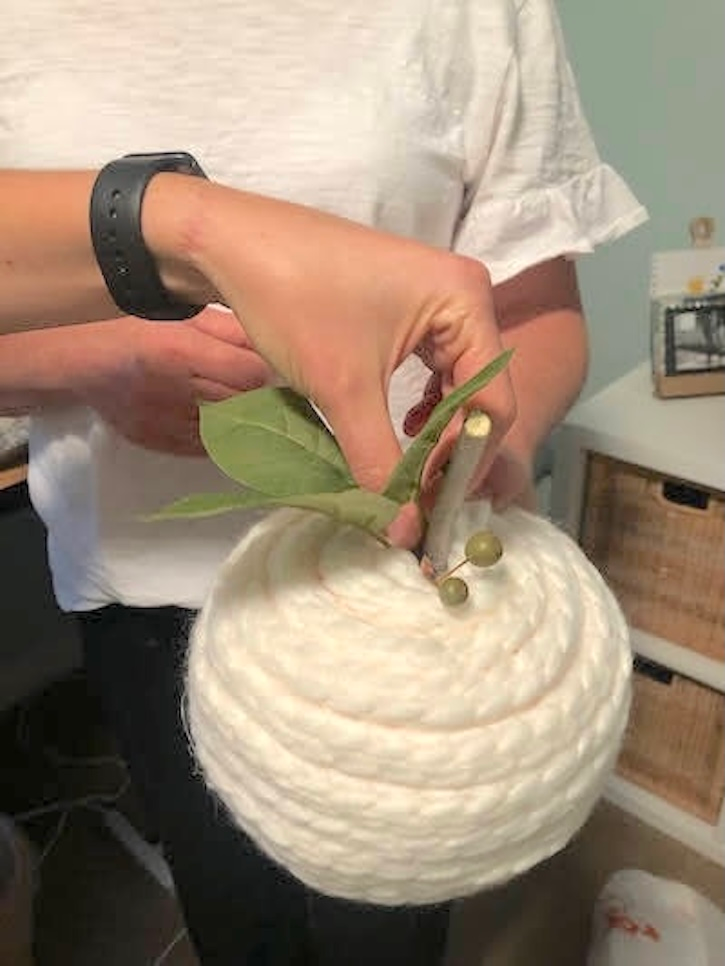
One easy option is to save a stem from a real pumpkin and hot glue it into place.
You could also use:
- A little branch from the yard
- Faux leaves
- Eucalyptus
- Berries
- Raffia
- Ribbon
- Small faux flowers
For this pumpkin, we decided to use green leaves with fun yellow ball-shaped faux flowers.
I love that little pop of yellow against the creamy white yarn!
Step 6: Hot Glue the Greenery in Place
Arrange your greenery and flowers before you start gluing.
Once you like the placement, add a little hot glue and secure everything around the top of the pumpkin.
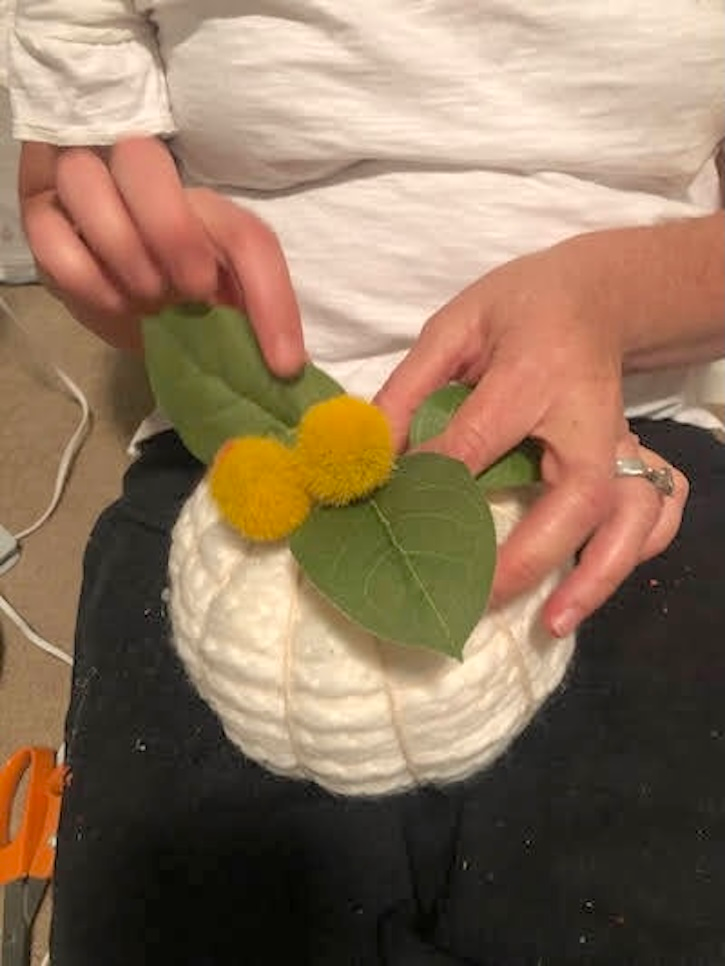
There are no rules here.
You can keep it very simple with one leaf and a stem or make it fuller with flowers and greenery.
That’s the fun of making your own fall decor.
Why Texture Makes Neutral Fall Decorating Work
When you decorate with mostly neutral colors, texture becomes really important.
Instead of relying on lots of different colors to create interest, you can mix materials.
For example:
- Chunky yarn
- Smooth silver pumpkins
- Wood
- Woven baskets
- Green leaves
- Glass
- Linen
- Natural branches
All those different textures keep a neutral room from feeling flat.
That is exactly why I love this fuzzy little pumpkin mixed in with my other fall decorations.
Where to Display Your DIY Yarn Pumpkin
These pumpkins can go almost anywhere.
Try one:
- On your fireplace mantel
- In a wooden bowl
- On top of a stack of books
- On a kitchen shelf
- In a basket
- On a coffee table
- In a wooden box
- On an entry table
- Mixed with silver pumpkins
- Tucked into a fall tablescape
A grouping of three in different sizes would be adorable too.
Make a Whole Collection of Yarn Pumpkins
Once you make one, you might find yourself making a few more.
Ask me how I know. 😉
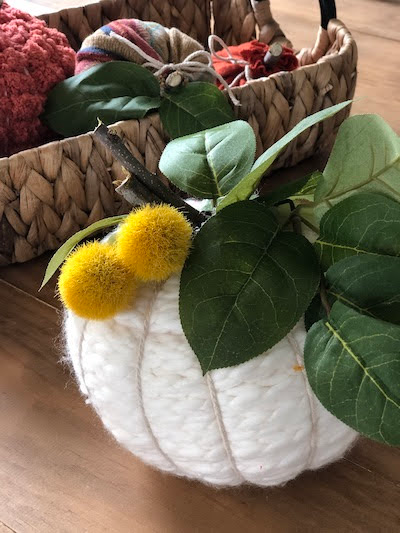
Even though I am focusing on creamy white this time, you can make these pumpkins in just about any color.
My original yarn pumpkin project included several shades, and changing the yarn completely changes the personality of the pumpkin.
You could try:
- Cream
- Soft beige
- Rust
- Mustard
- Sage green
- Gray
- Soft blue
You could even make them coordinate with the colors already in your home instead of feeling like you have to suddenly turn everything orange for fall.
Fall Decorating Doesn’t Have to Mean Orange Everything
I think that is one of my favorite things about decorating for fall now.
You don’t have to completely change your home’s color palette.
If you love orange, bring it in!
I still do sometimes.
But if your home is filled with blues, whites and greens like mine, creamy pumpkins, natural wood and silver can give you that cozy fall feeling while still looking like your home.
And this little chunky yarn pumpkin fits right in.
It is soft.
It is neutral.
It adds texture.
And it costs very little to make.
That’s a pretty good fall craft in my book.
If you make one, I would love to know what color yarn you choose!


Leave a Reply