A Handmade Sewing Project That Inspires Hours of Imaginative Play
This post is sponsored by Fabric Wholesale Direct. As always, all opinions and creative ideas are my own.
Have you ever watched children turn an ordinary cardboard box into a castle, a grocery store, or a spaceship? Their imaginations amaze me every single time.
That’s exactly what inspired this project.
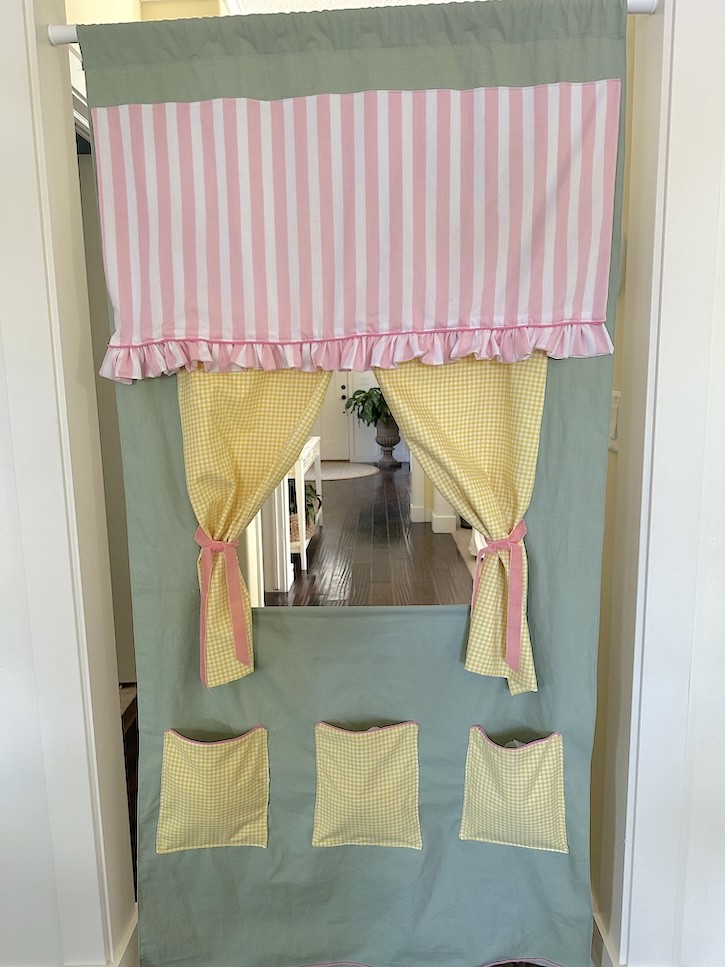
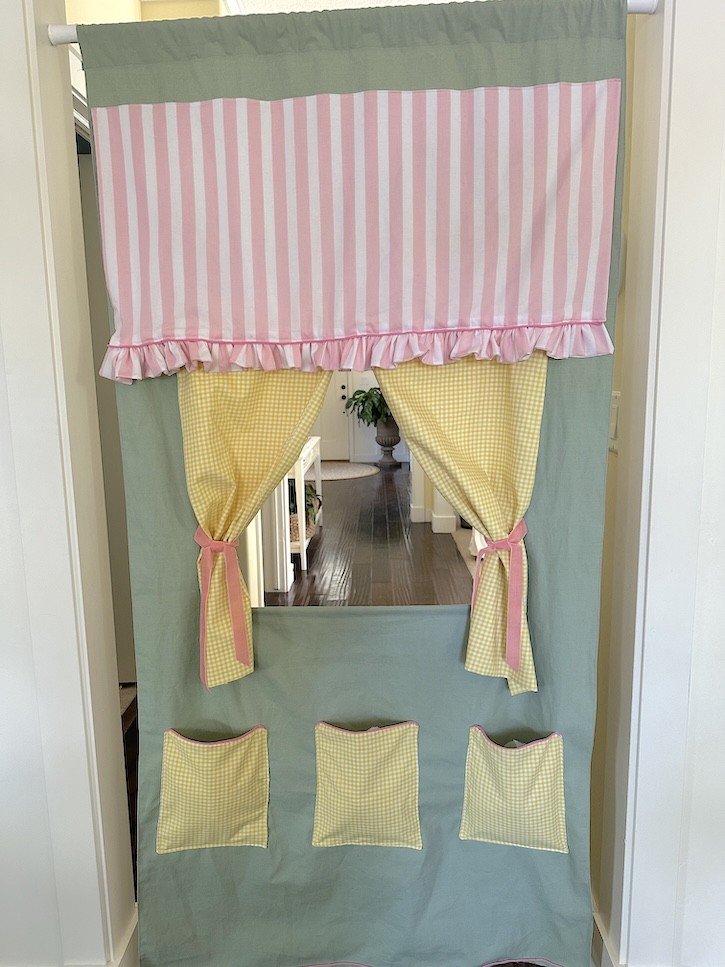
I wanted to create something that would encourage children to dream, imagine, and create their own little world. Whether they decide it’s a bakery, lemonade stand, puppet theater, flower shop, grocery store, post office, or ice cream stand, this simple doorway play shop becomes whatever their imagination wants it to be.
Best of all, it hangs on a simple tension rod, can be moved from room to room, and includes three roomy storage pockets for puppets, play food, pretend money, crayons, or little treasures.
I couldn’t be happier with how it turned out!
Beautiful Fabrics Make All the Difference
When children are going to be opening curtains, putting on puppet shows, and playing shopkeeper for hours, you want fabrics that are both beautiful and durable.
For the main body of my pretend play shop, I used 10 oz Cotton Duck Canvas in Pewter from Fabric Wholesale Direct. The heavier canvas gives the project wonderful structure while still draping nicely over a doorway.
I paired it with the sweetest Yellow Gingham Check Plaid Polyester Cotton Poplin for the shop curtains. The cheerful gingham immediately reminded me of an old-fashioned country market.
Everything was sewn together using Eco-Sew All Purpose Thread in white, which stitched beautifully through both the lightweight gingham and the heavier canvas.
If you’re looking for quality fabrics for your next sewing project, I highly recommend browsing Fabric Wholesale Direct’s wonderful selection of cotton fabrics here: Fabric Wholesale Direct Cotton Fabrics
Fabrics I Used
10 oz Cotton Duck Canvas (58/60″) – Pewter (2 yards)
4 mm Gingham Check Plaid Polyester Cotton Poplin – Yellow (2 yards)
Eco-Sew All Purpose Thread – White
I also added pink and white striped fabric, pink trim, and pink velvet ribbon from Hobby Lobby to give it a sweet cottage-style look.
How to Sew the Pretend Play Shop
Finished Size
36 inches wide x 68″ inches long (approximately) or use your doorway dimensions.
This fits beautifully on a standard doorway using a spring (tension) rod.
Step 1: Prepare the Canvas
Cut the Cotton Duck Canvas to 37 1/2″ x 72″ long
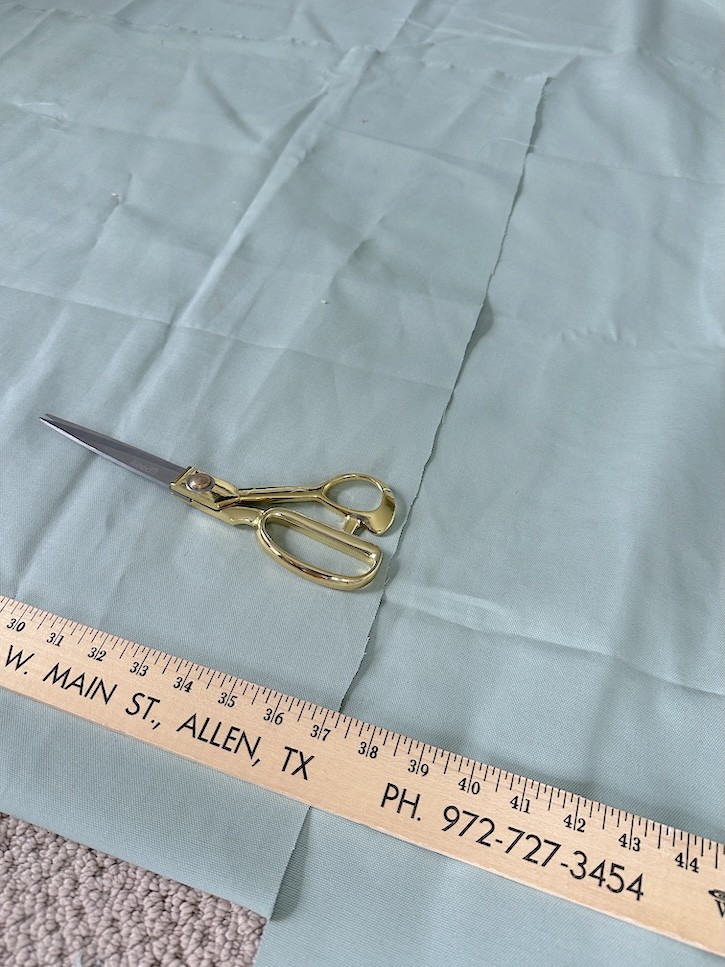
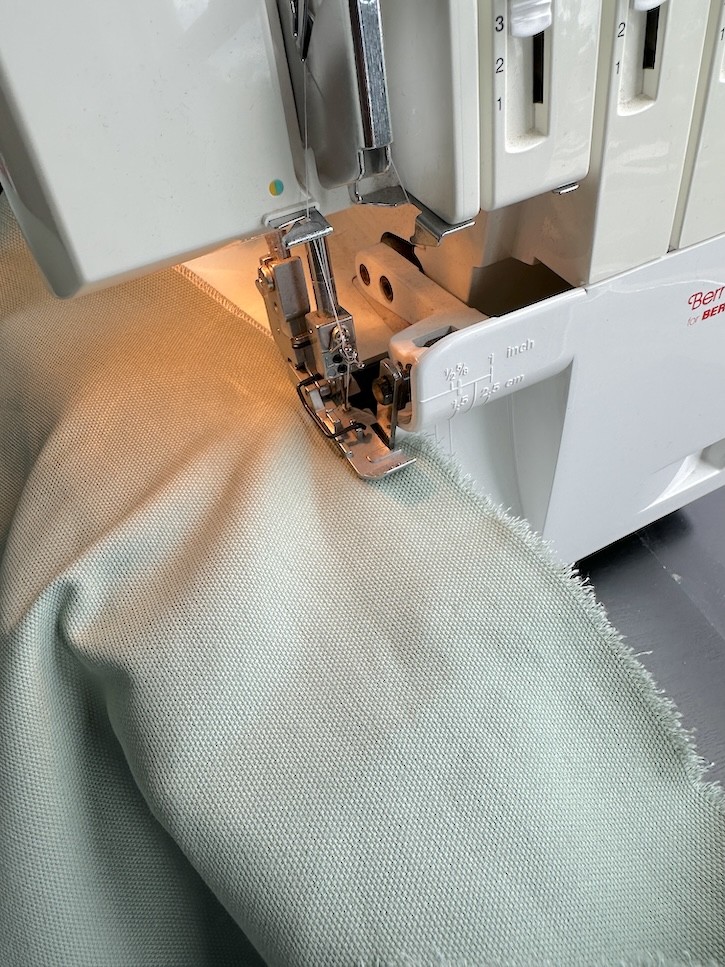
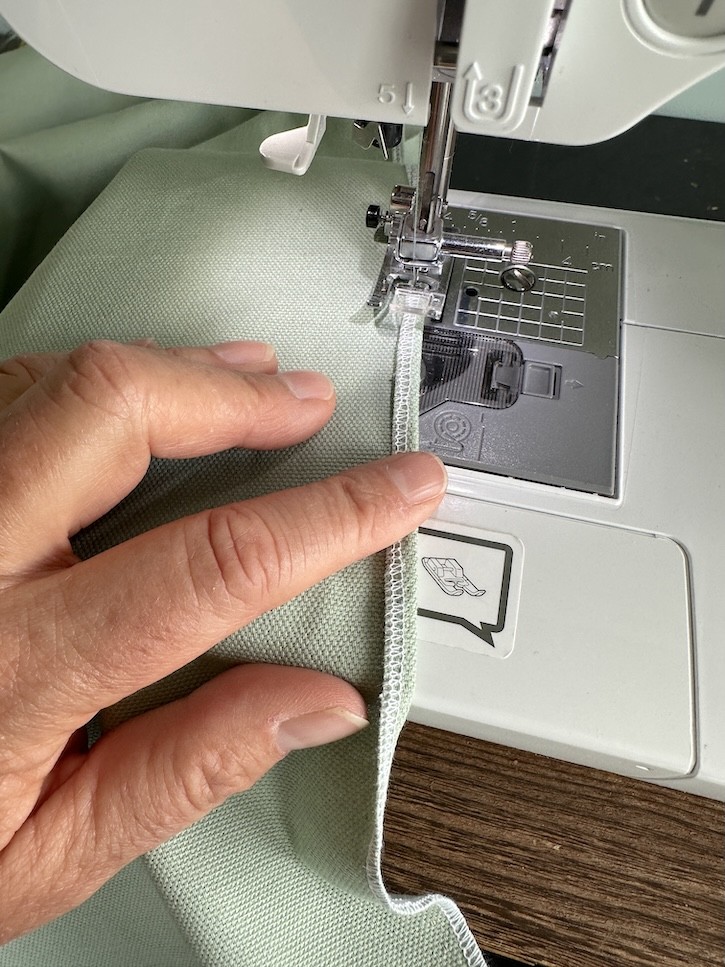
I first serged all four raw edges to prevent fraying but you can skip this step and just fold over 1/4″
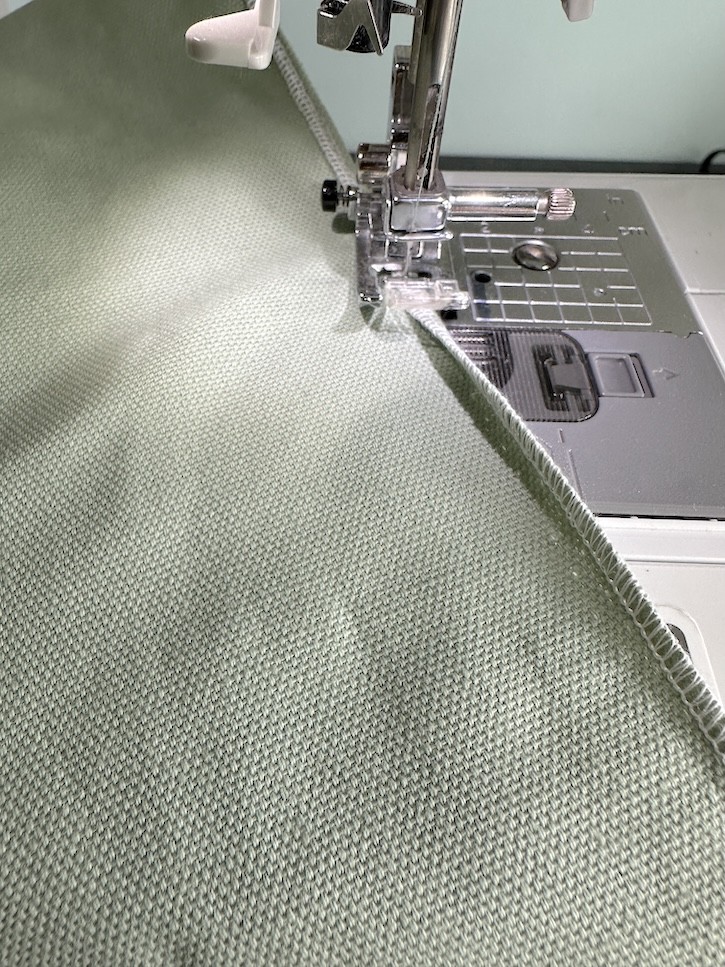
Next, fold each edge over approximately 1 inch, press well, pin, and stitch all the way around.
Create the Rod Pocket
For the top casing:
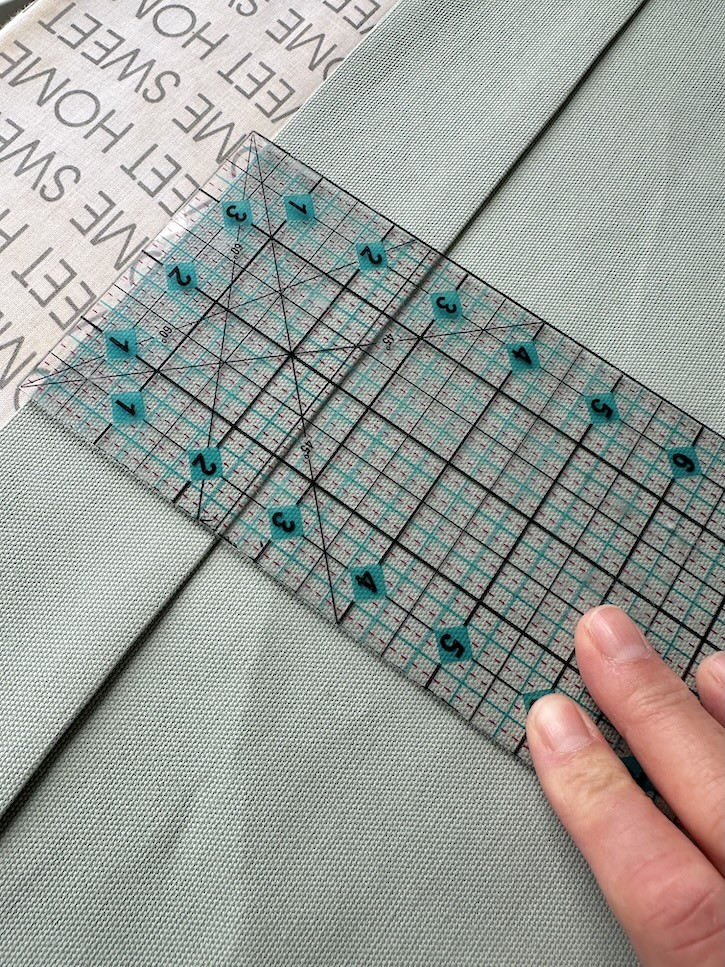
- Fold the top edge down ¼ inch and press.
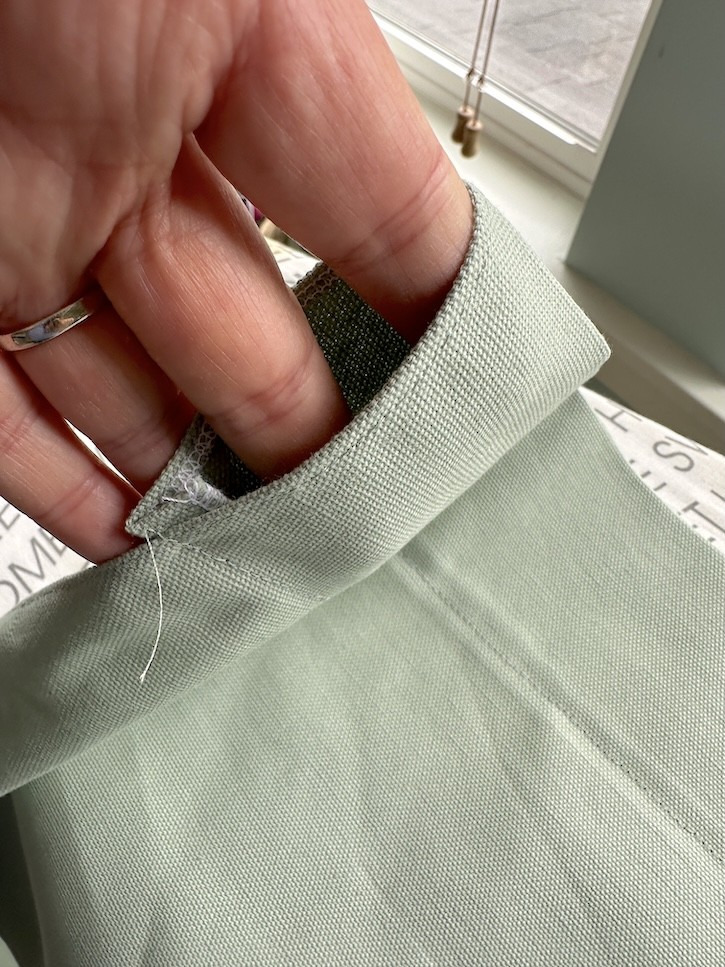
- Fold it down again about 2 1/2″ inches to create the rod pocket.
- Stitch across the bottom edge, leaving both ends open for the spring rod.
Step 2: Cut the Play Window
Measure and cut a large square opening in the center of the canvas—large enough for two little shopkeepers or puppeteers to comfortably play together. I left about 4″ to 5″ of fabric on right and left side of opening.
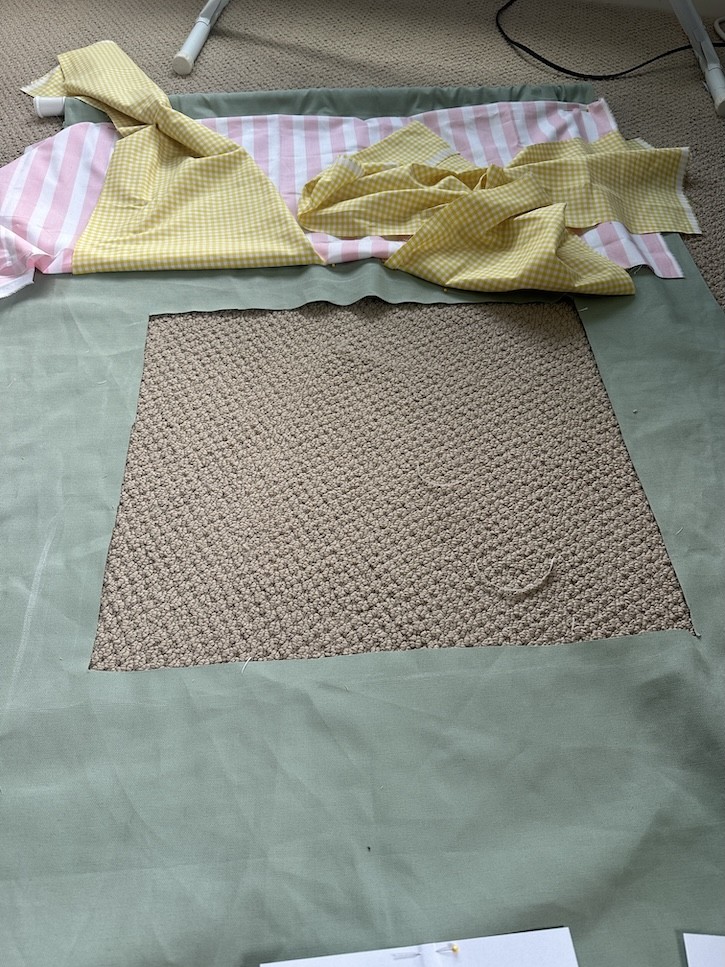
Clip each inside corner about 1 inch toward the corner.
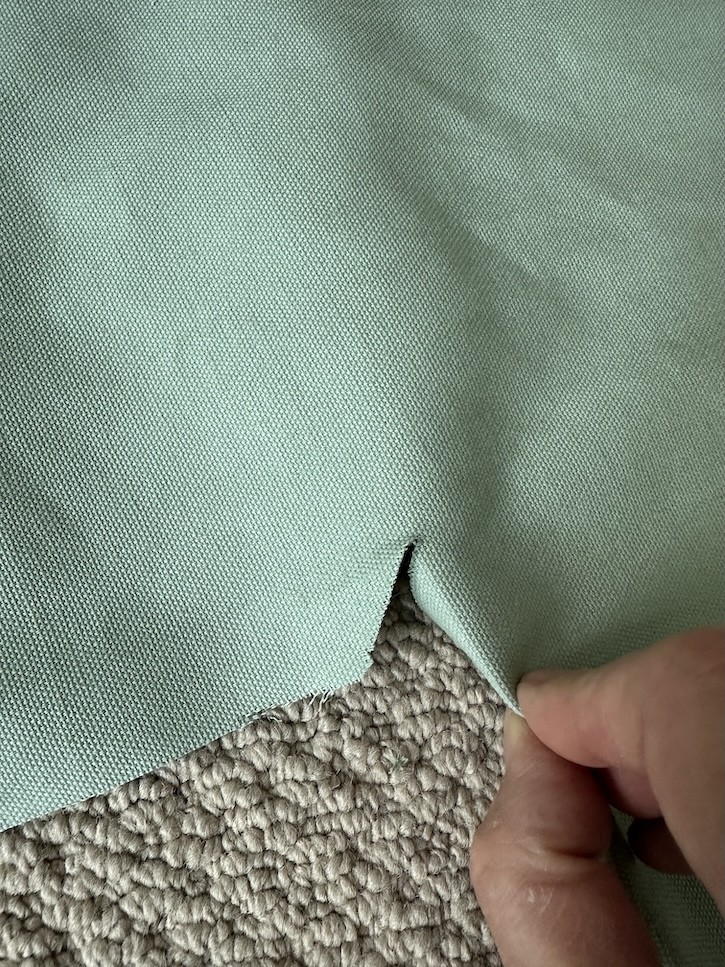
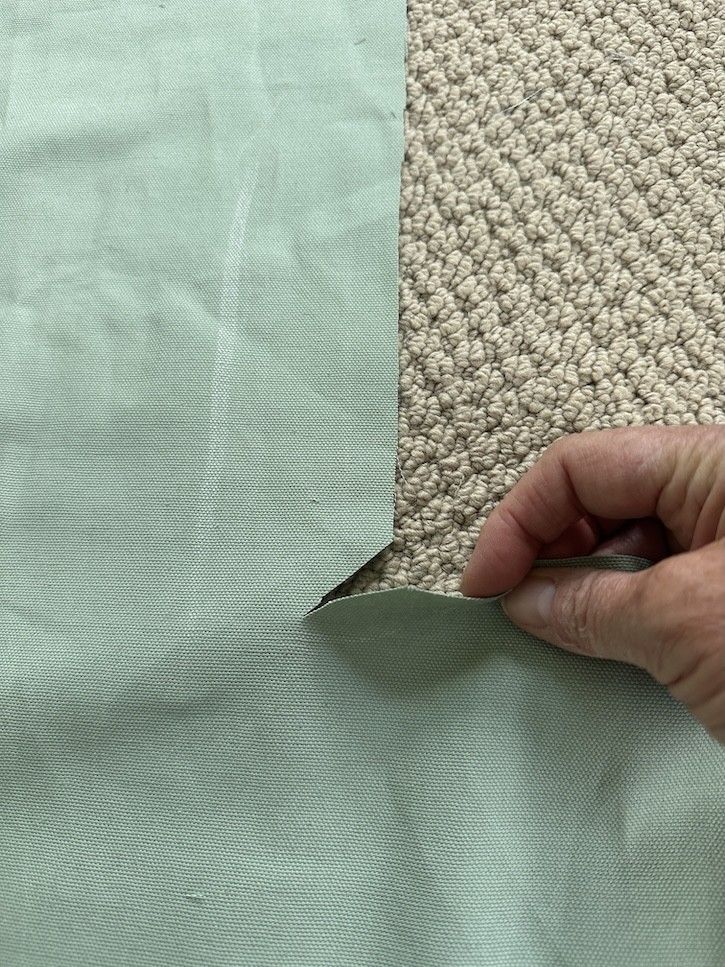
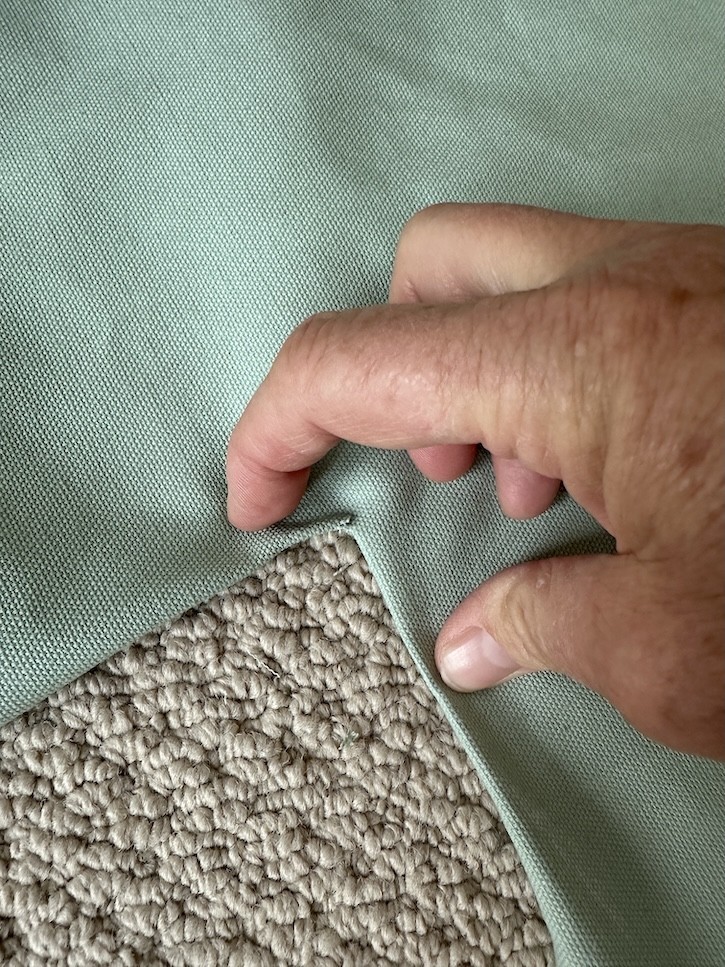
Fold each edge over twice to create a finished opening and stitch around all four sides.
Along the bottom edge of the opening, create a small casing for a thin wooden dowel. This keeps the shop counter nice and straight while children are playing.
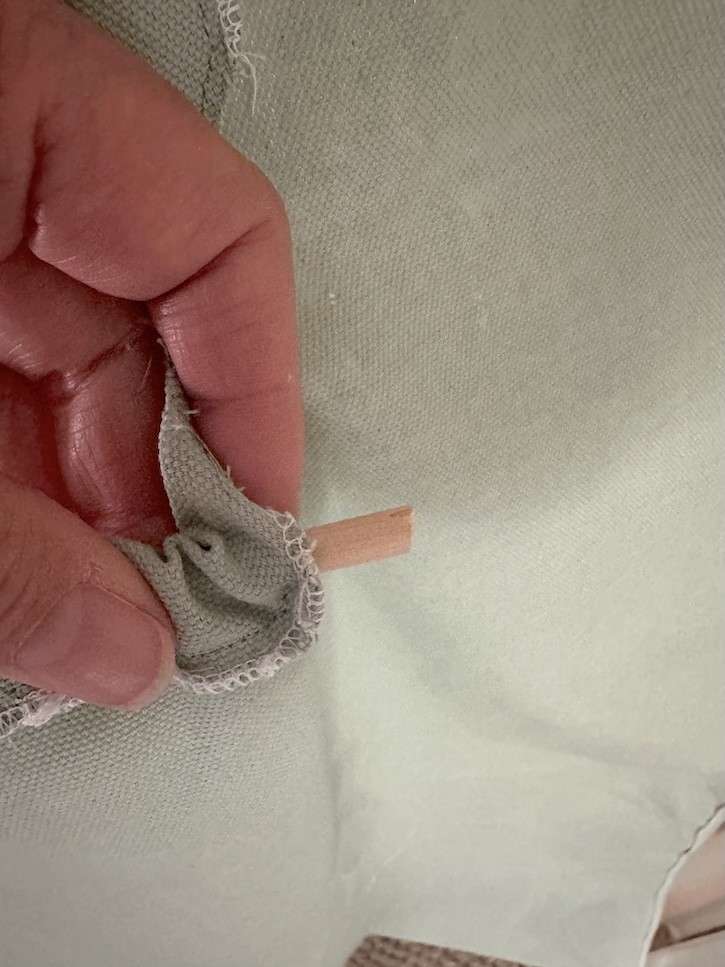
Step 3: Sew the Valance
Measure the width of your finished canvas backing and add an inch or two. Cut two pieces of the pink striped fabric for the valance leaving a 1/2″ for stitching. I cut mine 38″ wide and 15″ long. Just make sure you make your valance long enough to cover the top of the square opening.
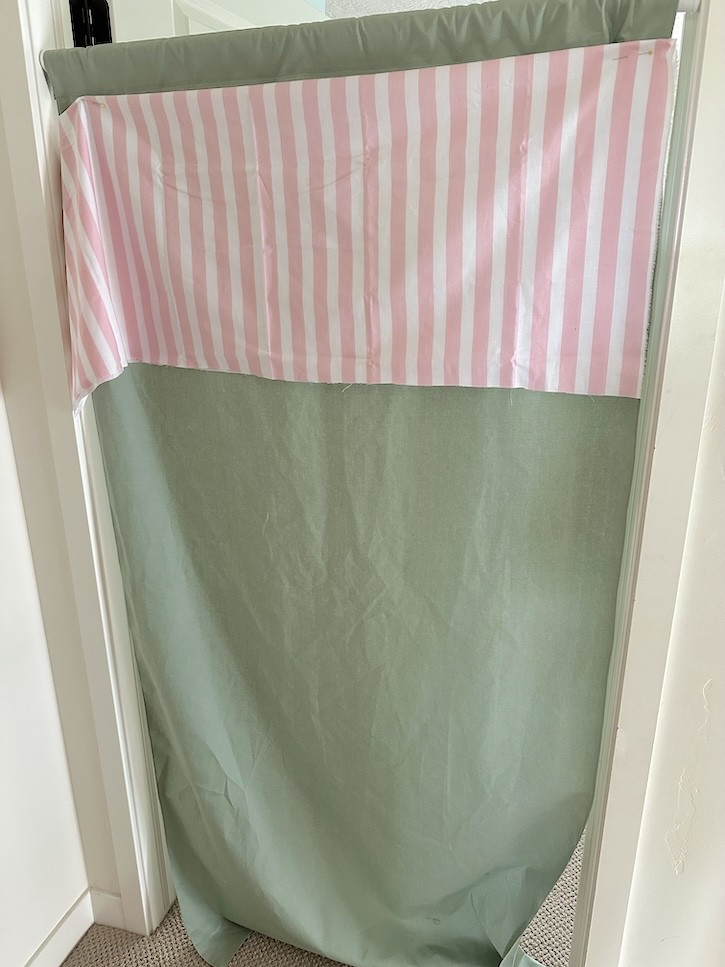
Your yellow gingham curtains will go underneath.
Place the pink and white striped pieces right sides together and sew the sides and top edge, leaving the bottom edge open.
Turn the valance right side out and press.
Step 4: Make the Ruffle
Cut your ruffle strip 5½ to 6″ inches wide and approximately 1½ times the width of the finished valance. This is a long strip that will be gathered to create a ruffle.
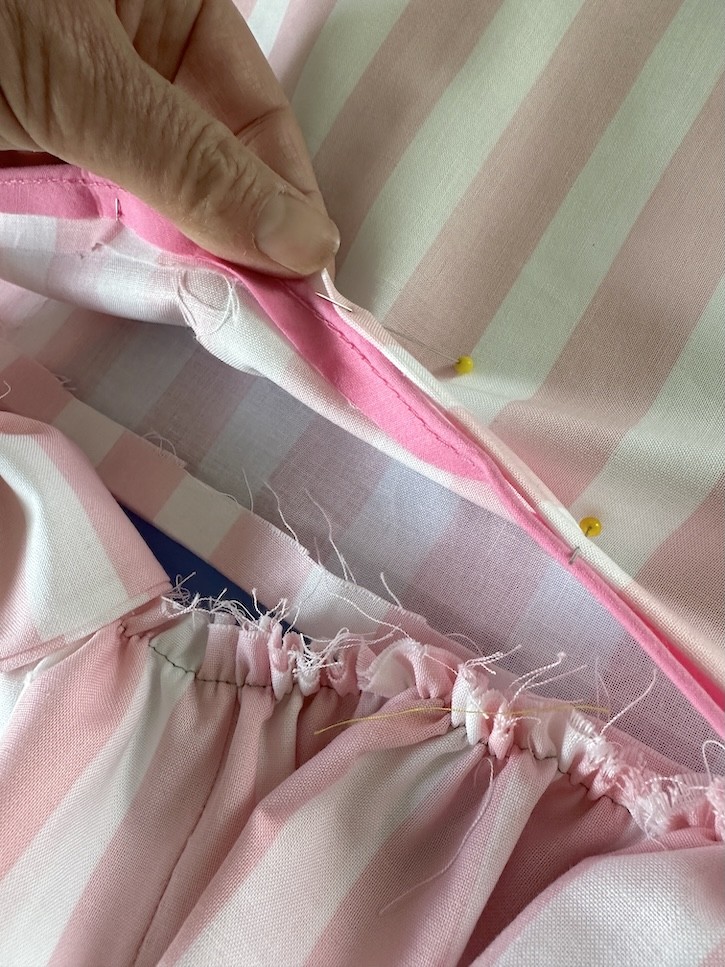
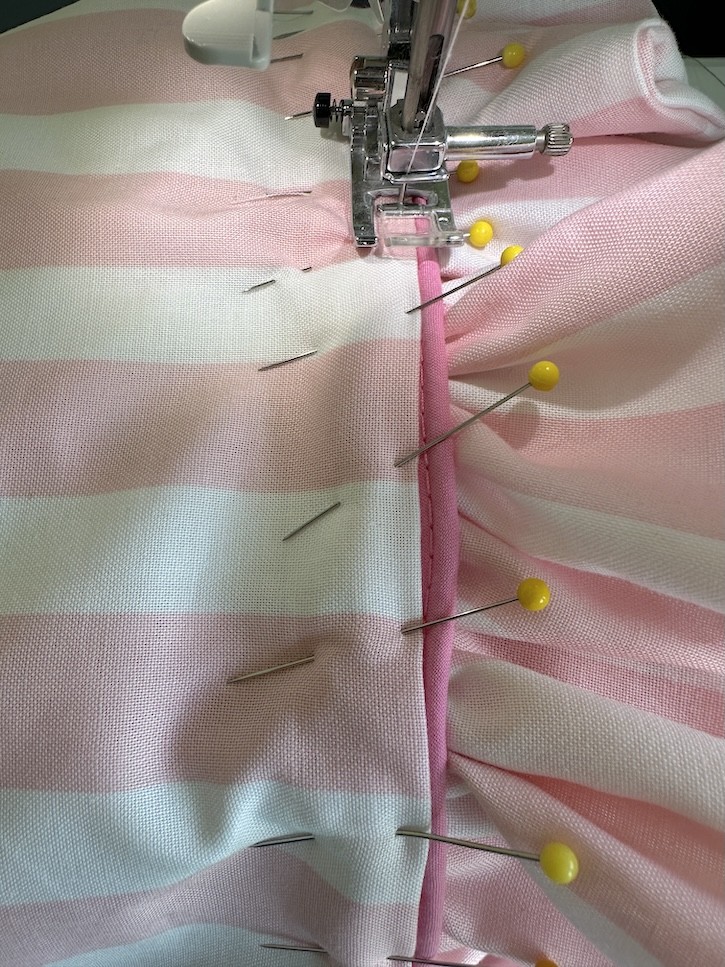
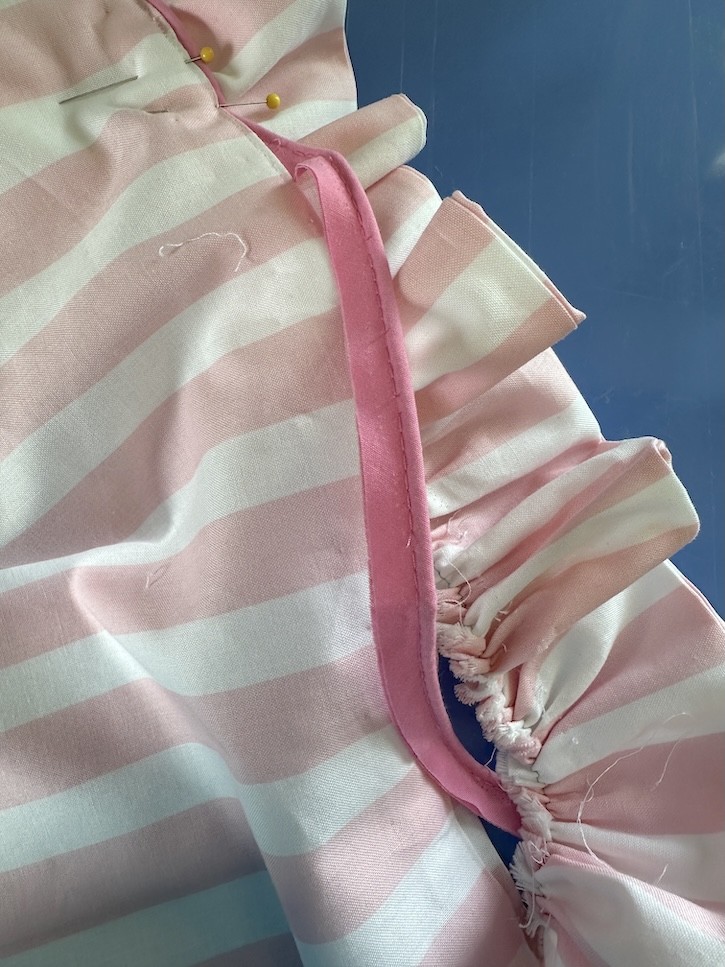
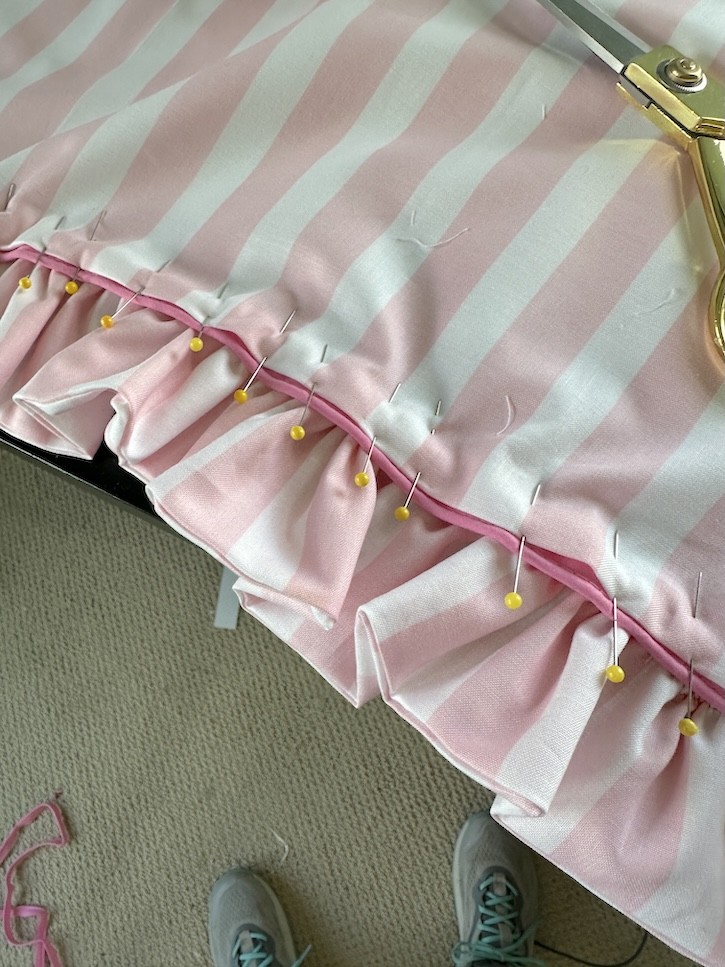
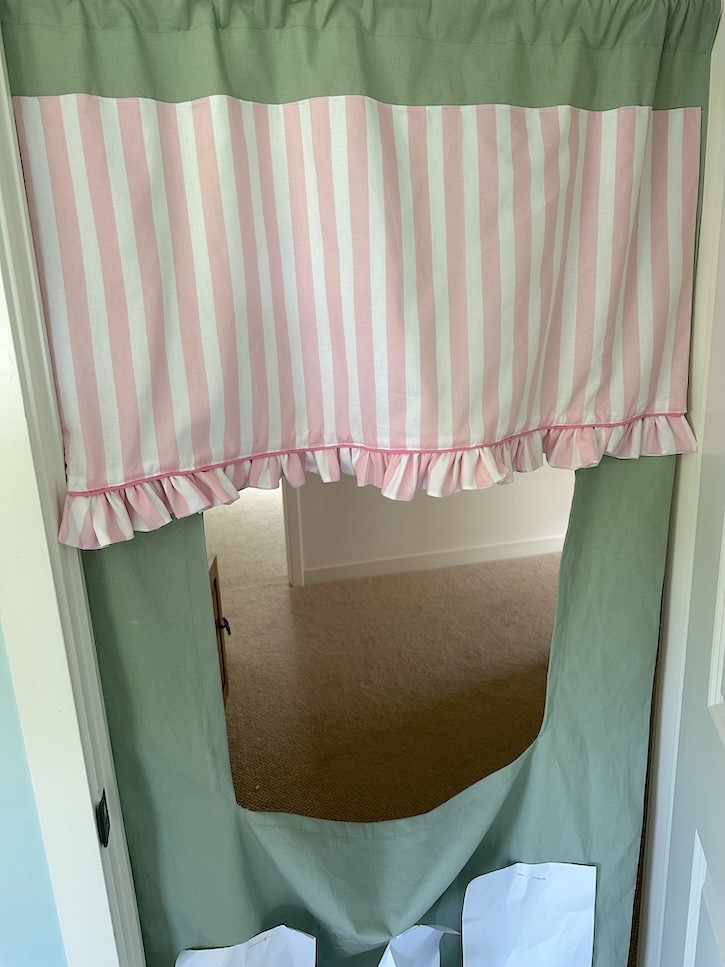
Fold the strip in half lengthwise (to create 2 1/2″ to 3″ ruffle) with right sides together and sew both short ends closed.
Turn it right side out and press.
Next, sew a long gathering stitch along the raw edge and gently pull the threads until the ruffle matches the width of the valance.
Place the gathered ruffle inside the open bottom edge of the valance. Sandwich the pink trim between the valance and ruffle so it peeks out beautifully when sewn.
Pin everything together and stitch the entire bottom edge closed, attaching the ruffle and trim in one step.
Step 5: Sew the Curtains
Cut four pieces of the yellow gingham measuring:
15 inches wide x 20 inches long
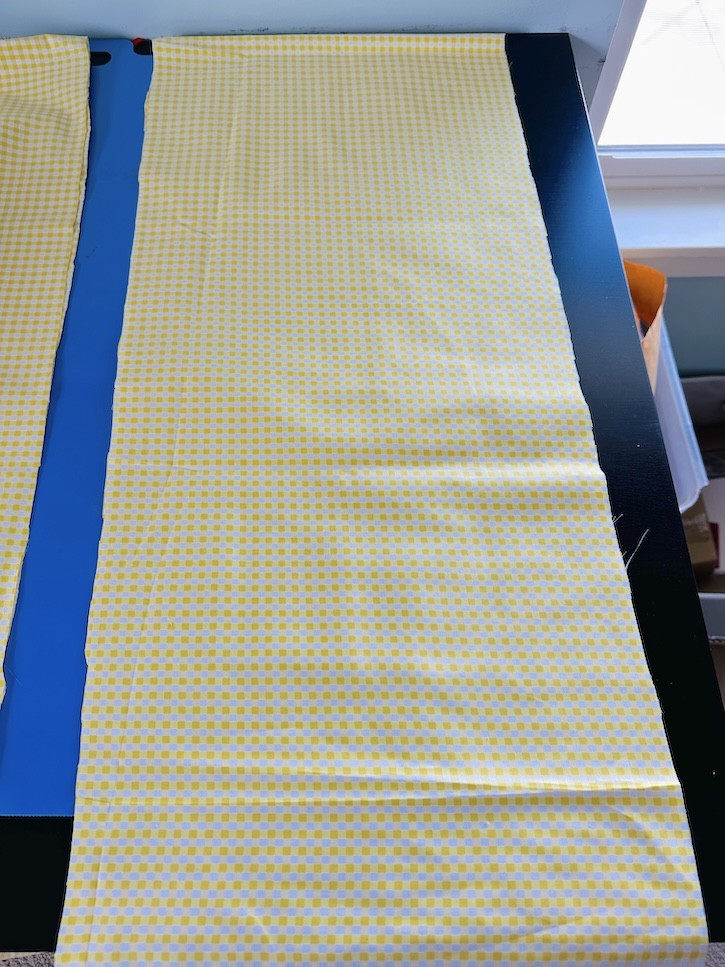
Place right sides together and sew around the sides and bottom, leaving a small opening for turning.
Turn right side out, press well, stitch the opening closed, and sew the finished curtain panels to the top of the shop window.
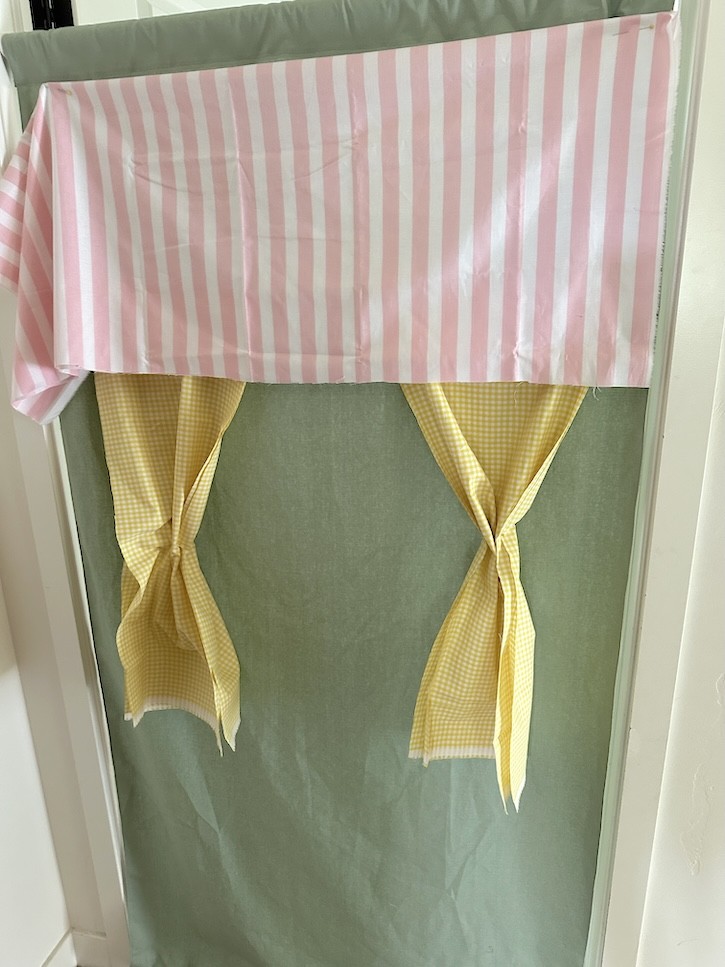
I like to hold up the fabric to the areas where they will be to see how they will look ahead of time. Plus it allows me to see how long to make each part.
Step 6: Add the Curtain Tiebacks
I used soft pink velvet ribbon for the tiebacks.
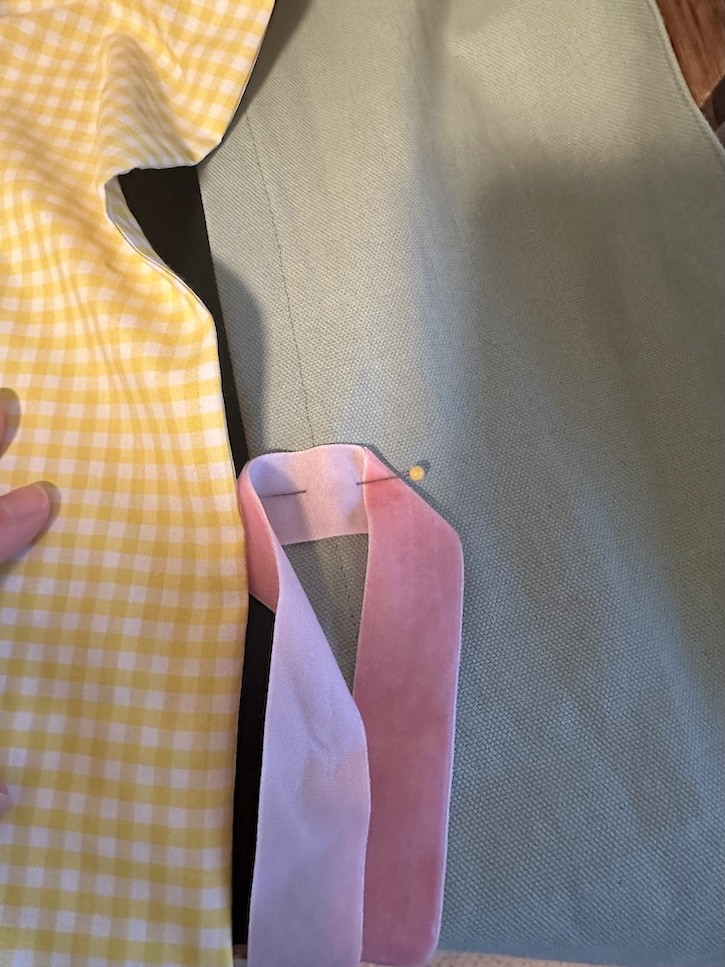
Rather than making removable ties, I stitched the middle of each ribbon directly to the sides of the opening so children can easily pull the curtains open and closed without losing the ribbons.
Step 7: Make the Storage Pockets
These little pockets are one of my favorite features!
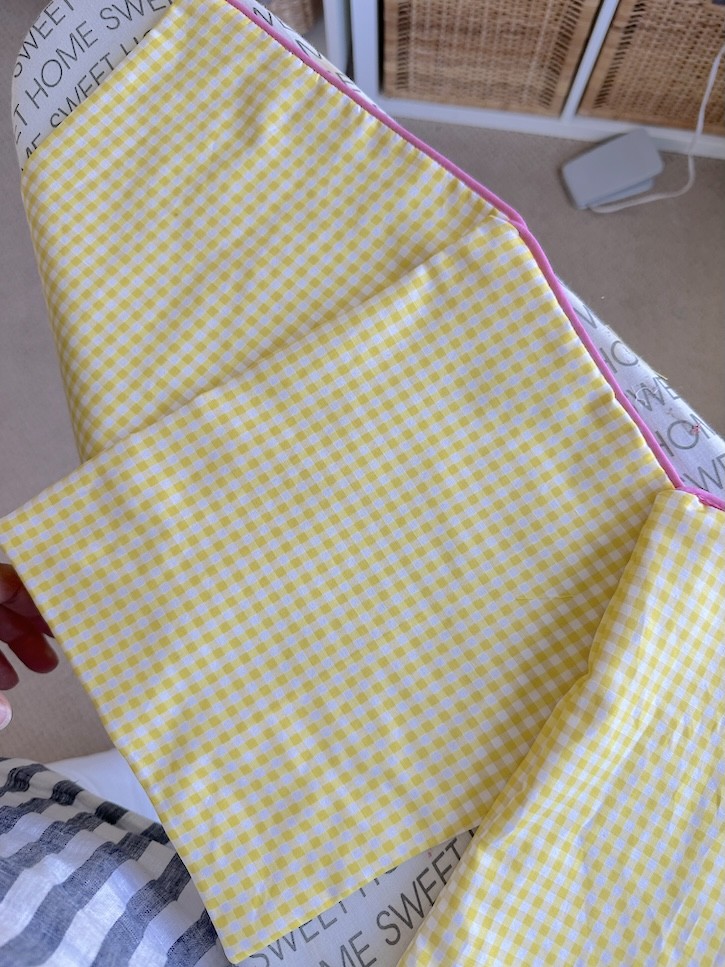
They’re perfect for storing:
- Play food
- Puppets
- Pretend money
- Crayons
- Small books
- Little treasures
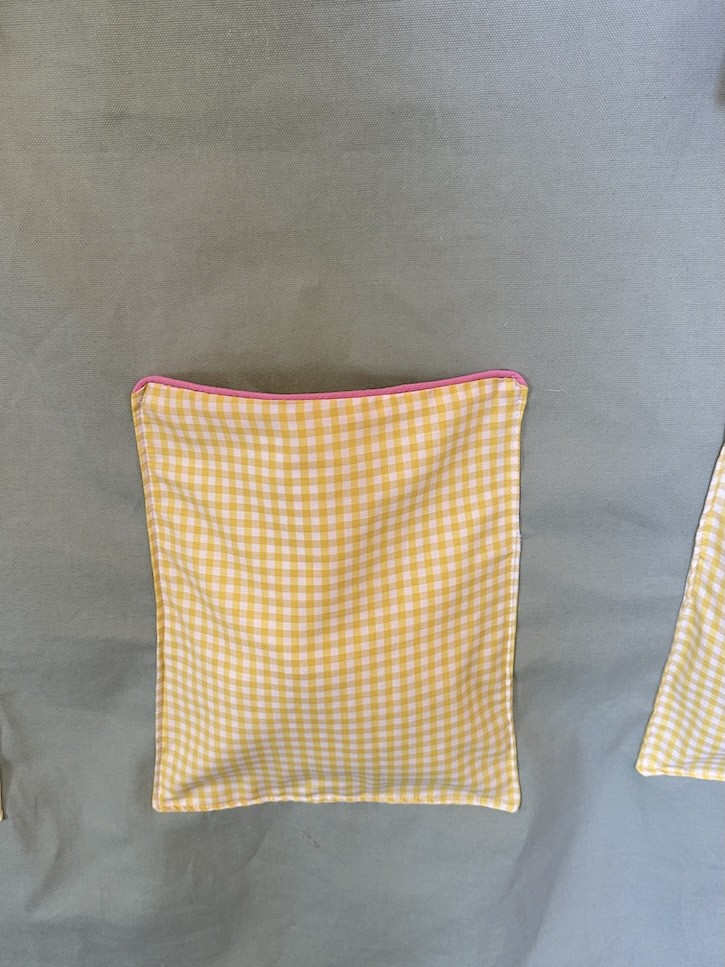
Cut six pieces measuring approximately 10″ x 12″ (or to the size you want) to create three lined pockets.
Before sewing, place the pink trim between the top edges and stitch.
Make sure you check out another children’s pretend play shop that she hand painted for a “Raise the Woof” birthday party here.
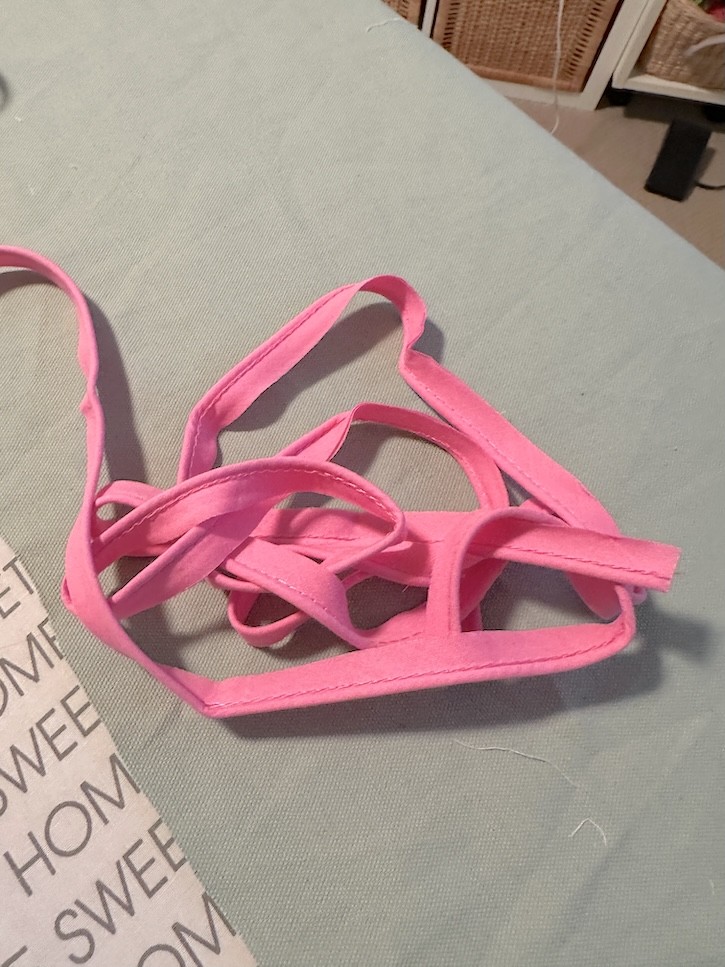
Then sew around the remaining three sides, leaving a small opening for turning.
Turn right side out, press, and stitch the opening closed.
Position the pockets evenly across the lower section of the canvas and stitch around the sides and bottom, leaving the tops open.
Step 8: Finish the Bottom Hem
Fold the bottom edge up ¼ inch and press.
Fold it up a second time, placing the pink trim inside the fold so just a touch of pink piping shows along the bottom edge.
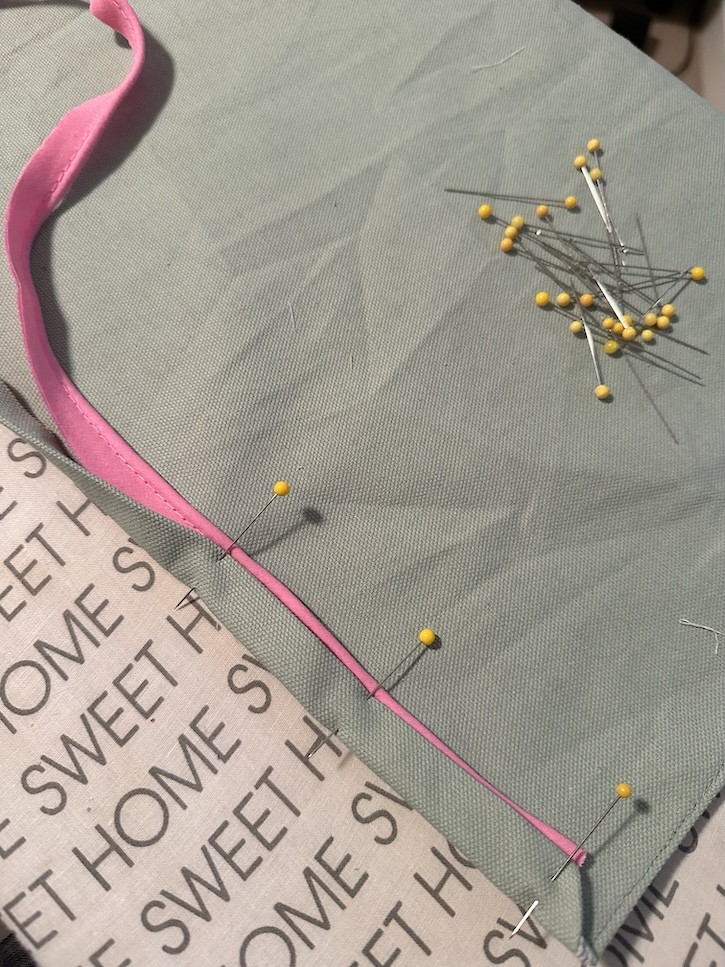
Pin in place and stitch across the hem.
Ready for Hours of Pretend Play
Once finished, simply slide the spring rod through the casing and hang it in any doorway.
Now comes the best part…
Watching children bring it to life.
One day it’s a bustling bakery selling cupcakes.
The next day it’s a puppet theater with tickets and applause.
Soon it becomes a flower shop, grocery store, lemonade stand, or post office.
Those three little storage pockets keep all of their favorite props close by, making cleanup just as easy as playtime.
I love projects like this because they become so much more than fabric and thread. They encourage creativity, storytelling, problem-solving, and imaginative play—the kinds of childhood memories that last for years.
If you decide to make one of your own, I’d love to see what theme you choose!

Leave a Reply