• Home
    • Tour
      • Coastal Guest Room
      • Dining Room
      • Family Room
      • Front Porch Ideas
      • Kitchen Nook
      • Mud Room Built Ins
      • Shop My Home
  • DIY Projects
    • Chalk Painting/Painting
    • Crafting
    • Furniture redo
    • Organizing
    • Sewing
    • Wall treatments
    • Window treatments
  • Entertaining
    • Celebrations
      • Baby Showers
      • Birthday Parties
      • Bridal Showers
      • Graduation parties
      • Super Bowl Party
      • weddings
    • Holidays
      • Christmas
      • Easter
      • 4th of July
      • Halloween
      • Thanksgiving
      • Valentines
    • Outdoor Entertaining
    • Tablescapes
  • Fashion Ideas
  • Recipes
    • Breads
    • Desserts
    • Main dishes
    • Pasta
    • Salads
    • Side Dishes
    • Soups
  • Travel
    • California
    • Hong Kong
    • Italy
    • Mexico
  • Contact Us
    • Let’s Collaborate
    • Karins Kottage Media Kit | Lifestyle Blogger for Women Over 50

Karins Kottage

Everyday Style and Living for Women Over 50

Home » Sunburst Tutorial Decor- Family Room makeover continued

in Crafting· Decorating

Sunburst Tutorial Decor- Family Room makeover continued

Sunburst tutorial decor to make for basically pennies!

Sunburst Tutorial, Sunburst DIY, How to make a sunburst
You are going to love this super easy sunburst decor tutorial!
 
This is the next installment of my sisters family room makeover.If you missed the first part you can see it here where we started with Roman Shades.
 
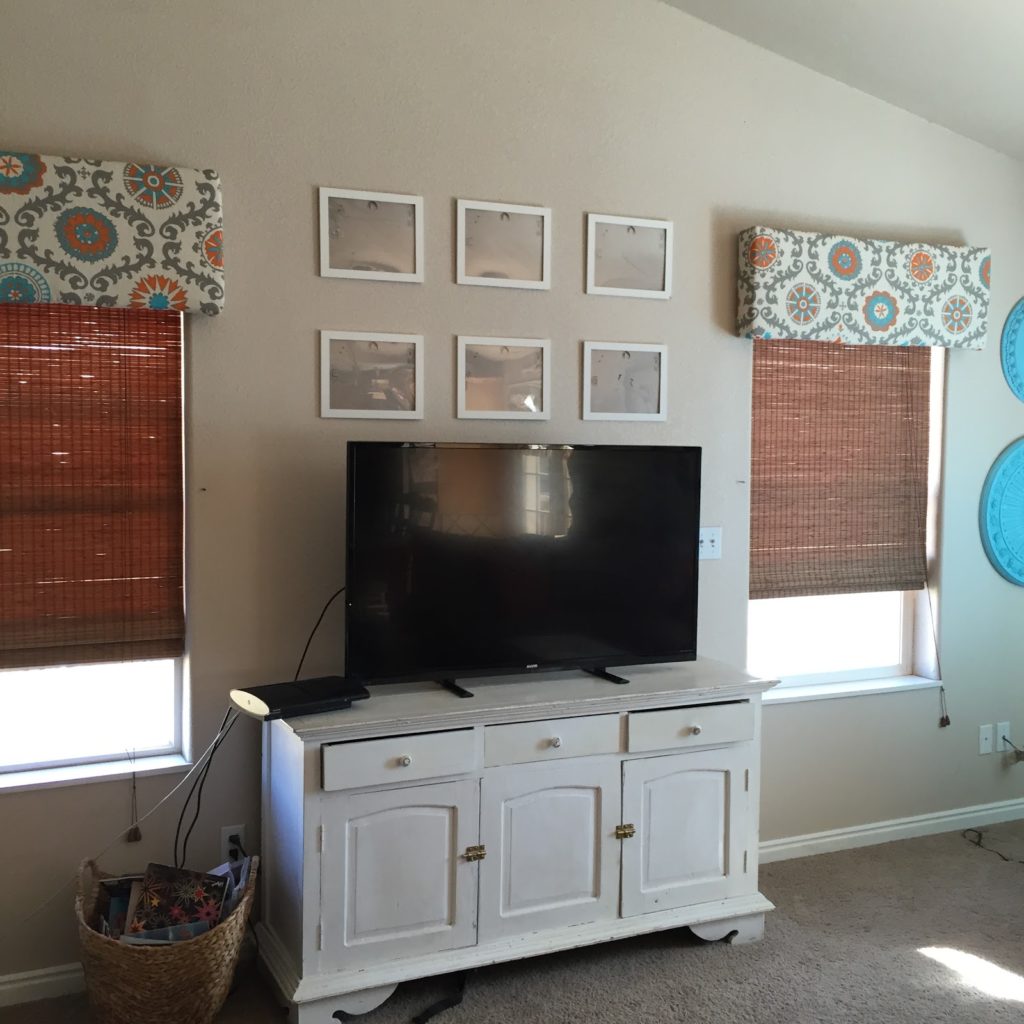
This is what we started with….
 
The TV overwhelms the old window that is hanging above it so we took it down and moved it to the other side of the room which I will show you later..it looks so good!!
 
The window treatment needed a little sumpin sumpin to bring in some color so we made some cornices using the same fabric we used to make the roman shades
Before Wall Art Sunburst Tutorial- Big Look for Little money, True Value Hardware, The Style Sisters
On the other wall you can see some of her ceiling medallions and other wall art that are kind of spaced too far apart so we took them down too.
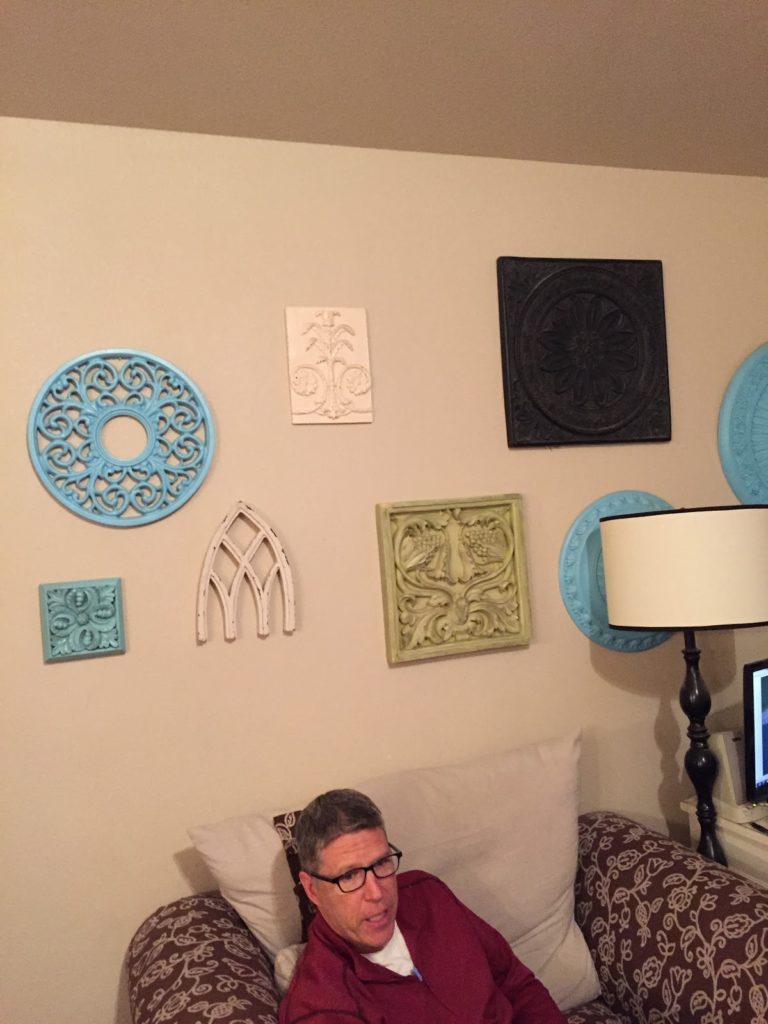
 
We started fresh. 
Because the ceilings in this room are really high we knew we needed something big to go over the TV.
 
First we tried hanging 6 frames (eventually with some sort of artwork in them) but Tiff really wanted something a bit more bold. So we got creative!
 
NOTE: See the cute window cornices?… Here is the DIY on how we made those.
 

How to make the sunbursts

Well we decided to make a large sunburst.
 
First we took one of the medallions from off the wall and spray painted it grey! 
 
Next Tiff called her local Ace hardware store to see if we could get a bunch of paint sticks and they gave her 50 of them for FREE!!
wooden paint sticks
 
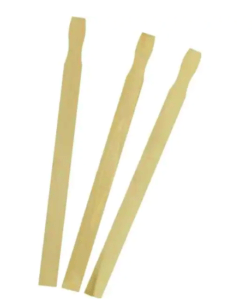
They are so nice!! We hot glued the sticks onto the back of the medallion. 
 
When you place the sticks on do not push or the glue will squish out all over just lightly place them onto the medallion so that they kind of angle out as you can see in the photo.
 
Sunburst Tutorial- Big Look for Little money, True Value Hardware


Then Tiff spray painted the whole piece in a light grey and we hung it up above the TV and we LOVED how it turned out!


Sunburst Tutorial- Big Look for Little money, decorate above TV, True Value Hardware,
I wish I had a better picture taken in the daylight of how this looks…it really turned out so  amazing looking! 
 
Wait until you see the whole room rearranged it is amazing how much you can change a room by just rearranging things. 
 
Don’t forget  to link up to Centerpiece Wednesday tomorrow night..I can’t wait to see what you have been working on!!
 

3 Comments

Stay connected to the Kottage

don't miss a thing
☞  SIGN UP TO receive THE LATEST news and updates from Karins Kottage ☜
You’ve successfully signed up! Check your email for details.
Previous Post: « Fashion Friday- Navy jacket and pop of orange
Next Post: Fashion Friday – Navy and White Gingham Blouse »

Reader Interactions

Comments

  1. Barbara @ 21 Rosemary Lane says

    February 28, 2015 at 5:41 pm

    Now this is both a clever and inexpensive wall hanging! It fills the space above your TV perfectly! thank you so much for linking up to Share Your Style and have a wonderful weekend!
    XO Barbara

    Reply
  2. Laurie Ritchey says

    February 25, 2015 at 4:39 pm

    What a fantastic idea! It looks great. Can't wait to see the rest of the room.

    Reply
  3. thepaintedapron.com says

    February 25, 2015 at 2:45 am

    holy wow, that's unbelievable! paint sticks! I am a big fan of the rearrange!
    Jenna

    Reply

Leave a Reply Cancel reply

Your email address will not be published. Required fields are marked *

Recipe Rating


This site uses Akismet to reduce spam. Learn how your comment data is processed.

  • Home
  • DIY Projects
  • Entertaining
  • Fashion Ideas
  • Recipes
  • Travel
  • Contact Us

Footer

Looking For Something

Let’s Get Social

  • Email
  • Facebook
  • Instagram
  • Pinterest
  • RSS
  • Twitter
  • YouTube

RSS RSS feed

  • How to Upcycle a Thrifted Men’s Button-Down Shirt Into a Cute Ruffle Collar Top
  • Easy Peach Desserts You Can Make Anytime of Year
  • Stegaro Suede Biker Jacket With Fur – Cozy Chic Winter Staple
  • An Easy Layered Outfit for Cooler Days for Women Over 50

Copyright © 2026 · Market theme by Restored 316